If you are looking for some inspiration for your holiday decor and want a twist on the traditional bow for garland on a banister, you will want to see this one simple trick I do to make any garland spectacular! This awesome decor will work for any stair railing no matter what style your home is.
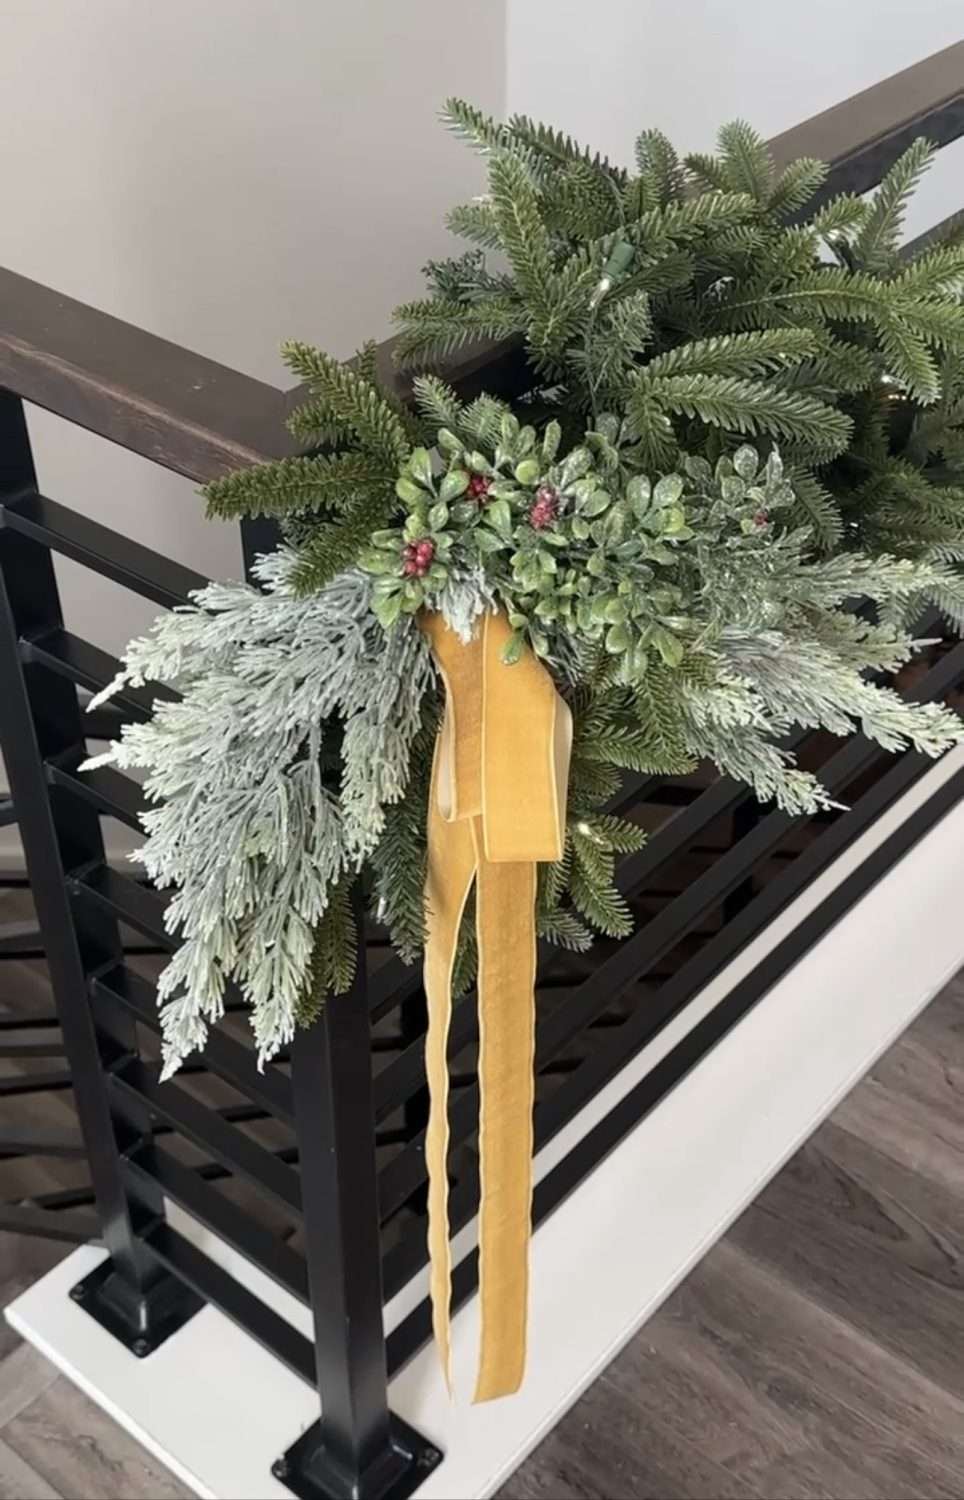
My home is a modern farmhouse design and the banister we have now is more contemporary than what I have had in the past.
I have always loved a more traditional style banister with simple vertical balusters, newel posts, and a simple wood top like the banister in my previous home.
I find it easy to decorate.
Coming up with a design plan for the garland in this house has been challenging for me.
I have been trying to figure out the best way to decorate this modern look for 4 years and finally decided on, what I think, is a perfect fit and simply elegant.
Since the banister isn’t fancy itself, I felt that the design of the garland would look best if I kept it on the simple side.
And you won’t believe just how simple it is to create these gorgeous bows! They require no glue or fancy ties.
You can use any color ribbon you like depending on your decor taste or color palette for this project or copy mine exactly!
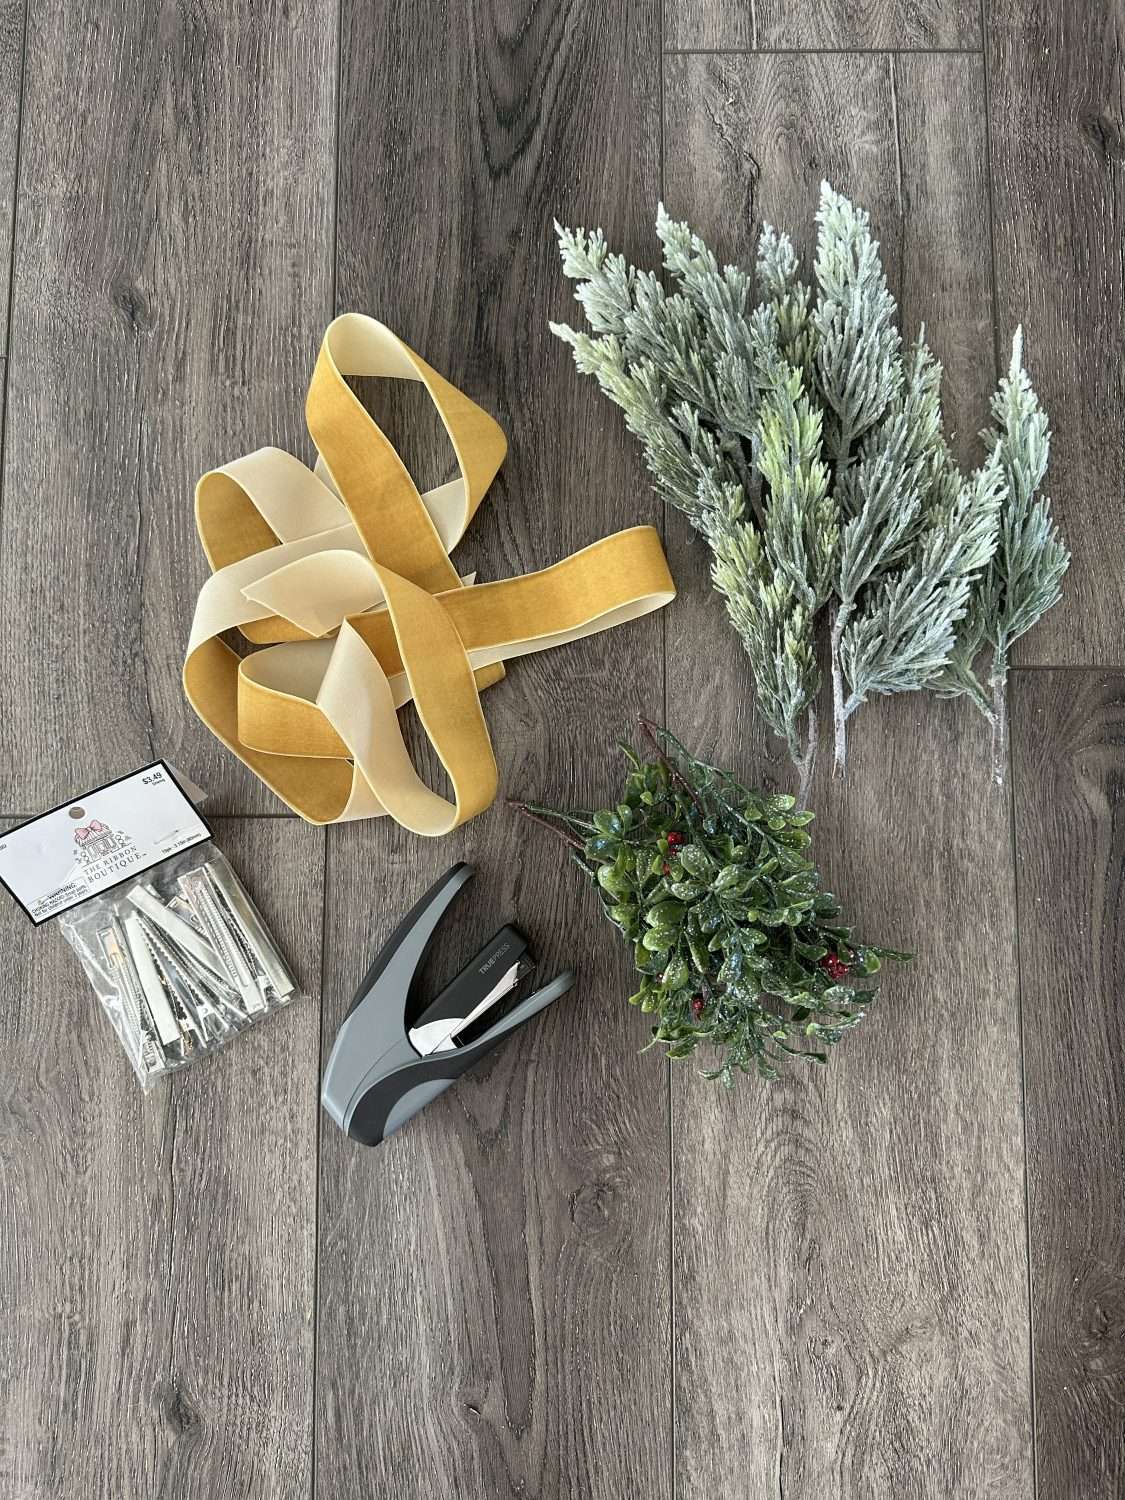
Supplies for this garland on a banister for the holidays
- Garland of your choice. My garland is Balsam Hill (I love Balsam Hill quality) and is prelit with battery-operated lights. I wish that they plugged in because I like my lights on all the time, day and night, so the batteries have a short life.
- Holiday or various pine floral picks from your craft store – you will cut these into pieces so try to get picks with a few large clusters of decor on them. Also try to get different picks of just pine and some with berries, etc.
- This Velvet Ribbon in Gold
- Large hair alligator clips – I picked up mine at Hobby Lobby over in the notions section
- Wire cutters
- Stapler
How to create this simple garland on a banister
Step 1: The Garland
The first thing you will want to do is secure your garland. There are a lot of ways to secure your garland to your stair railing.
This is a list of some of the different options for you to consider for yours.
- Pine garland ties
- Green ties
- Gold fabric twist ties
- My favorite for securing garland and wreaths anywhere
My garland has wired pine sprigs that I can shape the way I like so I just loop two sprigs around the wood on my handrail in opposite directions and twist them together a couple of times on the other side of it to secure it.
I do this at both ends and then again in the center of the long banister to create nice deep swags.
If you have an expansive stair railing, then just create your swags about 4′ apart.
If your garland is not prelit and you are adding lights, go ahead and do that now.
Once the garland is attached and the lights have been put on, go ahead and fluff it if it needs fluffing.
Step 2: The Bows
Start with the velvet bows. These are not going to be tied.
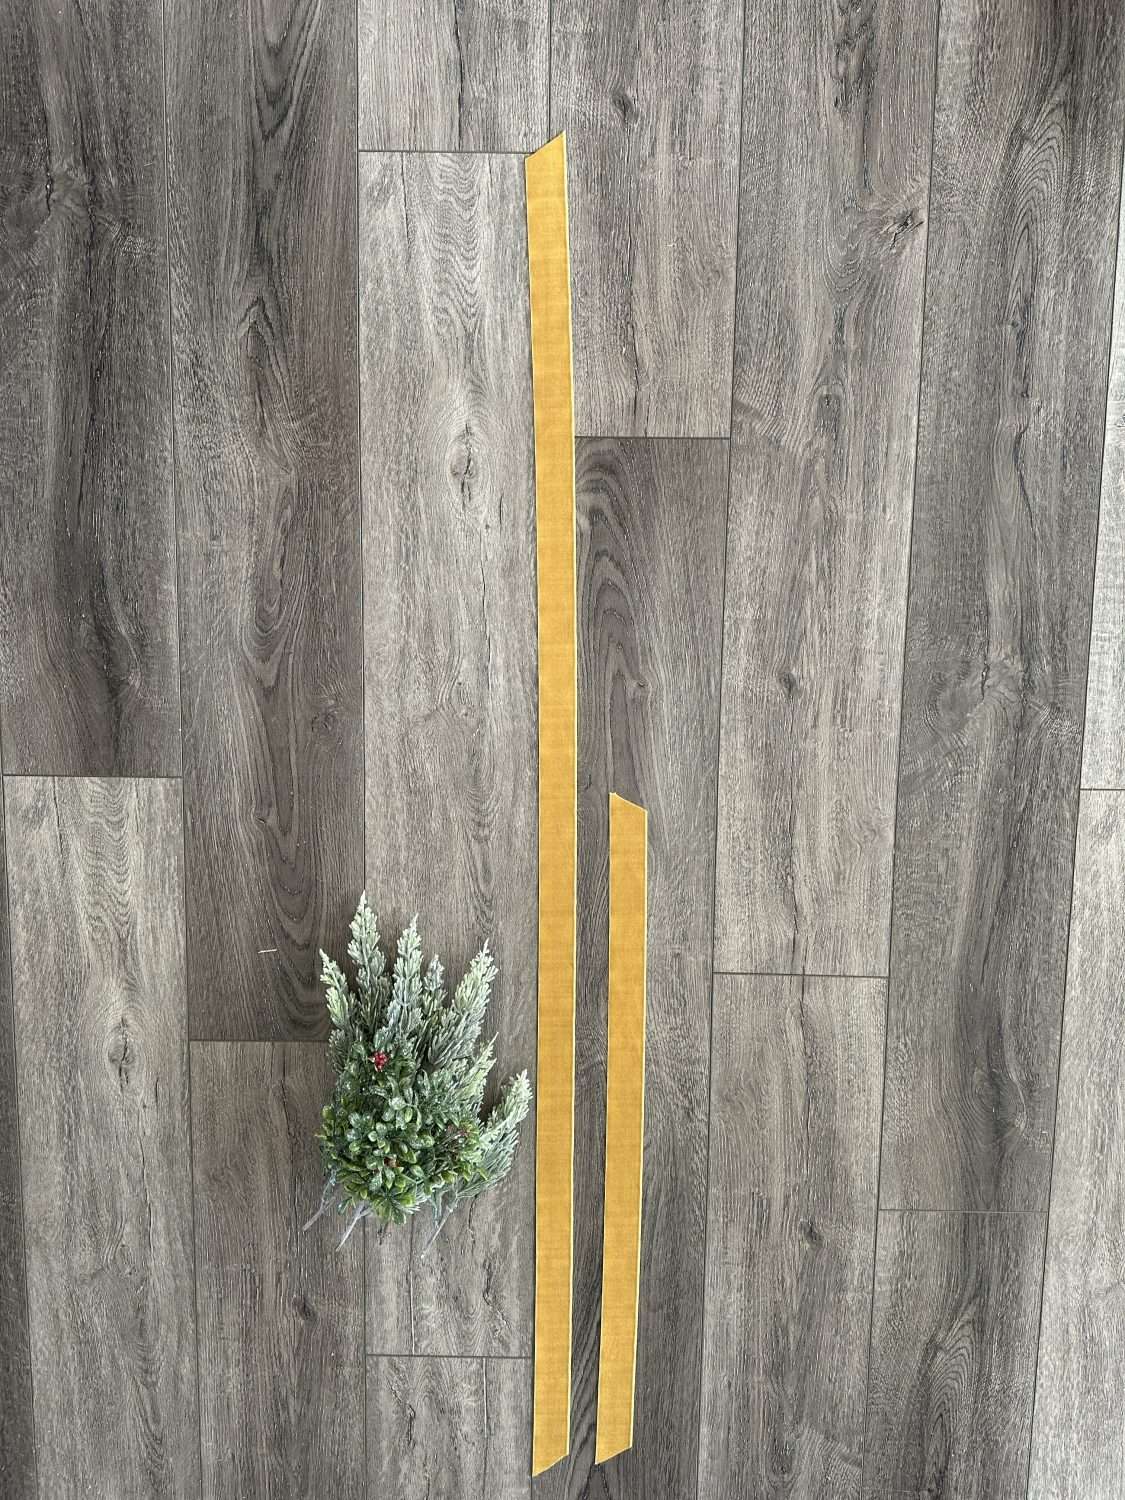
Instead, we are going to cut one strip 48″ and one strip 24″.
You can angle your ends or dovetail them. In case you missed it, you can see how I did this on the garland on my mantle.
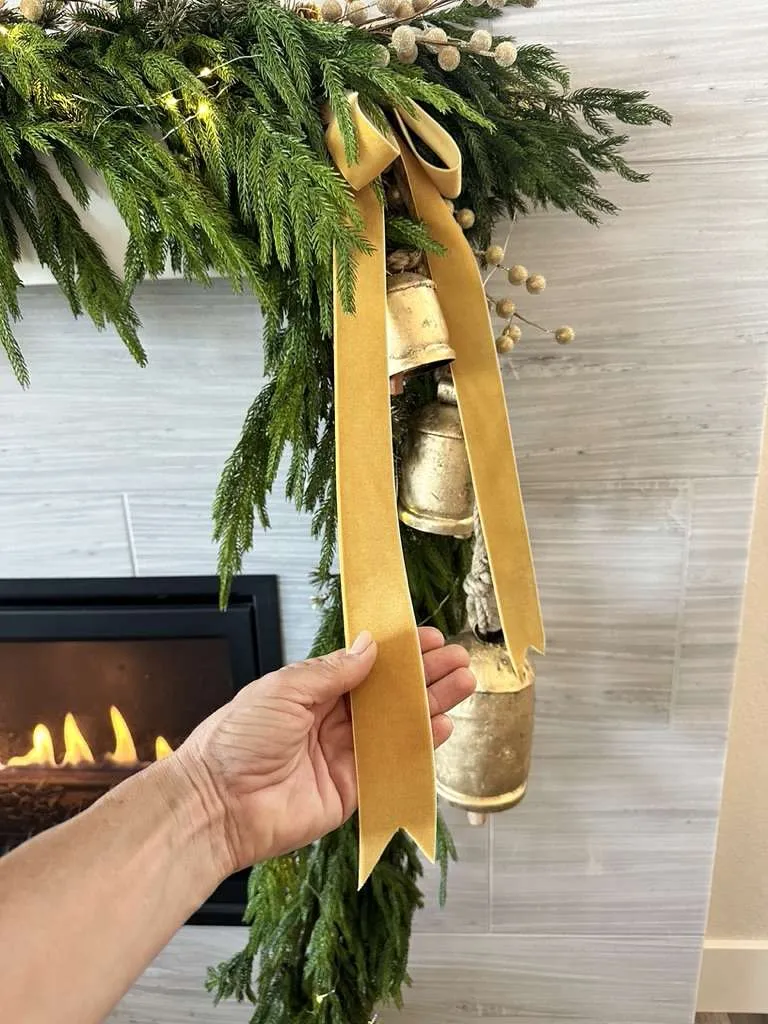
Take the 24″ strip and fold each end to the middle. It will create two loops like a Figure 8. Hold that in one hand.
Grab the 48″ strip in the middle with your free hand and let it hang down on the sides.
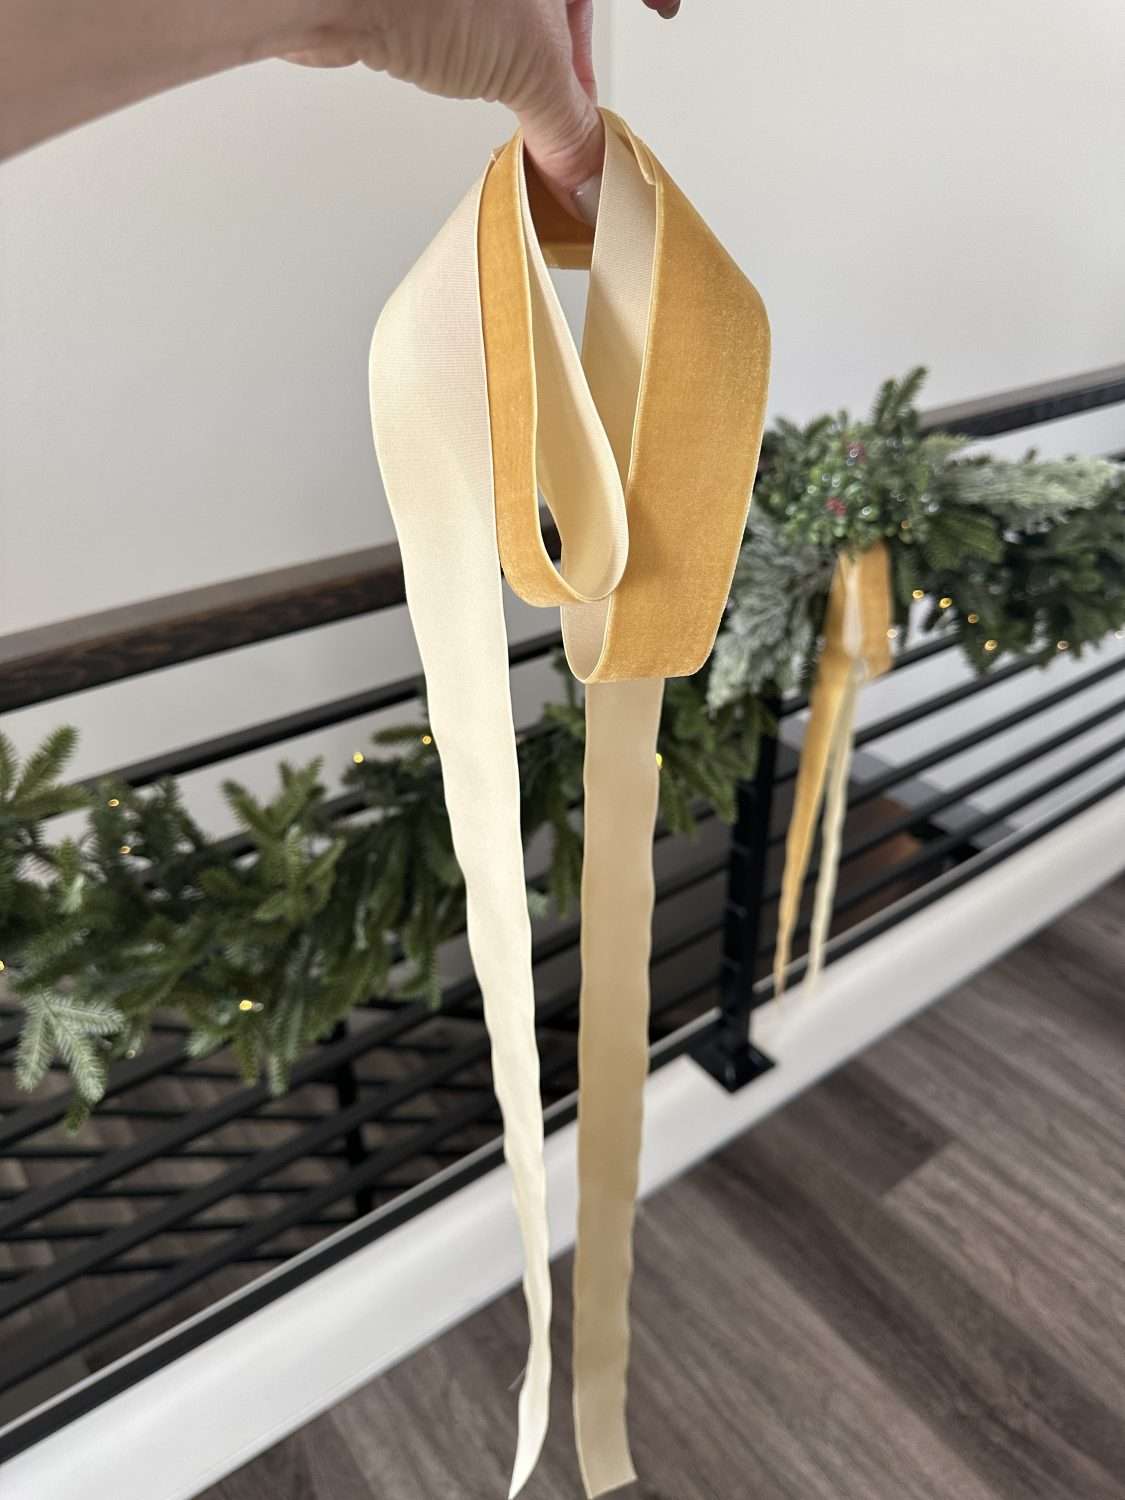
Now lay the middle of the 24″ figure 8 over the middle of the 48″ staple it all together in the middle of both strips to create a very loose and floppy bow.
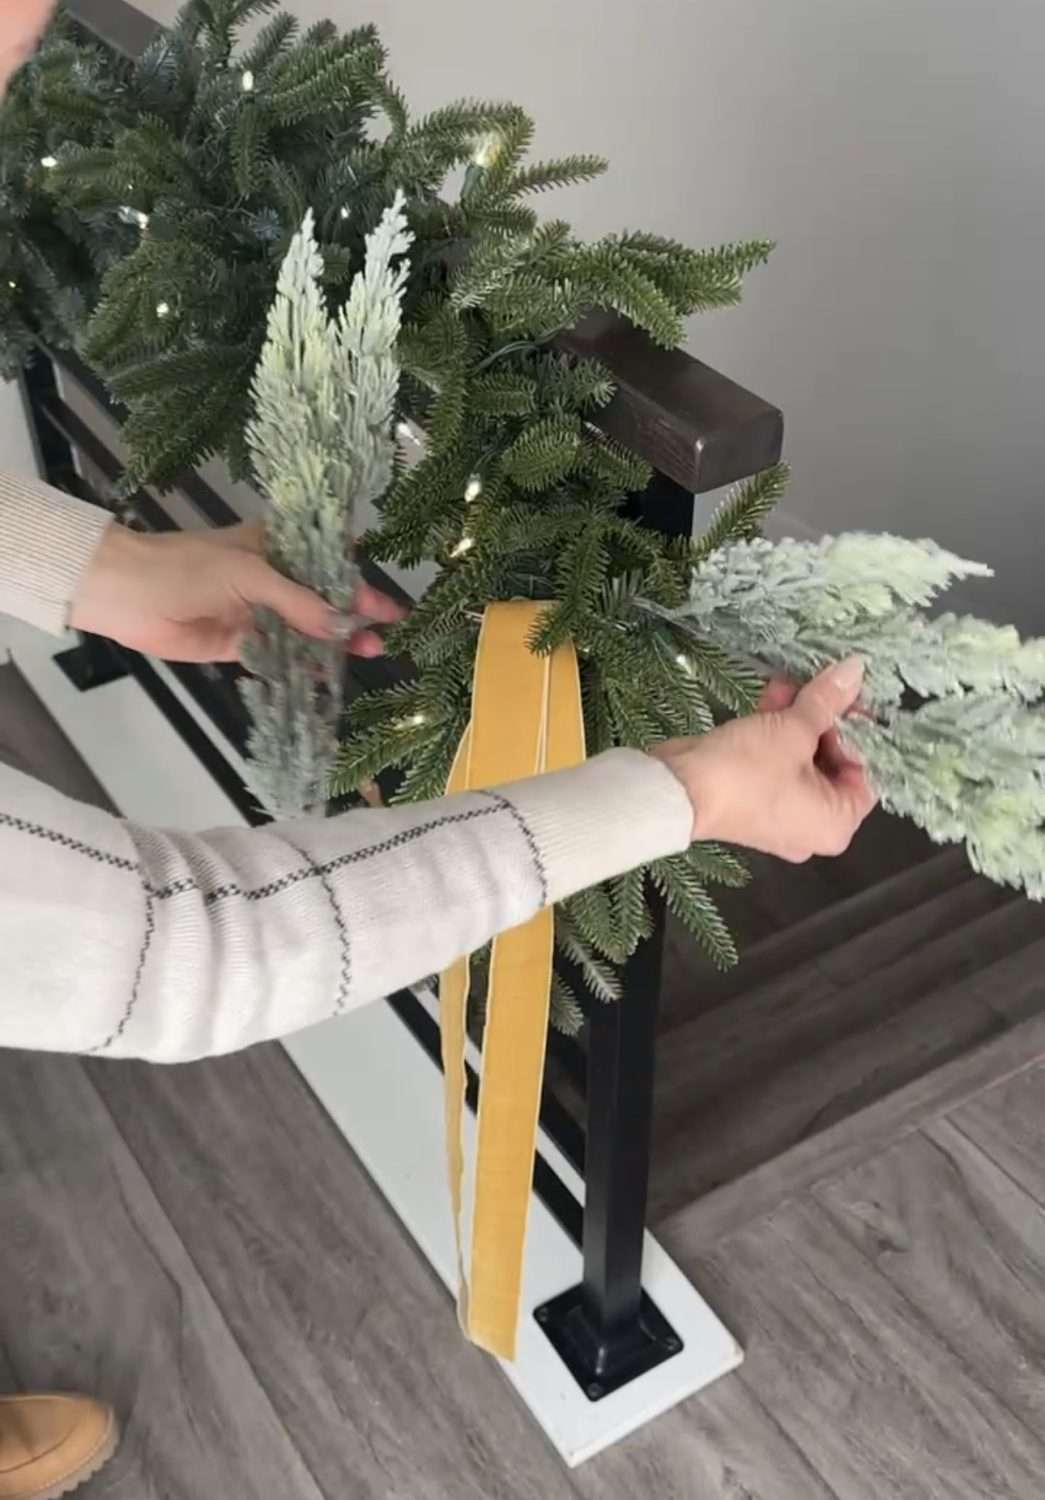
Take an alligator clip and clip the bow to your garland where the garland is tied to the banister.
I absolutely love these bows. They look relaxed and elegant at the same time.
I love the long tails that almost touch the floor, too.
Step 3: Add Florals and Foliage
Now take the floral picks that just have pine sprigs on them and cut the smaller clusters off with the wire cutters. I chose these sparkly, lighter colored picks to add more interest to the garland.
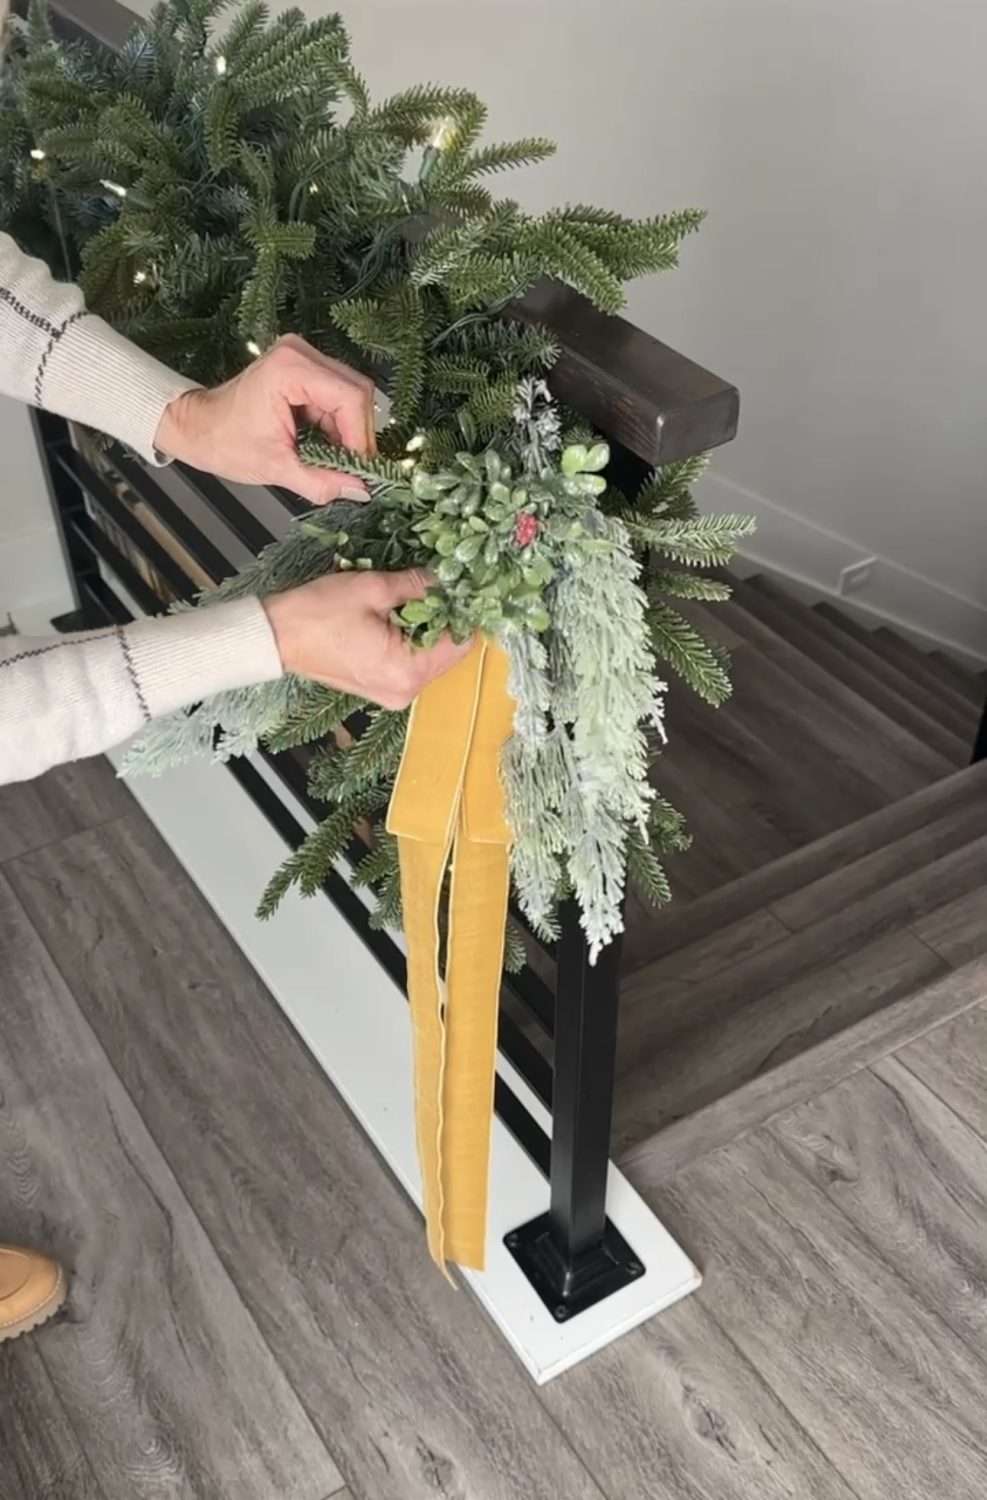
Tuck the sprigs into the garland around the bows and only in the places that are attached to the handrail.
We won’t be doing this on the swagged parts.
Then do the same thing with the more decorative picks with berries and glitter.
And that’s it!!!
You can add dried oranges or anything else to your garland but the trick is to keep the bursts of color and added texture clustered where the bows are.

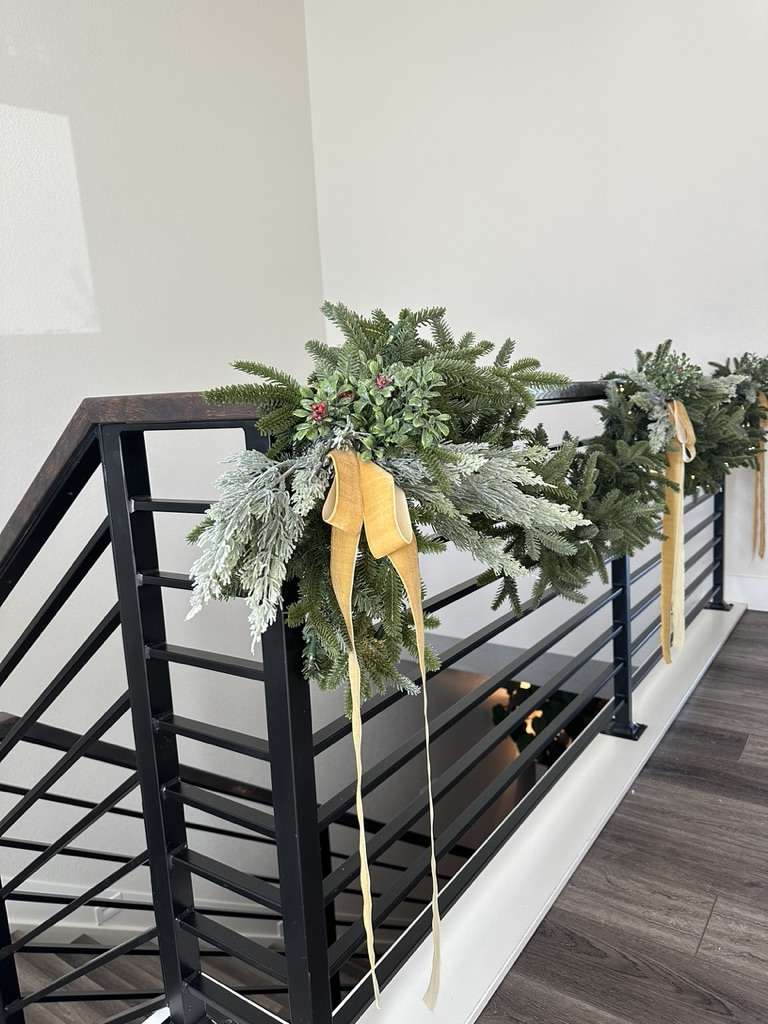
I love this look and hopefully, it has your wheels spinning on a new way to look at decorating the garland on your banister.
It took me a few years of different styles but I love the simple beauty of this look.
And the bows look like a lot more effort than they were!
I hope you love this tutorial! If you try it, tag me @aprilcolleenhome on Instagram.
Don’t forget to check out my other holiday posts this season for more inspiration.
Remember, you can do it yourself, but let’s do it together!

Disclosure: This post may contain affiliate links, meaning I get a (very) small commission if you decide to make a purchase through my links, at no cost to you. As a Lowe’s Partner I earn from qualifying purchases. Thank you for your support!
Leave a Reply