Looking to get organized this holiday season? I am sharing the perfect way to set up an easy gift-wrapping station for the holidays so that you have everything you need in one place. And, it rolls away when you don’t want it out!
Here’s the short answer: A gift wrapping station is a rolling cart loaded with wrapping paper, tape, scissors, bows, and ribbon so every supply is in one place. Build one in about 30 minutes, roll it wherever you’re wrapping, then tuck it into a closet or corner when you’re finished.

The best way to get the most out of your gift-wrapping station
With all of the things that need to be done during the holiday season, wrapping gifts shouldn’t be one of the stressful items on your to-do list.
Having everything you need at your fingertips will allow you to enjoy wrapping the gifts almost as much as giving them!
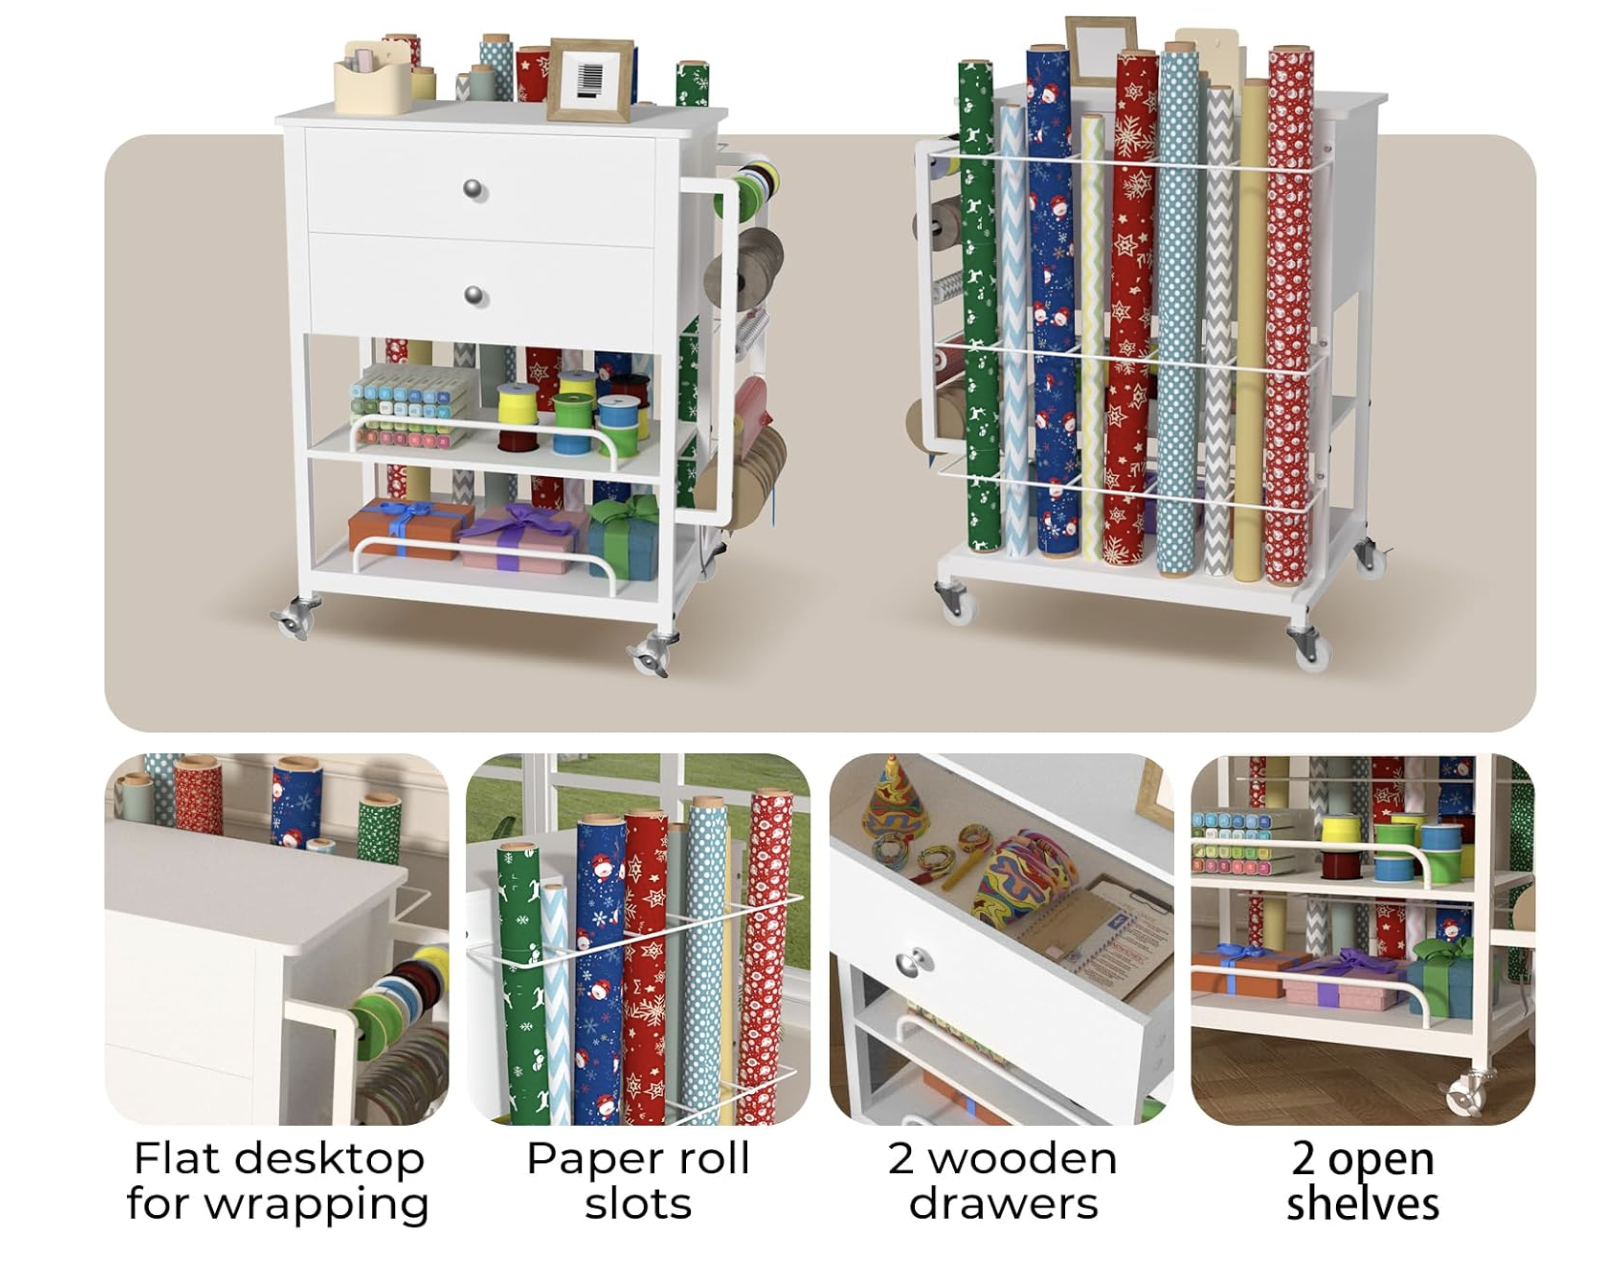
The star of the show is going to be a simple rolling cart like this one!

This is great for the gift-wrapping station, but I am also going to show you how to get the most out of this little cart!
I will show you how to use it Christmas morning to have everything at your fingertips and have a stress-free morning and beyond!
When it comes to the holidays I try to stay as organized as possible.
I have already begun to buy gifts for everyone, have you?
I have a running list in the notes on my phone of gifts I have bought so I don’t overbuy or forget what I have purchased for everyone.
And I actually keep the note locked because my kids go into my phone looking for photos and to play games I don’t want them to see it.
Once I get the gifts home, I have a dedicated place that I keep them. Luckily I don’t have littles anymore that like to snoop, but I used to have to get really creative when hiding them.
I don’t typically wrap the gifts until mid-December, so when it comes time to wrap those gifts I have been storing away, I want to be just as organized.
So today I am sharing my best organization hack for all of your gift-wrapping needs.
Want a handmade touch for your wrapped gifts? Make these DIY air dry clay name tags to tie on with ribbon.
How to create a gift-wrapping station for the holidays
You will want to do this!
Why?
Everything is right at your fingertips! It will save time and you will be efficient. You can roll it anywhere in your home. If you wrap on your bed, roll it in there. If you wrap on the counter, roll it into the kitchen. If you wrap on your coffee table, roll it into the family room. You get the idea.
And it makes it so easy to clean it up as you’re wrapping gifts conveniently and quickly at the end of the day. Just tuck it into a corner or closet! Everything has a place and there is a place for everything.
When my kids were little I would wrap while they were napping or in school. I would rush to put everything away so they wouldn’t see what I was doing and ruin the surprise for Christmas morning. Santa had his own wrapping paper and I never wanted them to see it.
This gift-wrapping station allows for quick cleanup and the ability to stash everything away easily before the kids come home or wake up.
If you don’t want to do a DIY wrapping station, then I suggest something like this pretty wrapping station that is perfectly organized and looks beautiful all the time in your craft room or office!
Or you can do a handy over-the-door wrapping paper organizer OR even one that can store all of your gift wrapping needs anywhere else in your home with everything in it and never seen until you need it.
Supplies for a DIY gift-wrapping station
- This rolling cart
- This basket to stick your wrapping paper in
- These wrapping paper clamps
- This wrapping paper cutter
- These snap bracelets
- This tape is the best
- Bins or boxes for tags
- A mug to hold your pens and scissors
- Scissors
- Sharpie and other pens
- Tags
- Bows
- Ribbon
- Wrapping paper
- Kitchen garbage bag attached to the side for trash
- Gift bags
- These command hooks
- Tissue paper
- Glue gun and glue sticks
** UPDATE: The organizer I have in this post for the wrapping paper that attaches to the cart is no longer available, so I gave the alternative basket to hold your paper to hang on the lower tier**
How Do You Put Together a Gift-Wrapping Station?
- Building your little cart will take you about 30 minutes
- Add your wrapping paper organizer to the side and put your wrapping paper in it

- Tie your garbage bag to the other side of the cart
- Place your mug with pens and scissors, tape, tags, wrapping paper clips and wrapping paper cutter in the top tier

- Add bows and ribbons on the bottom tier

- Place the command hook on the side of the top tier and hang gift bags
Now everything is right at your fingertips and you won’t be running around looking for what you need. You will be efficient and fast and, if anyone else in your household needs to wrap anything, they will know where everything is! Want more of my favorite wrapping supplies? Check out my holiday gift wrapping essentials.
How to make a Christmas morning command center
OK, now comes another great idea.
You know how your family is opening gifts and you have to stop everything to run and grab scissors?
Or you suddenly need a garbage bag?
Or how about batteries? And you’re running around trying to find them?
Repurpose your gift-wrapping station into a command center for Christmas morning!!
Once everything is wrapped, take everything out of the rolling cart and put it aside.
Then fill it with all of the necessary items you always need on Christmas morning.
Here is what I will add to my rolling cart:
- a roll of trash bags
- batteries
- screwdrivers (flat head and Phillips)
- scissors
- bag hanging for bows and ribbons
- paper and pen (to keep track of who gave what so I can write thank you cards later)
Did you ever think of having a command center for Christmas morning? Well, now you have!
Did you know that anything foil and wire cannot be recycled? So most bows and ribbons go right into the trash.
To minimize unnecessary waste, I save my bows and use them year after year (as long as they still look pristine). Everyone in my family knows to take the bows and ribbons off and hand them to me to save for the next year. Even my son-in-laws are trained to do this!
You can add an open large gift bag to the same command hook on the cart and place bows inside to save for next year. I have bows that I have saved for over 10 years!
It may sound silly, but I just hate wasting items that look like new and if I can reuse it I will.
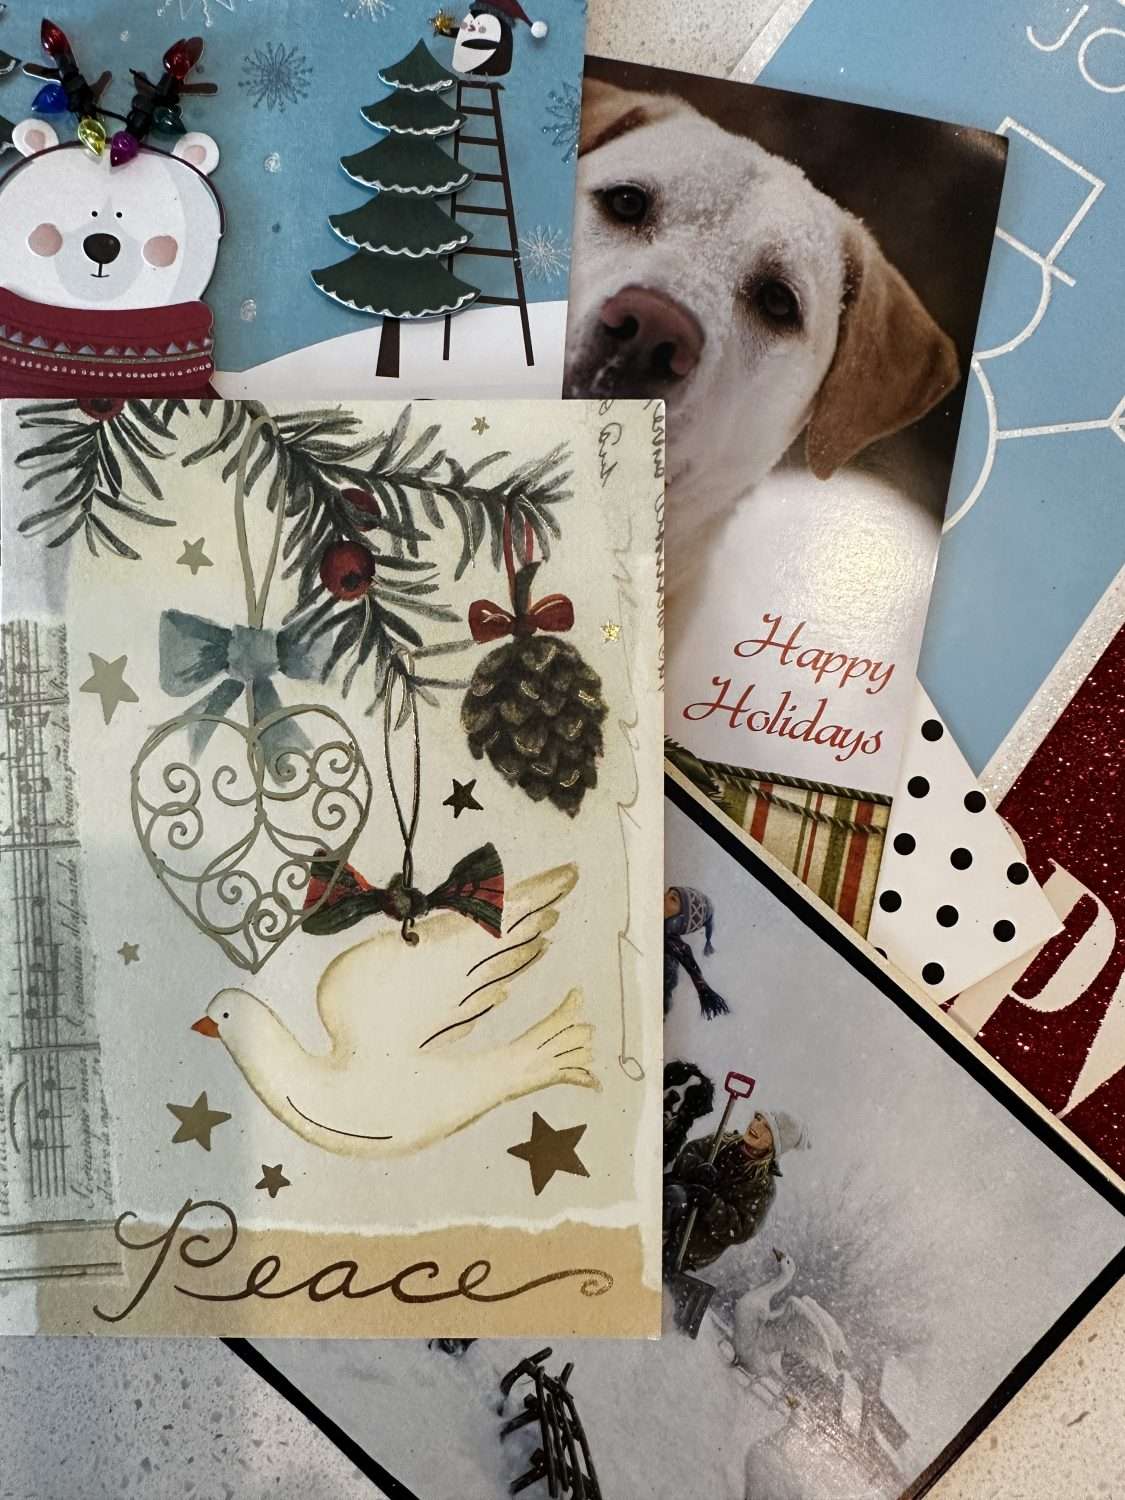
In addition to saving bows, I will cut off the fronts of some of the Christmas cards I receive and repurpose them as unique gift tags. Christmas cards are so beautiful with their glitter and cute little pictures so I save them for future gifts. They’re especially fun for kids!
8 ways to use your rolling cart after the holidays:
- Remove all holiday items and replace with birthday or everyday wrapping items and use it year round! Tuck it away in your closet and pull it out when needed.
- Organize office supplies
- Create a kids craft station that you can put away when they are done
- Organize small weights and gym items
- Organize DIY tools so they are right at your fingertips while working on a project
- Organize your cleaning supplies to roll around with you as you clean!
- Use it on your porch to hold goodies for your delivery people
- Keep your teenager’s makeup and hair products organized. Roll it into the bathroom and roll it back to their room!
There are so many possibilities!!
I hope you love these ideas! You can apply them to any event or wrapping needs.
Let me know if you already have a gift-wrapping station like this in your home.
Frequently Asked Questions
How Do You Make a Gift Wrapping Station?
You make a gift wrapping station by building a rolling cart, which takes about 30 minutes, then attaching a wrapping paper organizer to one side and tying a garbage bag to the other for trash. Put a mug with pens and scissors, tape, tags, wrapping paper clips, and a wrapping paper cutter on the top tier, and bows and ribbon on the bottom tier. A command hook on the side of the top tier holds your gift bags.
What Is the Best Gift Wrapping Station?
The best gift wrapping station keeps everything in one place and rolls away when you are done. My best organization hack is a rolling cart with wrapping paper organized on one side and a garbage bag tied to the other, and your wrapping paper, tape, scissors, bows, and ribbon all within reach on the different tiers of the cart. If you would rather skip the DIY, a pre-built wrapping station is perfectly organized and looks beautiful in a craft room or office.
How Long Does It Take to Set Up a DIY Gift Wrapping Station?
A DIY gift wrapping station takes about 30 minutes to set up, because building the rolling cart is the main step. After that, you attach the wrapping paper organizer to the side, tie on the garbage bag, and fill the top and bottom tiers with your supplies.
What Supplies Do You Need for a Gift Wrapping Station?
You need a rolling cart, a basket or wrapping paper organizer, wrapping paper clamps, a wrapping paper cutter, tape, scissors, tags, bows, ribbon, and wrapping paper. A kitchen garbage bag, gift bags, tissue paper, a mug for your pens and scissors, and command hooks for hanging the gift bags round it out.
How Do You Turn a Gift Wrapping Station Into a Christmas Morning Command Center?
Once everything is wrapped, take the supplies out of the rolling cart and fill it with what you always need on Christmas morning. I add a roll of trash bags, batteries, screwdrivers (flat head and Phillips), scissors, a hanging bag for bows and ribbons, and paper and a pen to keep track of who gave what so I can write thank you cards later.
For more holiday inspiration and tips, check out some of my other awesome ideas!
- Easy Clay DIY Name Tags
- Copy the pretty garland on my banister
- Recreate a stunning fireplace mantle
- Find the perfect gifts to wrap in The Ultimate Gift Guide for HER
And more!!
Remember, you can do it yourself, but let’s do it together!

Disclosure: This post may contain affiliate links, meaning I get a (very) small commission if you decide to make a purchase through my links, at no cost to you. As a Lowe’s Partner I earn from qualifying purchases. Thank you for your support!
Leave a Reply