Do you want to DIY an easy wreath for your front door this summer? This Lemon Wreath DIY is so easy and SO cute! Here are step-by-step instructions to make your own in under a couple of hours!
The seasons are finally changing and there is nothing more welcoming than a new, bright and fun wreath on your front door!
And how about one that has lemons? They are so bright and fun and the perfect welcoming committee to all who enter your home.
Lemon Wreath Inspration
I was looking for some Spring wreath inspo and I came across the cutest wreath in a catalog that I HAD to have. Here is the inspiration photo. It’s gorgeous, right? And so fun!

But the price tag was almost $200. For a wreath. But the bow doesn’t come with it and if you order it all they send you is a roll of ribbon for $30. And I am all about saving money where I can so I decided to recreate it.
And do you know what happened?
I loved it even more because it turned out beautiful and my lemon wreath only cost me $40 to make!

Supplies list for a DIY lemon wreath
- Grapevine wreath – $4.99
- A faux stem full of several smaller stems of leaves – $6.50
- A bag of faux lemons – $5.00
- Leaf stems – variation of different kinds – $10.00 (faux eucalyptus is amazing)
- Berries stem – $4.00
- Small Flowers stem – $4.00 (for filler)
- Black/white striped wired ribbon – $5.00 (on sale at 50% off)
- Glue gun
- Wire Cutters
- Floral Wire
How to make a lemon wreath
- 1 – Start by changing any decor you don’t like the color of with paint. I couldn’t find any pink berries but I did find some yellow-ish berries so I bought some pink craft paint and added a little water to wash the berries with color to make them more like the inspiration photo. I started to work on the wreath while those dried and they dried fast.

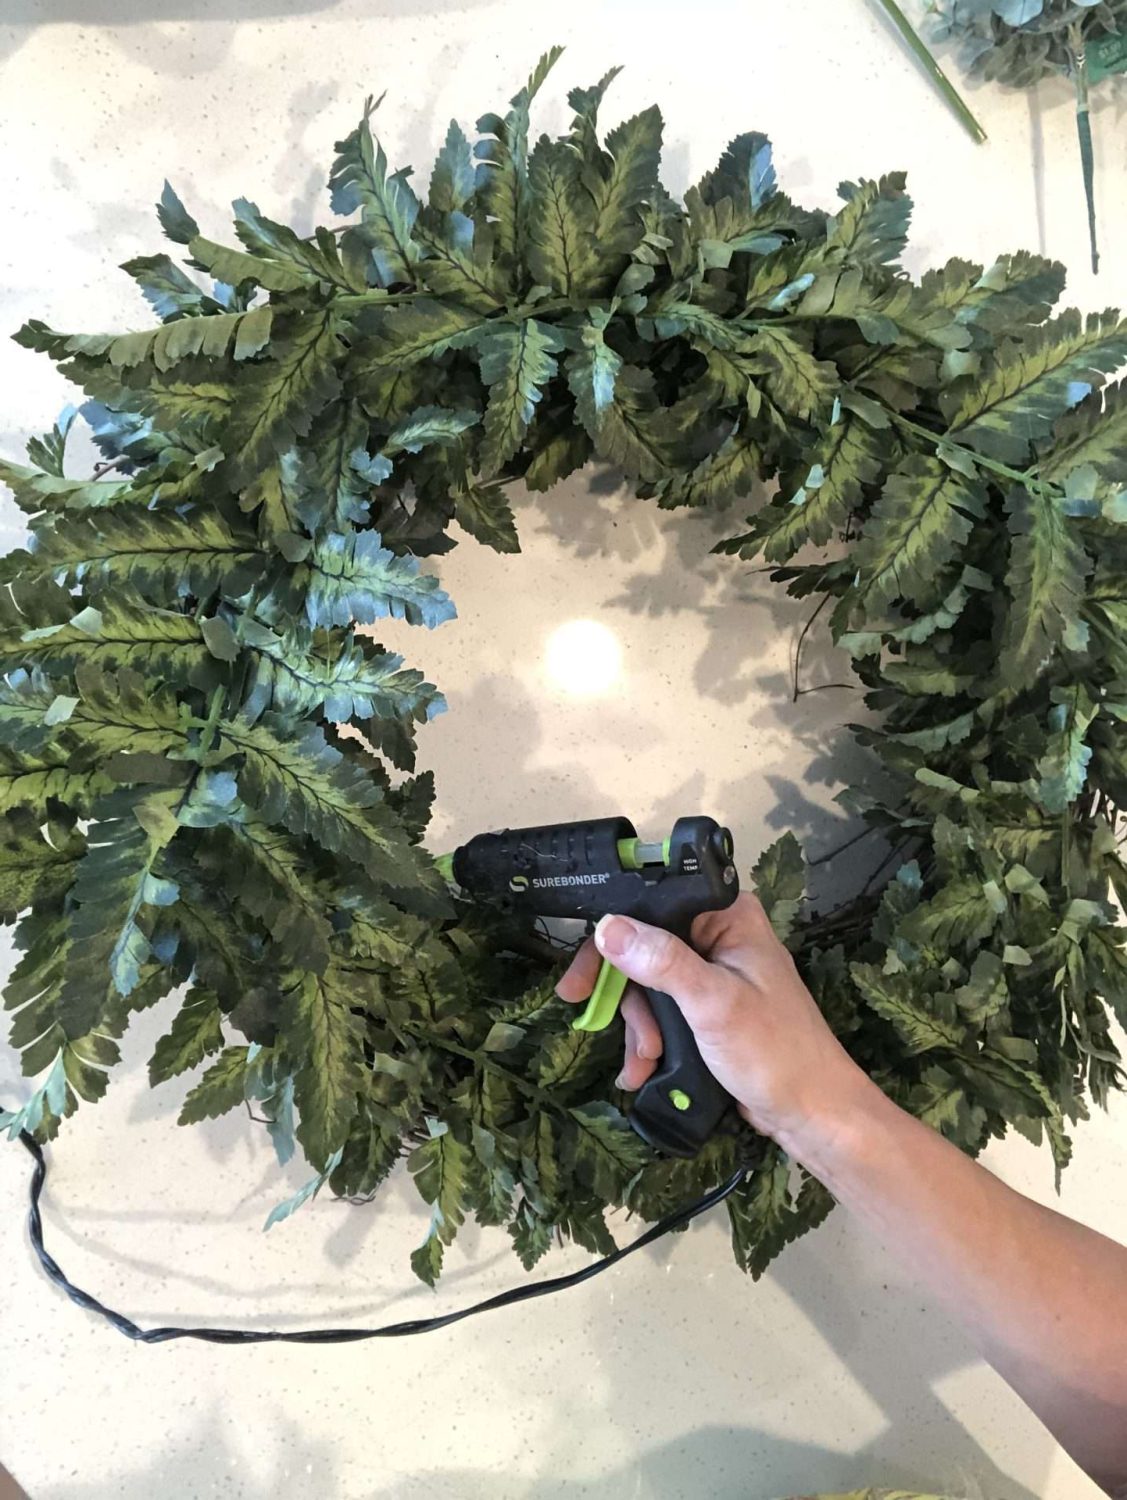
- 2 – I cut apart the largest leafy stem I had, which gave me a lot of smaller stems, and attached them to the wreath with hot glue. This covered the grapevine wreath entirely.
- 3 – Start adding some of the smaller leafy stem picks, the lemons, and the berries.
- 4 – For the eucalyptus (my favorite filler) I cut them apart into three separate stems and filled in any gaps. To make the wreath interesting, add a variation of stems.
- 5 – Leave the top part of the wreath empty other than leaves and stems (no lemons, berries, or flowers). This is where you will attach the ribbon and bow at the end so you won’t see lemons or berries anyway.
- 6 – Once finished adding the stems, lemons and berries, I created a bow and attached it to the wreath with floral wire. The inspiration photo doesn’t have a tail on the bow, but I LOVE a good tail on all of my bows so I made them on mine.
If you need further instruction you can watch the video to see how I constructed this awesome and fun wreath – including the bow. I love the way it turned out!
Watch the video tutorial on how to make a lemon wreath

How to hang your Lemon Wreath on your door

To hang my lemon wreath I used a medium-sized command hook and it worked great!
Later on, I went back took 48″ of that cute striped ribbon, and added it to the top of the wreath. Then I took it up to the top of the door and secured it with a nail to hang it.

The best way to secure your lemon wreath
I quickly learned that whenever someone would open and shut the door the wreath would fly up.
How did I fix that?
I turned a small command hook upside down and attached it to the backside of the bottom of the wreath then secured it to the door.
Now I do this with all of my wreaths, it works like a charm and doesn’t ever damage my door.
Lemon Wreath Reveal
Here is how she turned out. Isn’t she cute? Pretty close to the picture in the catalog!


So fun, right?! Do you like lemon decor? I would love to hear what you think in the comments. And I would love to see YOUR lemon wreath DIY if you make one!

Disclosure: This post may contain affiliate links, meaning I get a (very) small commission if you decide to make a purchase through my links, at no cost to you. As a Lowe’s Partner I earn from qualifying purchases. Thank you for your support!
Leave a Reply