Whether you are finishing a basement bathroom or remodeling a bathroom anywhere in your home, you will want to know my best tips for installing a shower niche. The best part is that it can be done in an afternoon! I am answering all of your questions and offering some encouragement that you can do it, too!
I will start with the honest truth. I was terrified to install a shower niche. I can’t believe I just said those words out loud to you!
I have done a lot, I mean a lot, of large DIY projects with big saws and clamps, built rooms of cabinets from scratch, and tackled lots of things that I didn’t know how to do at first. But this was giving me a little anxiety.
I had just had the walls framed and drywalled and now I had to cut into them. If I was thinking ahead of time I would have had my framers make the opening for my shower niche so I could just pop the prefab niche in, screw it in place, and be on my way.
But I didn’t think about that ahead of time so here I was. Faced with figuring out how to install my niche on my own, knowing that I had to cut the wall and wasn’t sure what was behind the drywall. That was a missed opportunity for sure!
I am usually pretty good about just throwing caution to the wind when I have a large project I am working on and asking myself “What is the worst that could happen?”. But this one was just getting me for some reason.

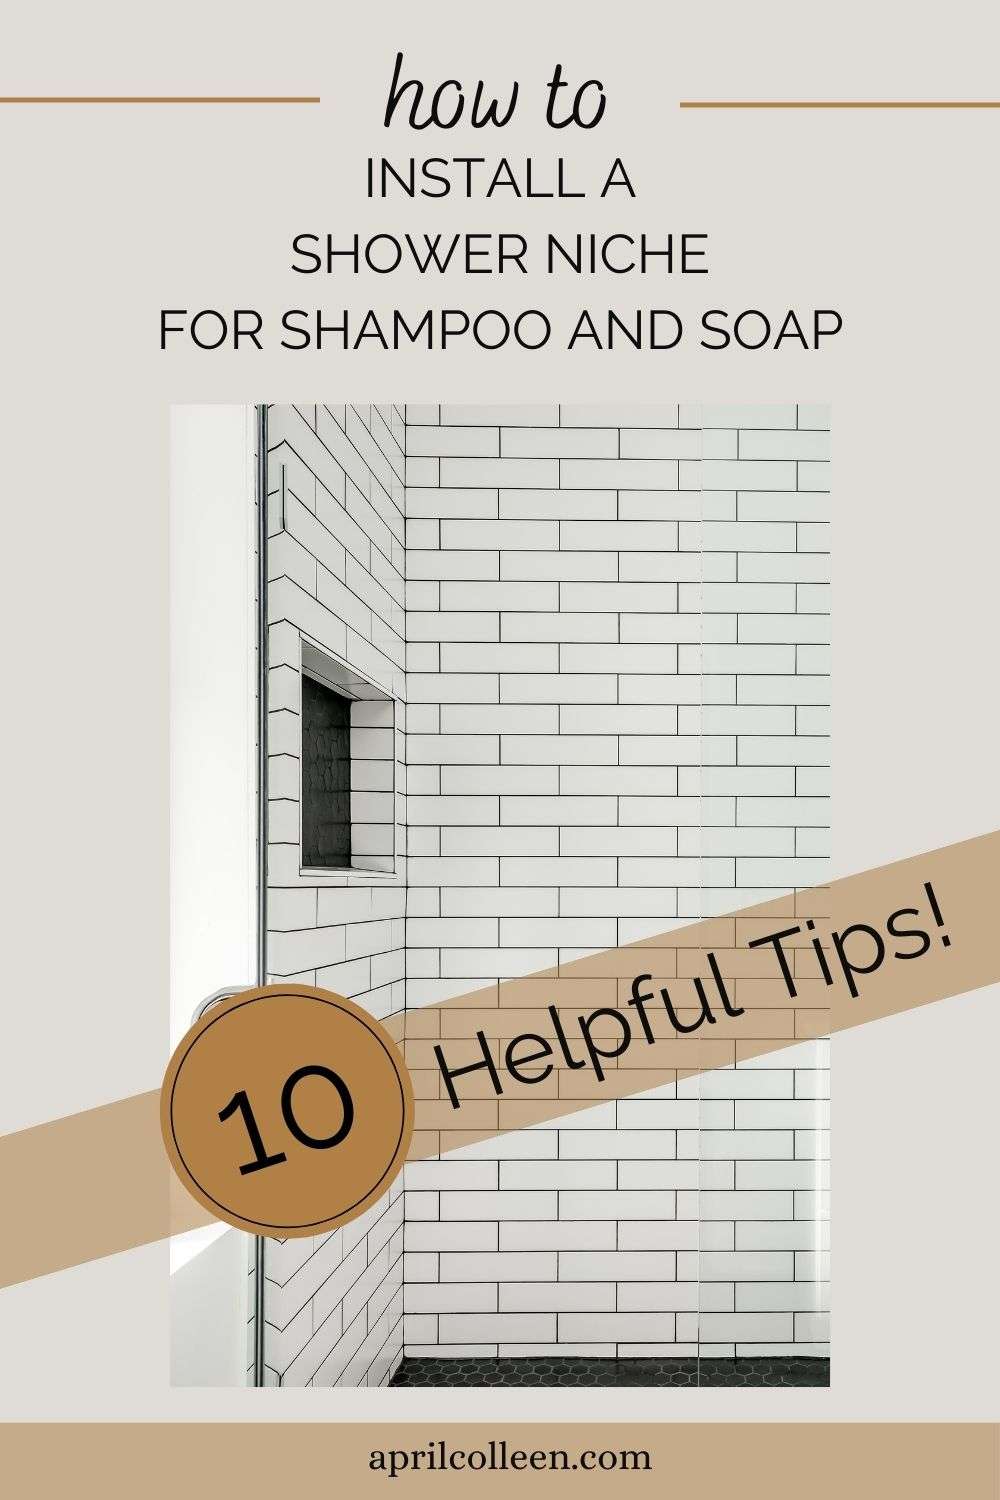
What is a shower niche?

Simply stated, it is a recessed opening in your shower wall that is tiled and will hold your shampoo or soap bottles.
Using decorative but functional bottles in your shower niche can elevate the space and make it aesthetically pleasing to the eye by keeping everything cohesive.
These decorative shampoo and body wash bottles are so pretty and would be great for this! Installing a shower niche to hold these pretty bottles is not that hard.
Choose a waterproof method that will work for you
To determine the kind of niche you need, you will want to choose the method you want to use for waterproofing your shower first. Do you want to try to build one yourself? Do you want to use a prefabricated niche?
There are so many different methods of waterproofing that I didn’t know what I wanted to do. So I went with the one I used on my last shower which is pretty much guaranteed to work. It’s basically foolproof.
I encourage you to do your research when choosing a waterproofing method for your space. Then do what you feel is right for your project and what you can handle.
I ordered this kit and saved a lot of money by ordering it all together from Schluter. Then I ordered the shower niche that went with the kit.
What is the easiest shower niche to install?
A prefabricated shower niche is the easiest to install. You don’t have to worry about making sure it is waterproof in all of the tight little corners as it comes as one solid piece and the waterproofing is already done. You just set it in the opening and secure it with screws.
The alternative is framing in your niche with 2x4s and then filling in with cement board. I have never done that but it is an inexpensive option.
How to choose a prefab shower niche
Once your waterproofing method is chosen you can choose your premade niche.
When I ordered the kit, I also ordered a prefabricated shower niche for shampoo made by the same company. I knew that it would be a seamless installation since it all worked together.
In hindsight, I probably should have done this one instead because I have a teenage daughter and she comes with a lot of “shower stuff”.

Should I install a single or double shower niche?
That depends on how much stuff you have to store in your shower. If it is a shared space then I recommend spending the extra $20 and getting a double.
Hindsight I should have done this! My son shares the bathroom with my daughter and they have different things they need in the shower.
It is also the guest bathroom when we have company in town so I wish I had more space for “things”. Plus it just looks more aesthetically pleasing to have it all in one area tucked away.
Can you have a shower niche on an external wall?
Across the board, the answer to that is no.
Once you cut into the wall you only have so much space between your shower drywall and the outside wall of your house. That space on an exterior wall is taken up with important insulation that needs to be there.
You can put your niche on any other wall. Even if you have a half wall with glass you can place a niche in there! I did this in my last house and loved it! Nobody ever saw the shampoo bottles and it always looked so clean!
How high to install a shower niche
That is a great question with a simple answer. You can put it at whatever height you want!
It is totally customizable. I am 5’2″ so I would choose to have one at about eye level or at the height of my reach. But my kids are taller than me so I placed it higher for them.
If you are doing a double niche you will also want to consider that when deciding on a height. You don’t want the bottom niche to be at your kneecaps.
What do I do if there are studs in the way of my shower niche?
Ideally, you would want to frame for your niche before installing any gypsum or cement board. But, you can cut them away and add bracing for your prefab niche if you run into studs once you open up your wall.
How to add bracing when installing a shower niche
Once you open up your wall you might find a stud in your way or that you don’t have somewhere to screw your niche into on the sides because there is no stud there.
If you need to remove part of a stud then you will need to brace the top and bottom where you removed the stud. You will need to make the can add that measurement to the top
The true measurement of a 2×4 is actually 1.5″ x 3.5″, even though it says 2″ x 4″.
When this happens you can add a stud vertically on the side by cutting a piece (or a couple of pieces) and nail it into the other studs in the wall towards the opening until you have built it out enough to screw your niche into.
Supply list for installing a shower niche
- Prefab niche of your choice
- Tape measure
- Pencil/pen
- Multi-tool
- Reciprocating Saw (or other saw) to remove any studs in your way
- Drill with screwdriver bit
- Screws
- nail gun if necessary to add studs
Steps to installing a shower niche
- Choose the prefab niche you want to use based on the waterproofing method you chose.
- Place the niche where you want it on the wall with the back facing towards you and trace around it.
- Using a multi-tool, put on a mask and cut along the traced lines to remove the cement board.
- If there are studs in the way once you open it up, take a reciprocating saw and remove the parts of your studs that are in the way. (Don’t worry, you can frame it back in for support if needed.)
- If you remove a piece of a stud you will need to add cross braces for support of your studs. You can do this by cutting away more of your cement board.
- Add any new pieces of 2×4 if your niche doesn’t have a place to screw into.
- Insert the shower niche into the opening and make sure it is level.
- Screw it into place.
Installing a shower niche in my bathroom
The inset part of the niche will be recessed into the wall in between the studs. The surrounding frame will lay against and screw into studs. It will need to be able to screw into a stud on either side and the top and bottom so when you remove the drywall and screw in the prefab niche it will be flush with the drywall and easy to waterproof and tile over.
First I decided on where I wanted the niche to go and traced around to give me a line to cut along.

Then I took my Dremel Mulit-Tool and cut the gypsum board along the lines of the traced niche and removed the board. I was careful not to cut too deep and hit any possible water or electric lines hidden behind the wall. I didn’t think there was anything behind the drywall, but didn’t want to find out.
If you have to cut any drywall ever, you will need to wear a mask. I got really sick (almost pneumonia) with my basement reno 8 years ago because I wasn’t as vigilant about wearing a mask. I will never do that again!

Once the board was removed I saw that there was a stud right where my niche needed to go in the center of the wall. That was awesome. So I took my reciprocating saw and cut that portion out.
How to move studs when installing a shower niche
Since I had the basement framed I knew the framing was only for the drywall to attach to and wasn’t bearing any weight, so I wasn’t worried about cutting one little piece of stud out.

If you have to do this you will need to add a piece of 2×4 across the top and bottom that is as wide as your niche creating a 4-sided box so that your prefab niche can screw into the studs. You will need to remove more drywall to accommodate for the extra wood you need to add. Does that make sense?
Since a 2×4 will be placed at the top and bottom to create the box, and a 2×4 thickness isn’t actually 2″ it is 1.5″, you will need to remove 1.5″ of drywall at the top and also at the bottom (a total of 3″). Then cut out your stud and add the braces. You can screw or nail these in!
How to frame for a shower niche after moving a stud
To make it simple, and if you’re using a prefab shower niche, once you know you need to move a stud and reframe, measure up 1.5″ up and 1.5″ down from the outline you made of your niche when you traced around it. Then draw a new level line. That is the drywall that you will need to remove from the top and bottom to make it work for the new cross studs you will add.
When I opened up the wall I also saw that the right side of my niche didn’t have anything to screw into so I had to build out the side with an additional 2×4 piece. To do that I nailed a 2×4 piece to the stud that sat just inside the opening to bring it out enough to be able to screw the niche into. You may need to keep adding stud pieces until you have the opening built out enough.

How to secure a shower niche
Once you have the niche set in the wall opening, take a small level and lay it on the bottom of the shelf. Once you have moved the niche so that it is level, simply attach it in place to the studs behind it with a few screws to secure it.
With this system, I didn’t need to worry about the gaps between the niche and gypsum board. I would be taking steps later in the waterproof prep that would take care of this for me.

Tiling a shower niche
Once you have the niche and entire shower waterproofed according to the method you chose, you can begin your tiling! I suggest tiling the bottom of your shower walls up to the place where your niche is so you can tile around the niche as you go.
I have made a list for you of all of the tools you will need to tile your shower or floor.
I opted to keep it clean and tile inside the niche with the simple white, classic subway tiles I was installing in the whole shower. When installing them I also opted to keep the same pattern going inside the niche as the walls so it looked seamless to the rest of the shower.

Some other options I could have done is incorporate a bottom ledge of marble that would have tied the marble shower floor into the wall or added the darling, hand-painted bathroom floor tile to the back of the niche.
It is personal preference and there are so many creative things you can do with design. It is a great place to add a little fun character!
Inside corner tile trim
There are different methods you can use to finish off the edges of a tile shower niche. I chose to use Schluter tile edging trim in white. I just measured the sides, top, and bottom of the opening then cut the trim to fit with 45-degree angles at the corners. Then I ran the tile to the edges of the niche.
The only note is that you need to pay attention to the type of tile edge trim you are buying. There are different kinds for different tile applications and edges. You will notice that this one just has one edge the tile goes against.


I chose a white edge to match my tiles, but you could do a contrasting metal edge to make it pop!
I love the way this looks!

You can also buy matching bullnose tile or decorative edge tiles to finish the edges of your niche. The possibilities are endless!

All in all, installing a shower niche is pretty simple once you get past the fear of how to do it. You can use it as an opportunity to keep it simple and classic or add some color or interest to your space!
I hope you found encouragement here. There are so many possibilities and I can’t wait to see what you do. Did you learn something new or do you think you can tackle this project now? Let me know in the comments below!

Disclosure: This post may contain affiliate links, meaning I get a (very) small commission if you decide to make a purchase through my links, at no cost to you. As a Lowe’s Partner I earn from qualifying purchases. Thank you for your support!
Leave a Reply