Sharing how to make an easy DIY stand for your construction foam board arch backdrop. Perfect for parties or any event!
The easiest way to build a DIY foam arch backdrop stand is with 1-inch PVC pipe and elbow connectors from your local hardware store. You can build three sturdy, reusable stands in about an hour, with no glue and no power tools required.
When I set out to make foam backdrop arches for my daughter’s baby shower, the part that stressed me out the most wasn’t the arches themselves.

It was figuring out how to actually make them stand up!
I needed them to be strong and sturdy enough to hold the arches up, but not too bulky or heavy, and break down easily for storage.
So I scoured the internet for stands, and I couldn’t find what I wanted. At all.
I found this backdrop display stand, which is actually nice, but I didn’t want to spend that much money on ONE stand.
And then one day I walked into Lowe’s, stared at the PVC pipe aisle, and thought… wait. I can just build this myself!
But the question was, will they be strong enough to hold everything up?
Spoiler alert: They are!
Looking at the 1″ pipe gave me pause because it didn’t look sturdy. But once I built them, they absolutely are!
And this is the one tool you need to make this the easiest DIY ever!
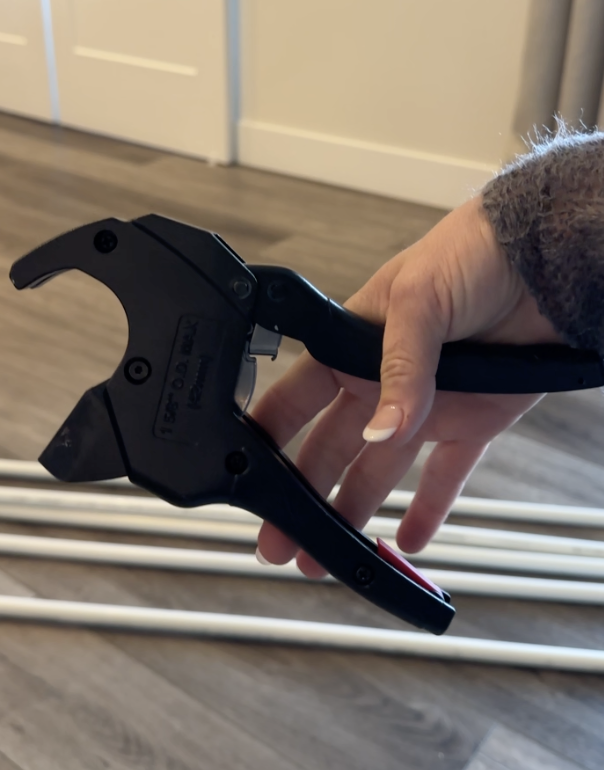
These PVC foam arch stands go together in minutes, cost a fraction of store-bought options, and store flat in a bin when you’re done. Whether you’re setting up for a birthday party, a baby shower, a graduation, or just because you want something beautiful in your backyard, this is the project for you.
And yes, you can absolutely do this.
Supply List to Make Your Budget-Friendly Arch Stands
We’re keeping it simple and budget-friendly.
Everything on this list is available at Lowe’s and should cost you under $50 for all 3 stands. You can order it all ahead of time and pick it up!
- 1″ PVC pipe (buy 5 pieces at 10′ each)
- PVC pipe cutter
- 3-way 1″ PVC elbows (buy 6)
- 90-degree 1″ PVC elbows (buy 12)
- Duct tape in your color of choice (white looks clean and polished)
- Optional: sand (to add weight to the base pipes)
- Rubbing alcohol (Use it to remove any of the black writing on the pipes!)
Your Pipe Cut List
First you want to clean them!
These pipes have been in the hardware store and are dirty! Ask me how I know.
Take a few minutes before you begin to wipe them down with a soapy rag.
This is where a little prep work up front saves you so much time.
Before you start assembling, cut your pipes to these lengths using your PVC pipe cutter. (Seriously, it’s easier than you think.)
**The pipe cutter is a ratchet-style cutter, so it will not just cut the first time you pull the trigger. You will hear it “click” every time you pull down on the trigger.
Keep pulling the trigger to activate the blade until it reaches the pipe, then it will cut right through!**
Large Arch Stand
- 2 pipes at 72″ (these are your tall vertical pieces)
- 3 pipes at 24″ (for the base, side to side)
- 2 pipes at 12″ (for the base, front to back)
- 2 three-way elbows
- 4 corner (90-degree) elbows
Small Arch Stand
- 2 pipes at 48″ (tall vertical pieces)
- 3 pipes at 16″ (base, side to side)
- 2 pipes at 12″ (base, front to back)
- 2 three-way elbows
- 4 corner (90-degree) elbows
Pro Tip: Before you start assembling, consider filling your base pipes with sand and capping the ends with duct tape. This adds weight to the bottom of your stand so it won’t tip over. If you’re using your arch outdoors or in a busier space, this step is absolutely worth it.
How to Put Your Simple Stand Together
Here’s the thing I want you to remember as you read these steps: this is just pipes and connectors. There’s no glue. No power tools. No complicated measuring. If something doesn’t fit right, you can pull it apart and try again. You’ve got this.
- Build your base. Start with your two shortest pipes (the 12″ ones) going front to back, and your medium-length pipes going side to side. This will create a rectangular base that keeps your stand stable and upright.
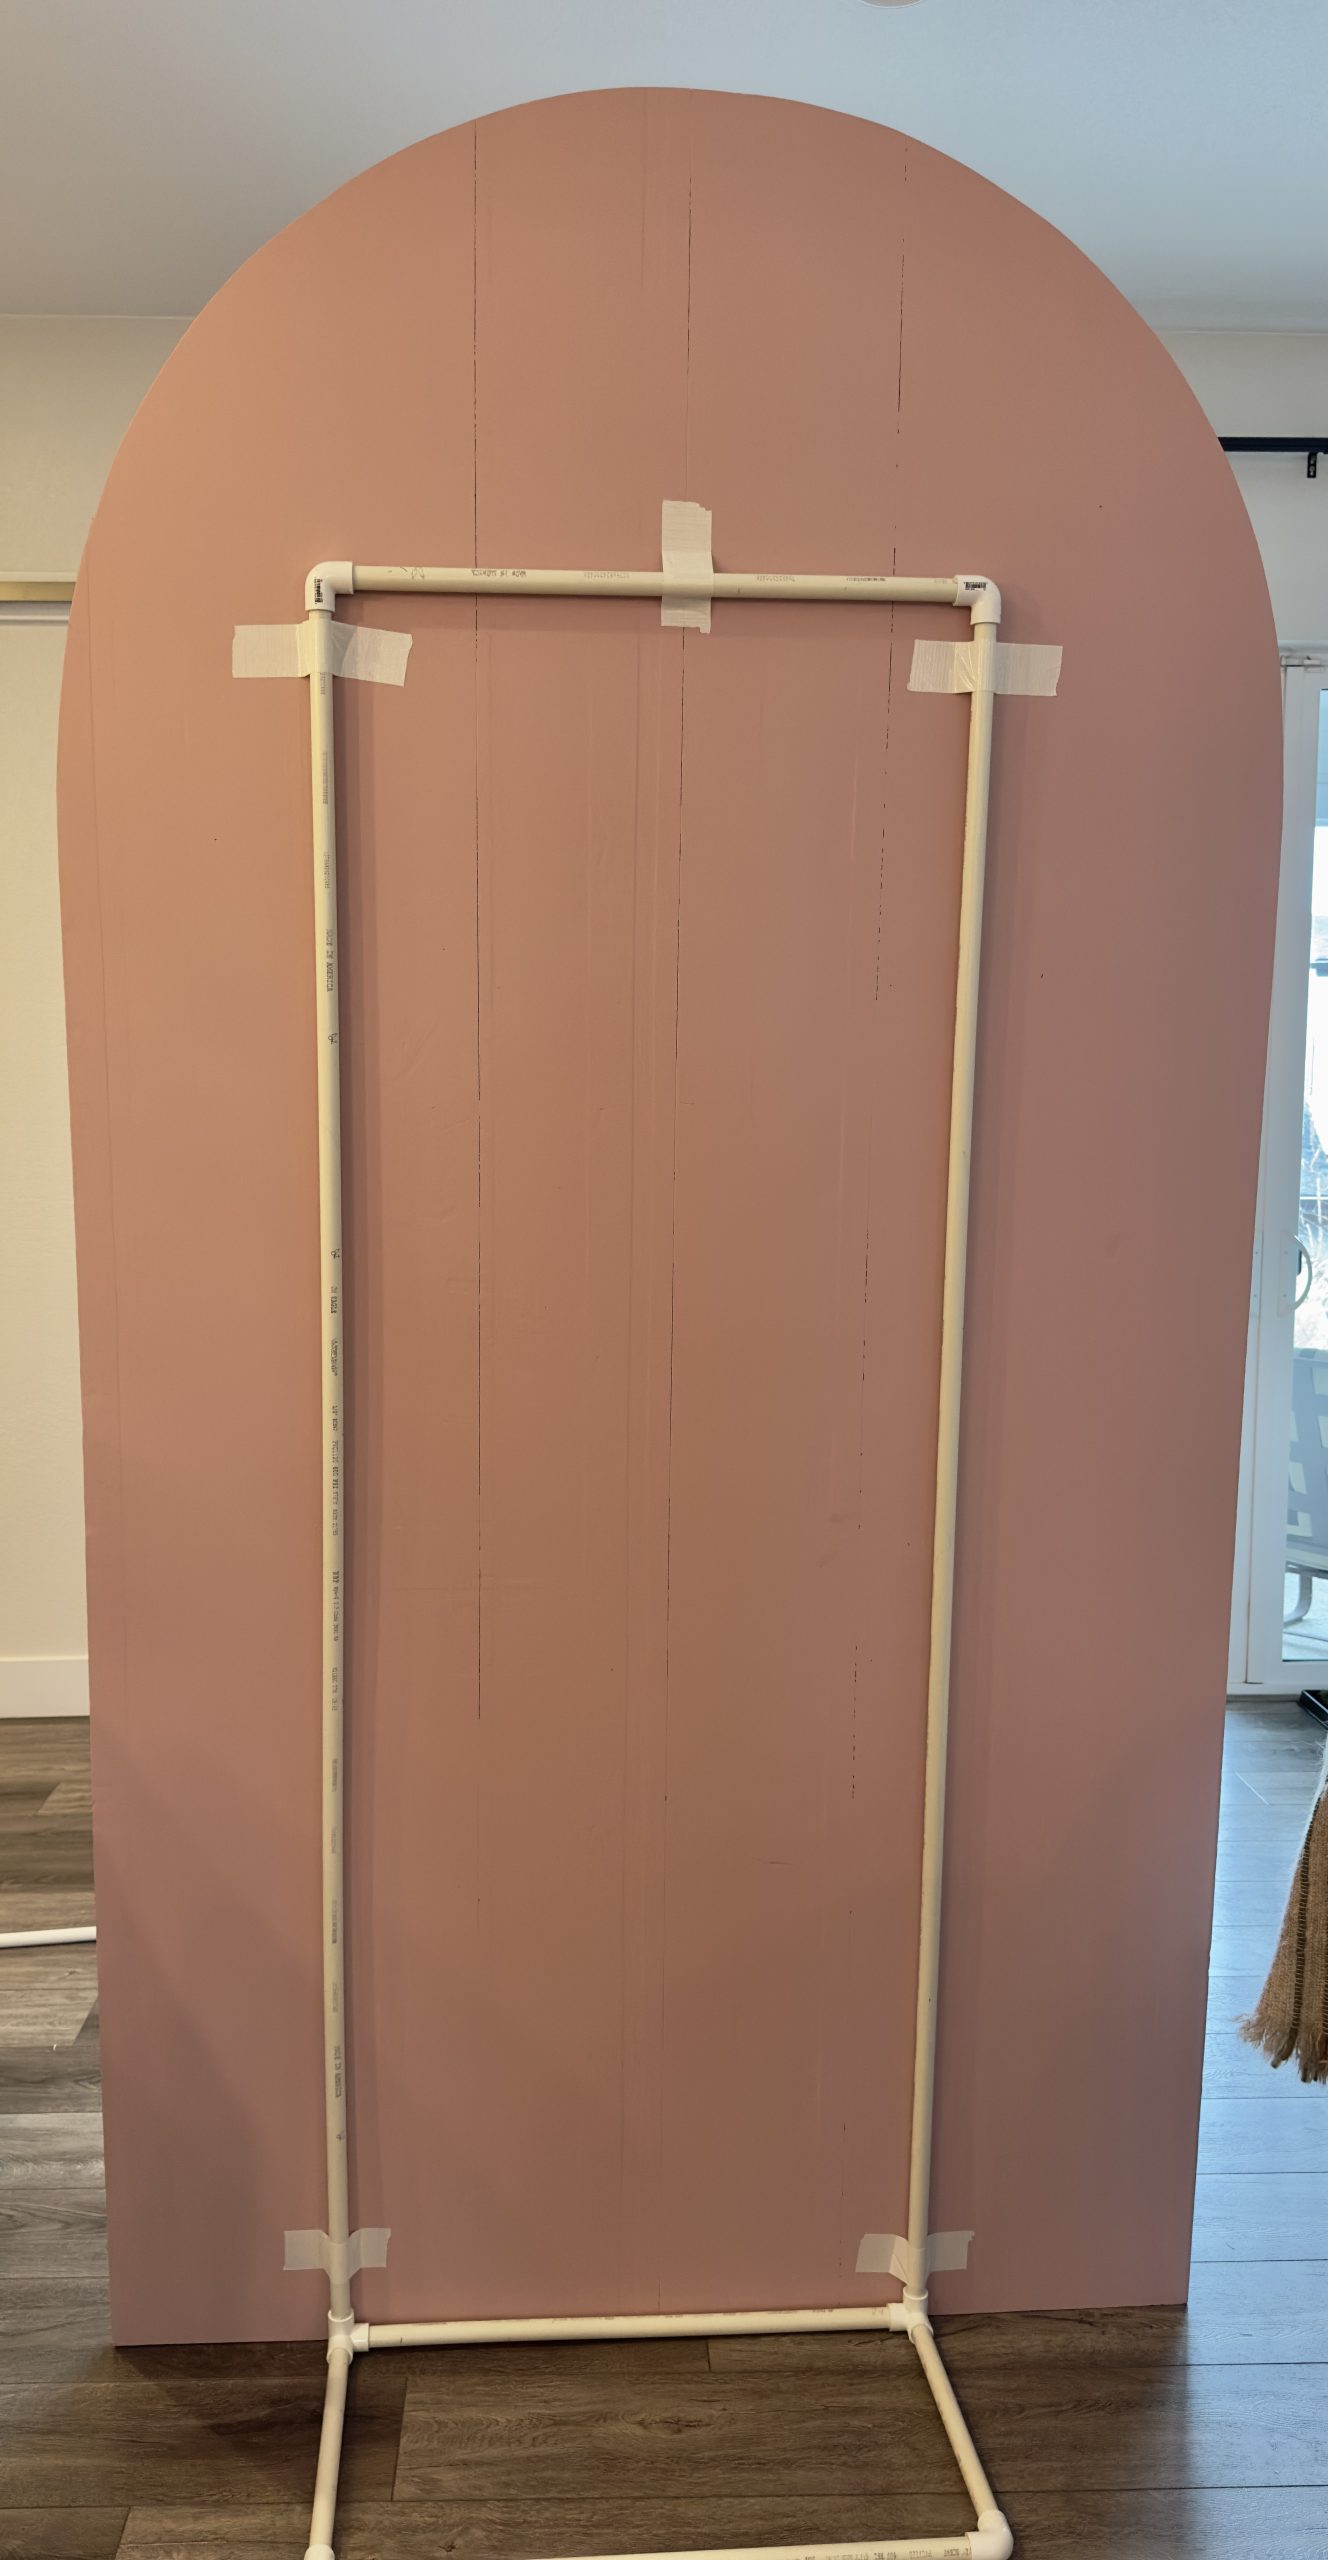
- Connect your 3-way elbows to the shortest pipes. These are the key piece! The 3-way elbows sit at the two back corners of your base and point upward so you can insert your tall vertical pipes.
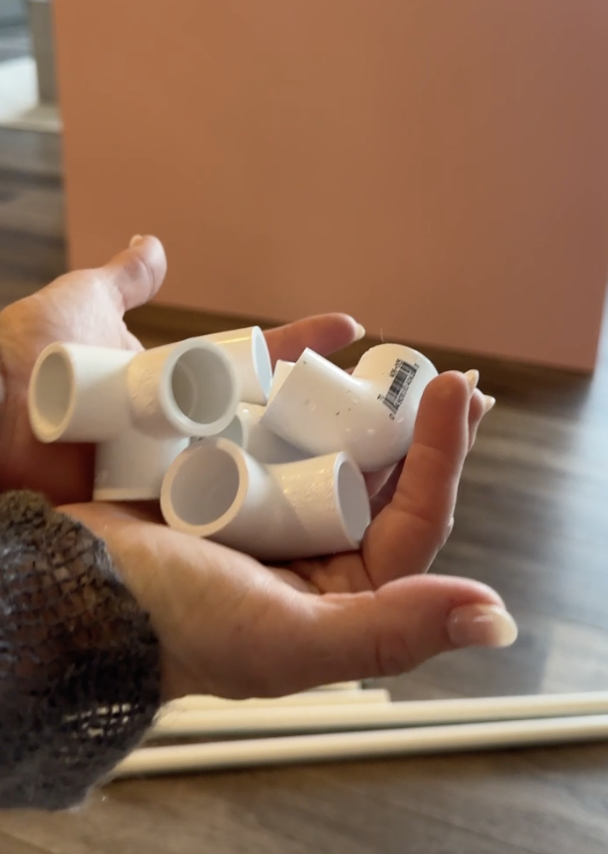
- Use 90-degree corner elbows at the front corners. These connect the front pieces of your base with a medium-length pipe and keep everything locked in at a clean right angle.
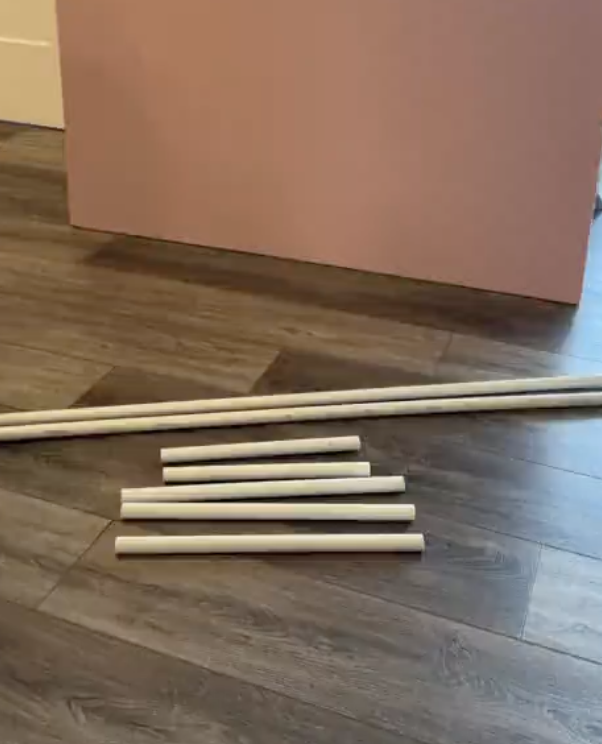
- Insert your tall vertical pipes into the 3-way elbows. These are what your foam arch will be attached to. For the large stand, these are your 72″ pieces. For the small stand, these are your 48″ pieces.
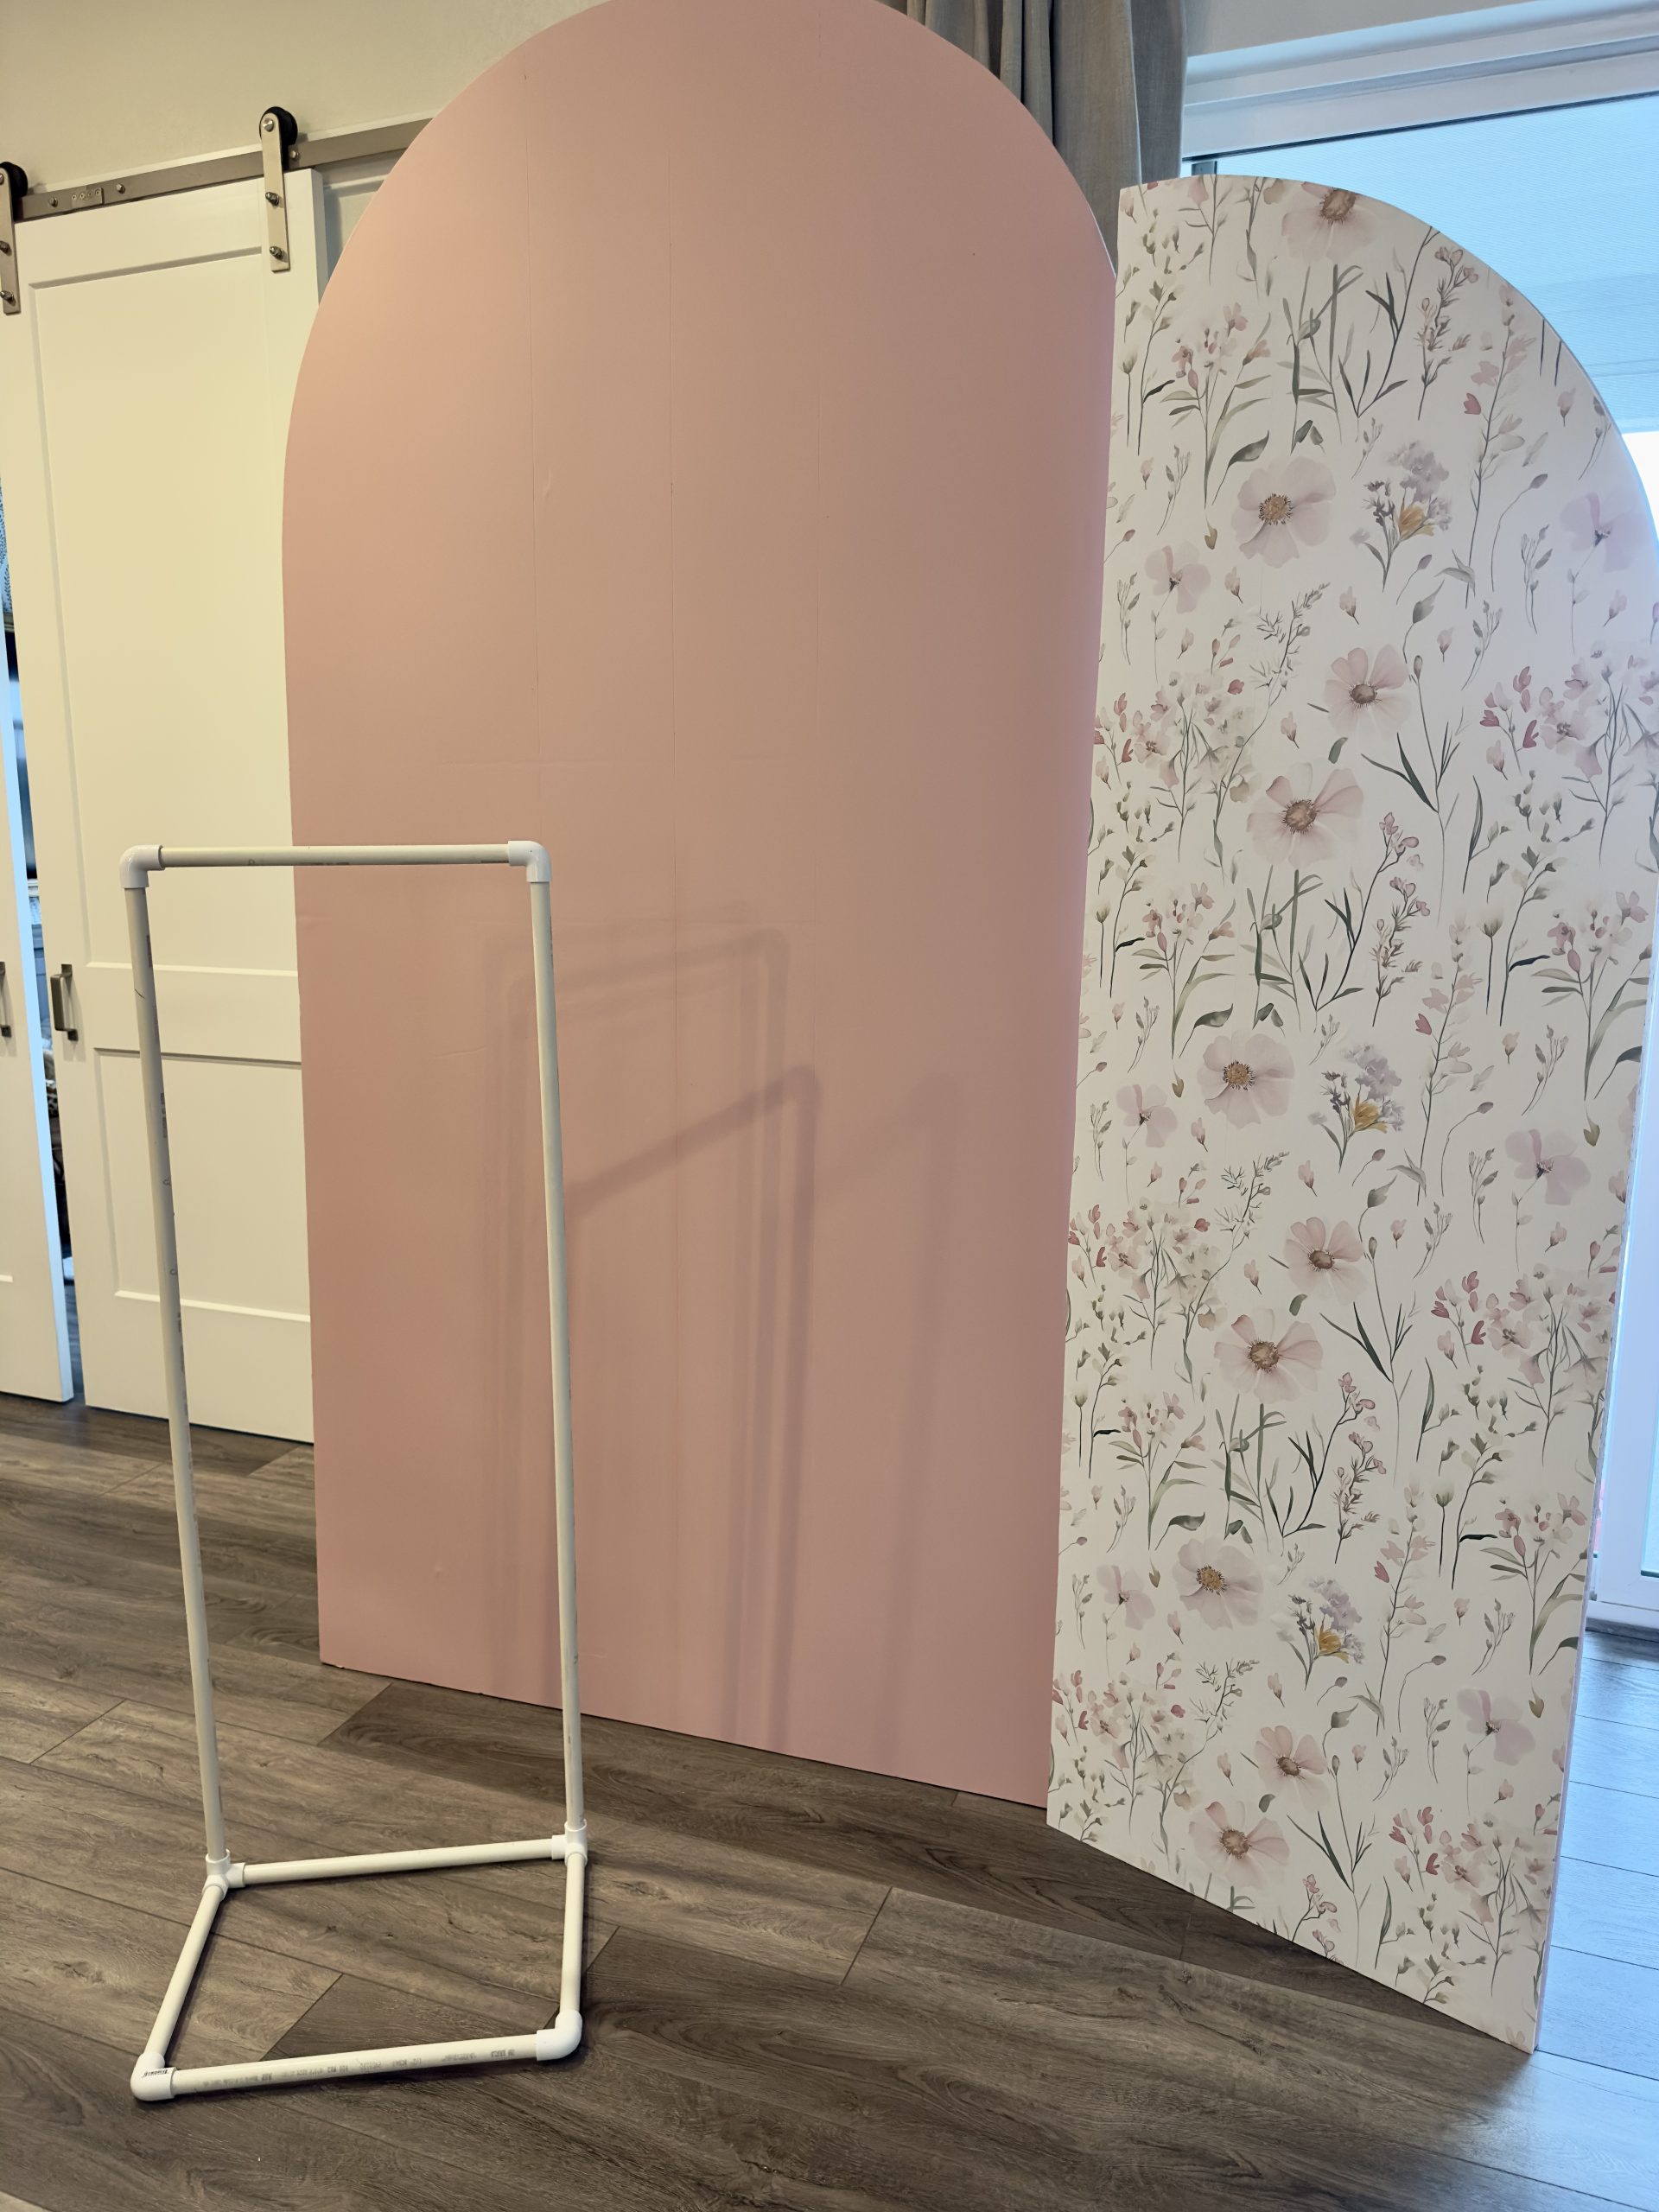
- Step back and admire your work. Seriously. You just built a stand. From scratch and in minutes. Out of hardware store supplies.
- Attach the stand to the board with duct tape. It comes off easily.
How to Store Your DIY Foam Arch Backdrop Stand
This is one of the best parts of this DIY.
When the event is over, just pull it all apart. The pipes stack flat, and the connectors toss right into a bin. No wrestling with bulky store-bought stands, no wondering where to put this giant, awkward thing in your garage. It’s tidy, it’s organized, and it’s ready for next time.
Watch the video below to see how I created these stands!
No Title
No Description
FAQs
Do I need to glue the PVC pipes together? Nope! That’s one of the best things about this project. The elbows hold everything snugly in place, and keeping it unglued means you can pull it all apart and store it flat when you’re done. No glue, no mess, no permanence.
What size PVC pipe do I need? You’ll want 1″ PVC pipe. That’s the size that fits the 3-way and 90-degree elbows called for in this project. Grab five 10-foot pieces, and you’ll have plenty to cut all the pieces for both a large and 2 small stands.
Can I make these stands shorter or taller? Absolutely. The beauty of this build is that you can customize the vertical pipe length to match whatever size arch you’re working with. Just adjust the length of your tall pieces up or down and keep the base the same.
Will the stand tip over? If you’re using it indoors on a flat surface, it’s quite stable on its own. If you want to add a little weight to them, fill those base pipes with sand before you seal the ends with duct tape. But if you’re setting up outside, on grass, or in a high-traffic area, try adding a handweight or something heavy on top of the base part of the stand. That added weight makes a big difference.
How many arches can one stand hold? Each stand supports one arch. So if you’re doing a double arch setup or want arches in multiple spots, you’d just build more stands. The good news is the materials are so affordable that building two or three sets is still very budget-friendly.
How long does it take to put together? Honestly? Once your pipes are cut, assembly takes just a few minutes. The cutting takes a little longer, but a PVC pipe cutter makes it much easier than you’d expect. This is a great project to knock out the afternoon before your event.
Where do I buy the supplies? Everything you need is at Lowe’s (or your local home improvement store). Look for the PVC plumbing section; you’ll find the pipes, elbows, and a pipe cutter in the same aisle.
Can I reuse these stands? Yes, and that’s exactly the point! Pull them apart after the party, toss everything in a bin, and they’re ready for next time. Or detach them from the arches and stack them in a corner. These stands will pay for themselves after just one or two uses.
You Don’t Have to Have It All Figured Out to Start
Your DIY foam arch backdrop stand is reusable, budget-friendly, and easy to store. Just order everything online with my links and pick it up at your local Lowe’s OR write down the supply list in this post, and you will be able to get everything in one trip. It is that easy!
Here’s what I know: the only thing standing between you and a beautiful arch display is the decision to try. The supplies are inexpensive. The process is forgiving. And the satisfaction of building something with your own hands? That feeling doesn’t get old.
So grab your cart, head to Lowe’s, and let’s build something beautiful.
Disclosure: This post may contain affiliate links, meaning I get a (very) small commission if you decide to make a purchase through my links, at no cost to you. As a Lowe’s Partner I earn from qualifying purchases. Thank you for your support!
Leave a Reply