Inspiring you to make your own DIY arch photo backdrop that is lightweight and portable for a photo shoot, party, baby shower, bridal shower or any event! Display them on their own or add balloon clusters to level up. This is one of the easiest DIYs I have ever done, and I am going to show you how!
The Story Behind This DIY
My daughter’s friends were throwing her a baby shower, and they had everything handled.
Except for the photo backdrop.
They knew how handy I am, so they reached out to me to see if I could come up with something, and of course, I was excited to create this for them and help take my daughter’s baby shower to the next level!
I couldn’t say NO!
They gave me complete freedom, sent the inspiration photo over, and I got to work getting creative!
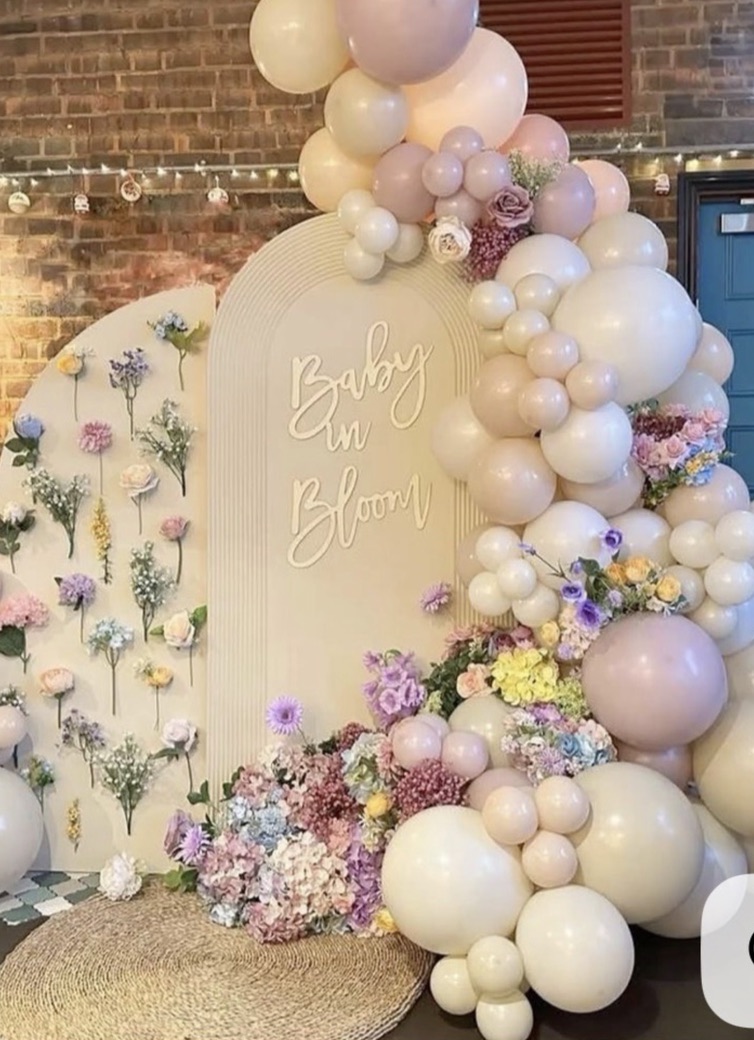
Here’s what I knew going in:
- I didn’t want anything too heavy to move around.
- I needed them to be large.
- I didn’t want it to be too difficult of a DIY.
- I didn’t want it to be too expensive.
- I needed one full arch and two half arches
The answer? Construction foam arches. Simple, lightweight, affordable, and honestly, they look incredible.
Why Construction Foam Is a Good Choice for Any Photo Backdrop
Construction foam (also called rigid foam insulation board) is one of those materials most people walk right past at the hardware store without a second glance. But once you discover what it can do for event décor, you’ll never look at it the same way again.
Here’s why it works so well for backdrops:
- Lightweight – Easy to move, transport, and reposition on the day of the event.
- Large panels – Each sheet comes in 8′ x 4′, which means you can make genuinely dramatic, large-scale arches without piecing together a bunch of smaller materials.
- Easy to cut – A basic utility knife or serrated knife is all you need. No power tools required. (Although I used a jigsaw to cut mine.)
- Affordable – Compared to buying or renting a backdrop, this is a fraction of the cost.
- Paintable – It takes wall paint and craft paint beautifully, so you can match any color palette or theme.
You can find it at Lowe’s in the construction materials section, near the wood, fencing, and cement supplies. Ask an associate if you’re not sure.
Supplies You’ll Need to DIY this Photo Backdrop
(Adjust quantities based on how many arches you want to make)
- 1″ Construction foam panels (8′ x 4′) at Lowe’s in the construction materials section
- A long, straight edge or yardstick, even a long 48″ level will work
- Tape measure(this one is my absolute favorite)
- A marker
- String
- A pushpin or something to hold the string to the foam board
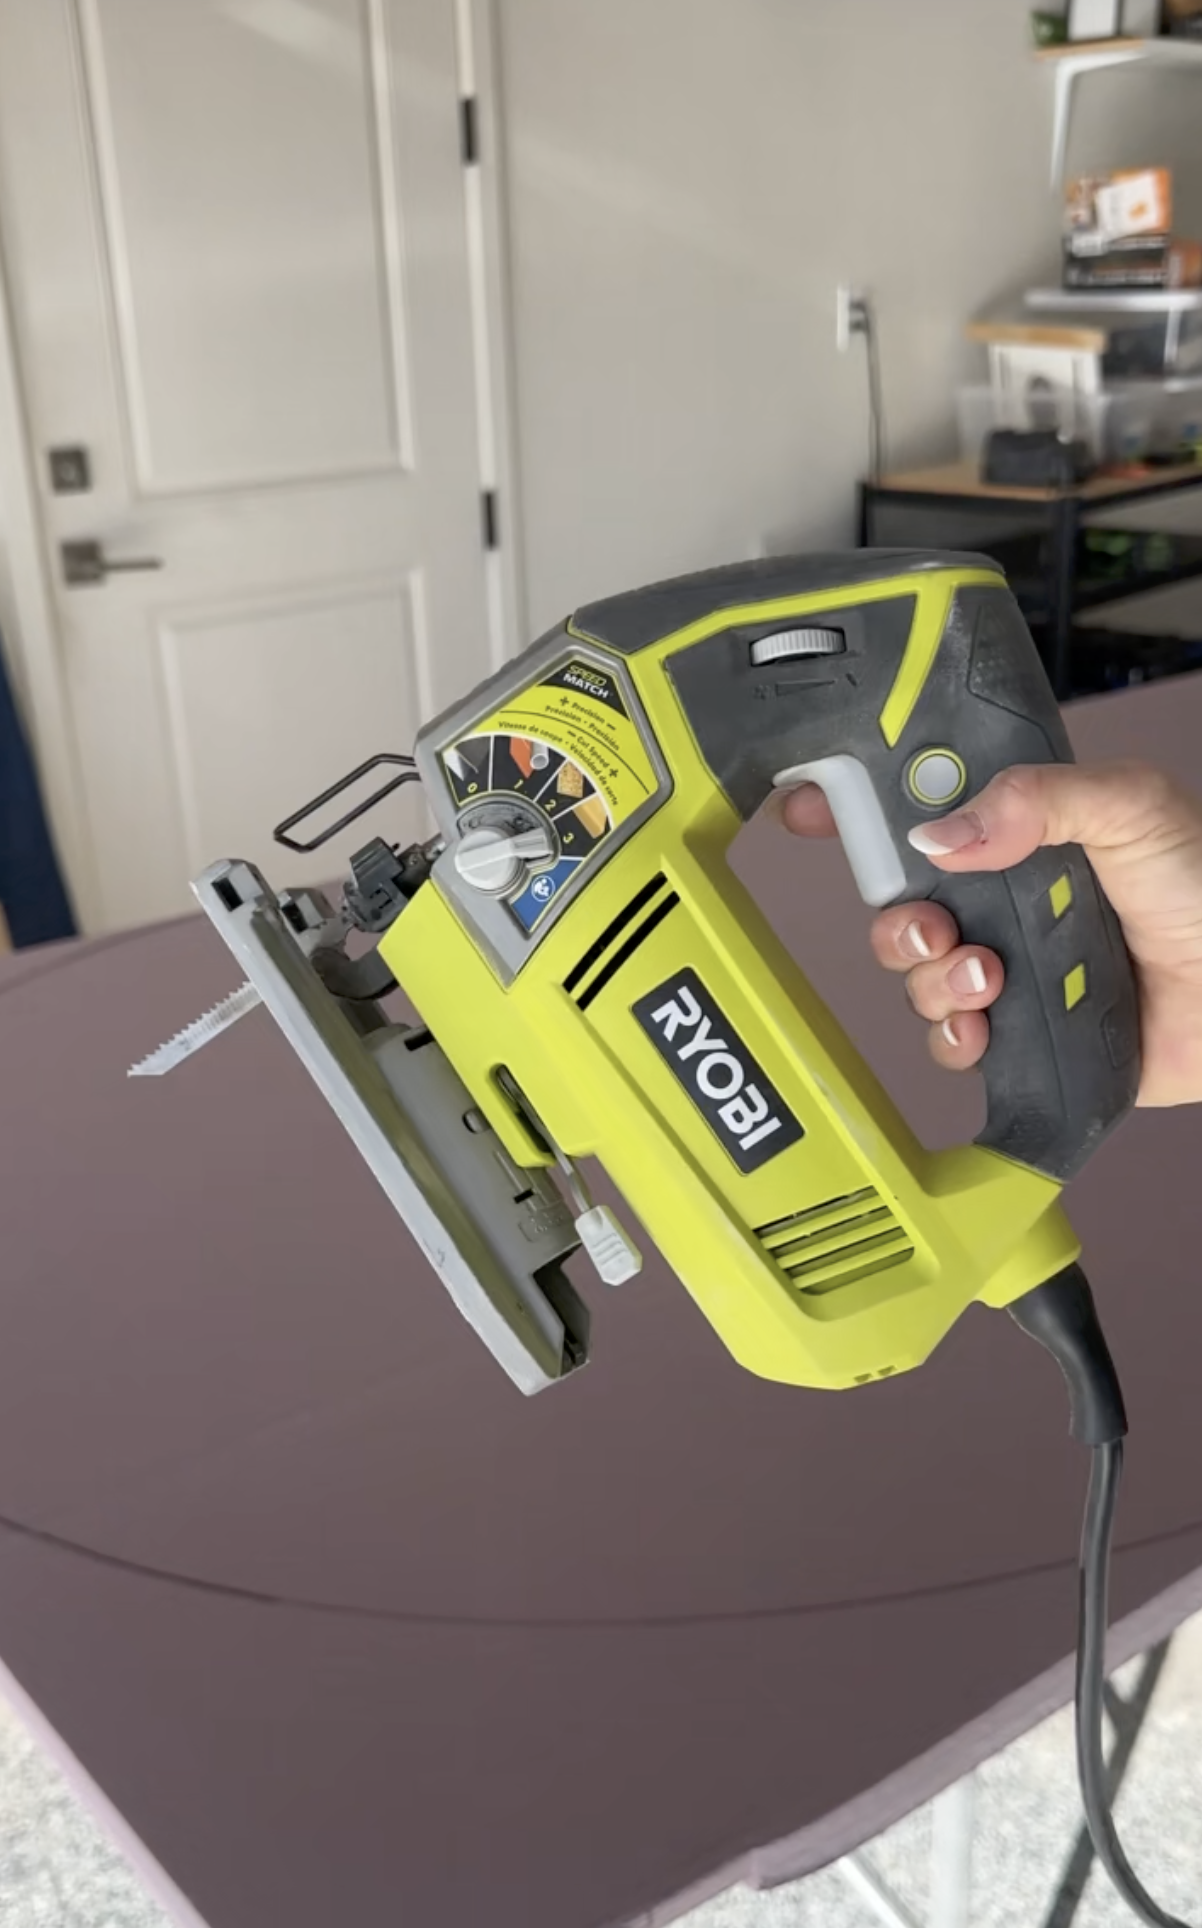
- Jigsaw (this is what I used, but it is optional)
- A sharp utility knife or serrated bread knife (if you aren’t using a jigsaw)
- Sandpaper (220 grit for smoothing edges)
- Wall paint/primer-in-one in color of choice
- Paint pan
- Paint Roller
- Mask (use when you cut and sand the edges of your foam board)
- Floral Wallpaper
- Letters “Baby in Bloom“
How to Make Your Curved Photo Backdrop
Step 1: Plan Your Shape
Sketch out your arch shape before you cut.
On the foam board, you will see a line that runs down the center of it, giving you 24″ on either side of that line.
Measure 24 inches down in that line from the top and make a mark.
Next, use a string and marker as a makeshift compass to draw a smooth, even curve on your foam panel.
To do this, cut the string and tie one end to a marker. Either hold the other end of that string on the center mark you made, or use a little pin to hold it to the foam, and sweep it across the foam board from one side of the board to the other.
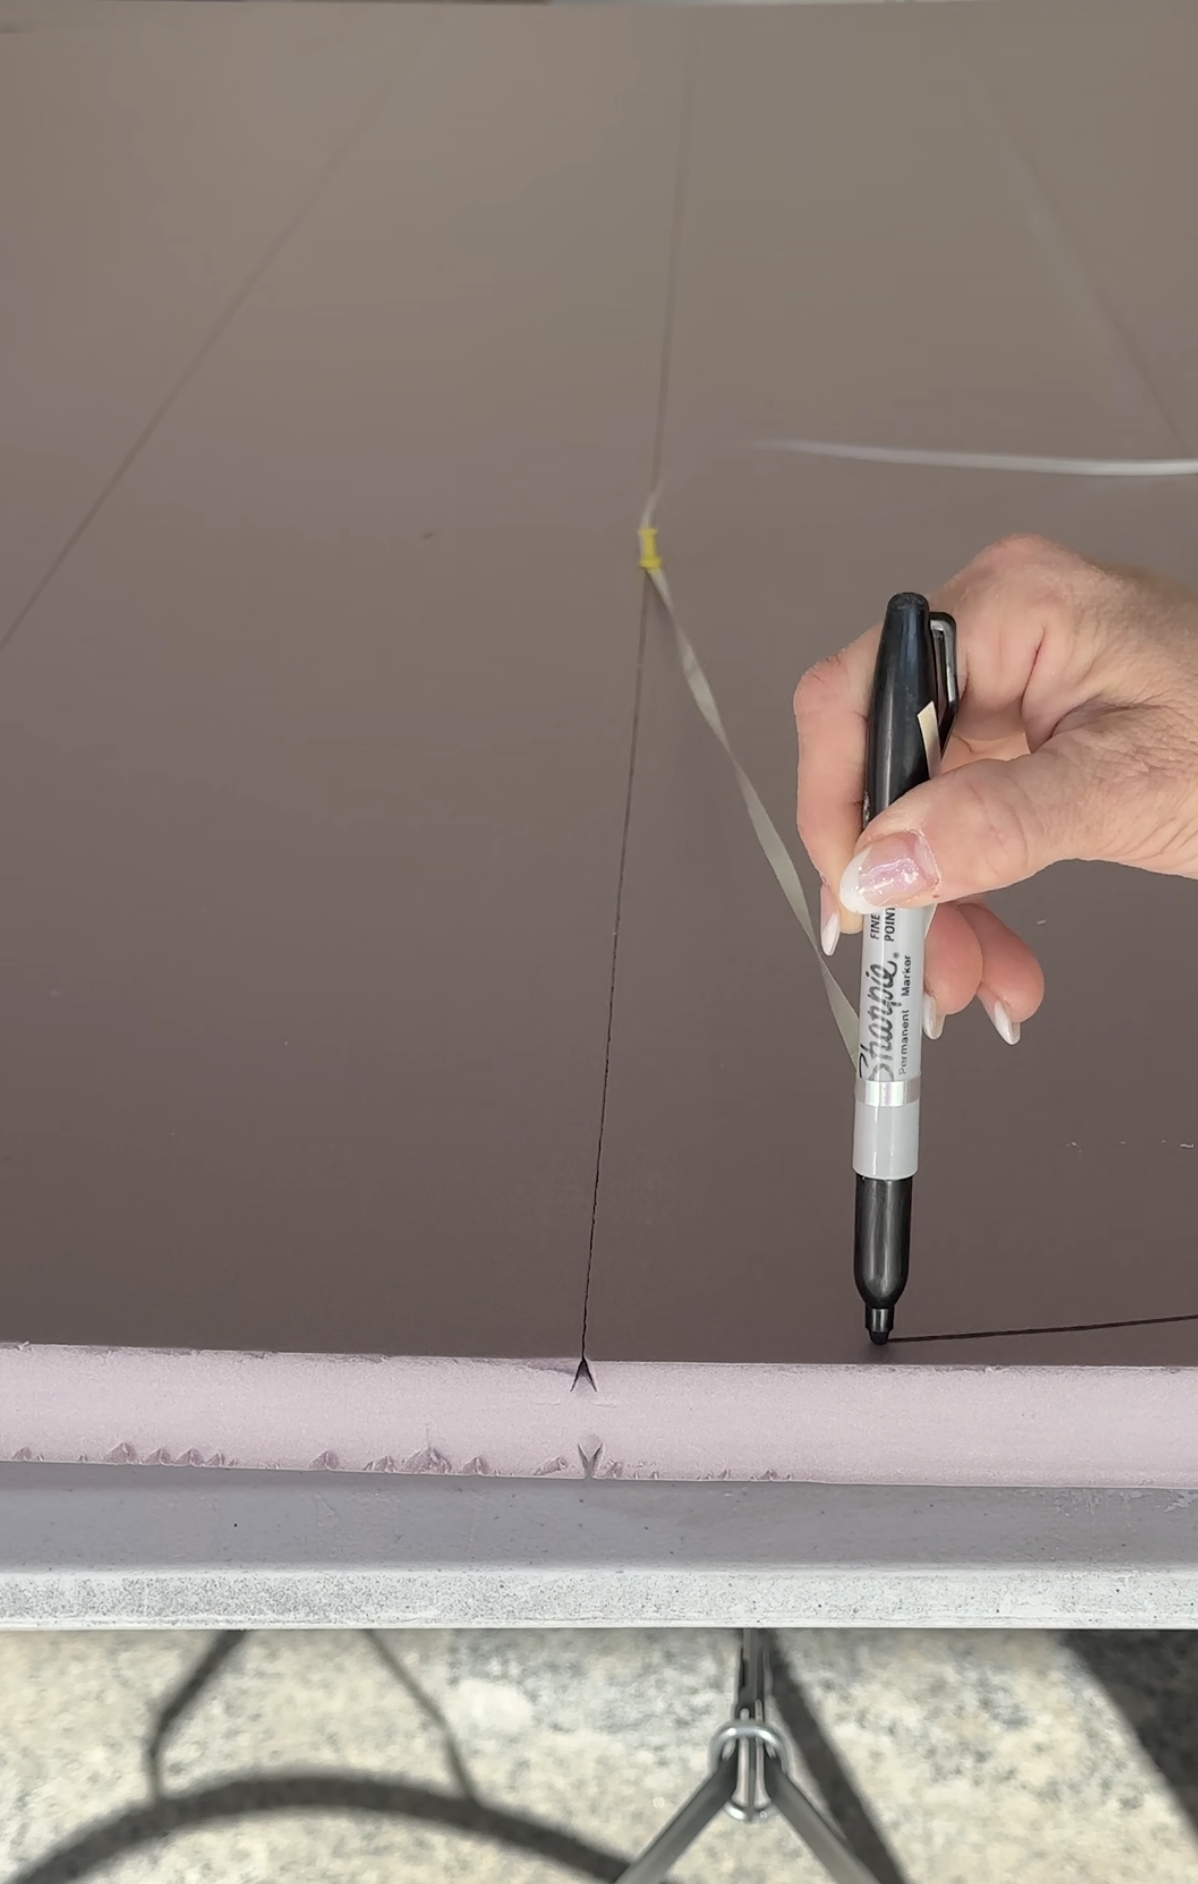
Starting with your marker on one long edge of the board, draw an arch towards the top of the board, and then come back down to the other long side edge to create your arc.
Step 2: Cut the Foam
Make sure that you have a mask when you cut the foam. You never know how much foam dust will be made.
I used my jigsaw with a laminate blade to cut my arches out of the construction foam. It made it smooth and really fast.
If you don’t have a jigsaw, just use a utility knife or serrated knife to carefully cut along your drawn line.
Slow, steady cuts give you the cleanest edges. Don’t worry if it’s not perfectly smooth; a little light sanding with 220-grit sandpaper can fix that.
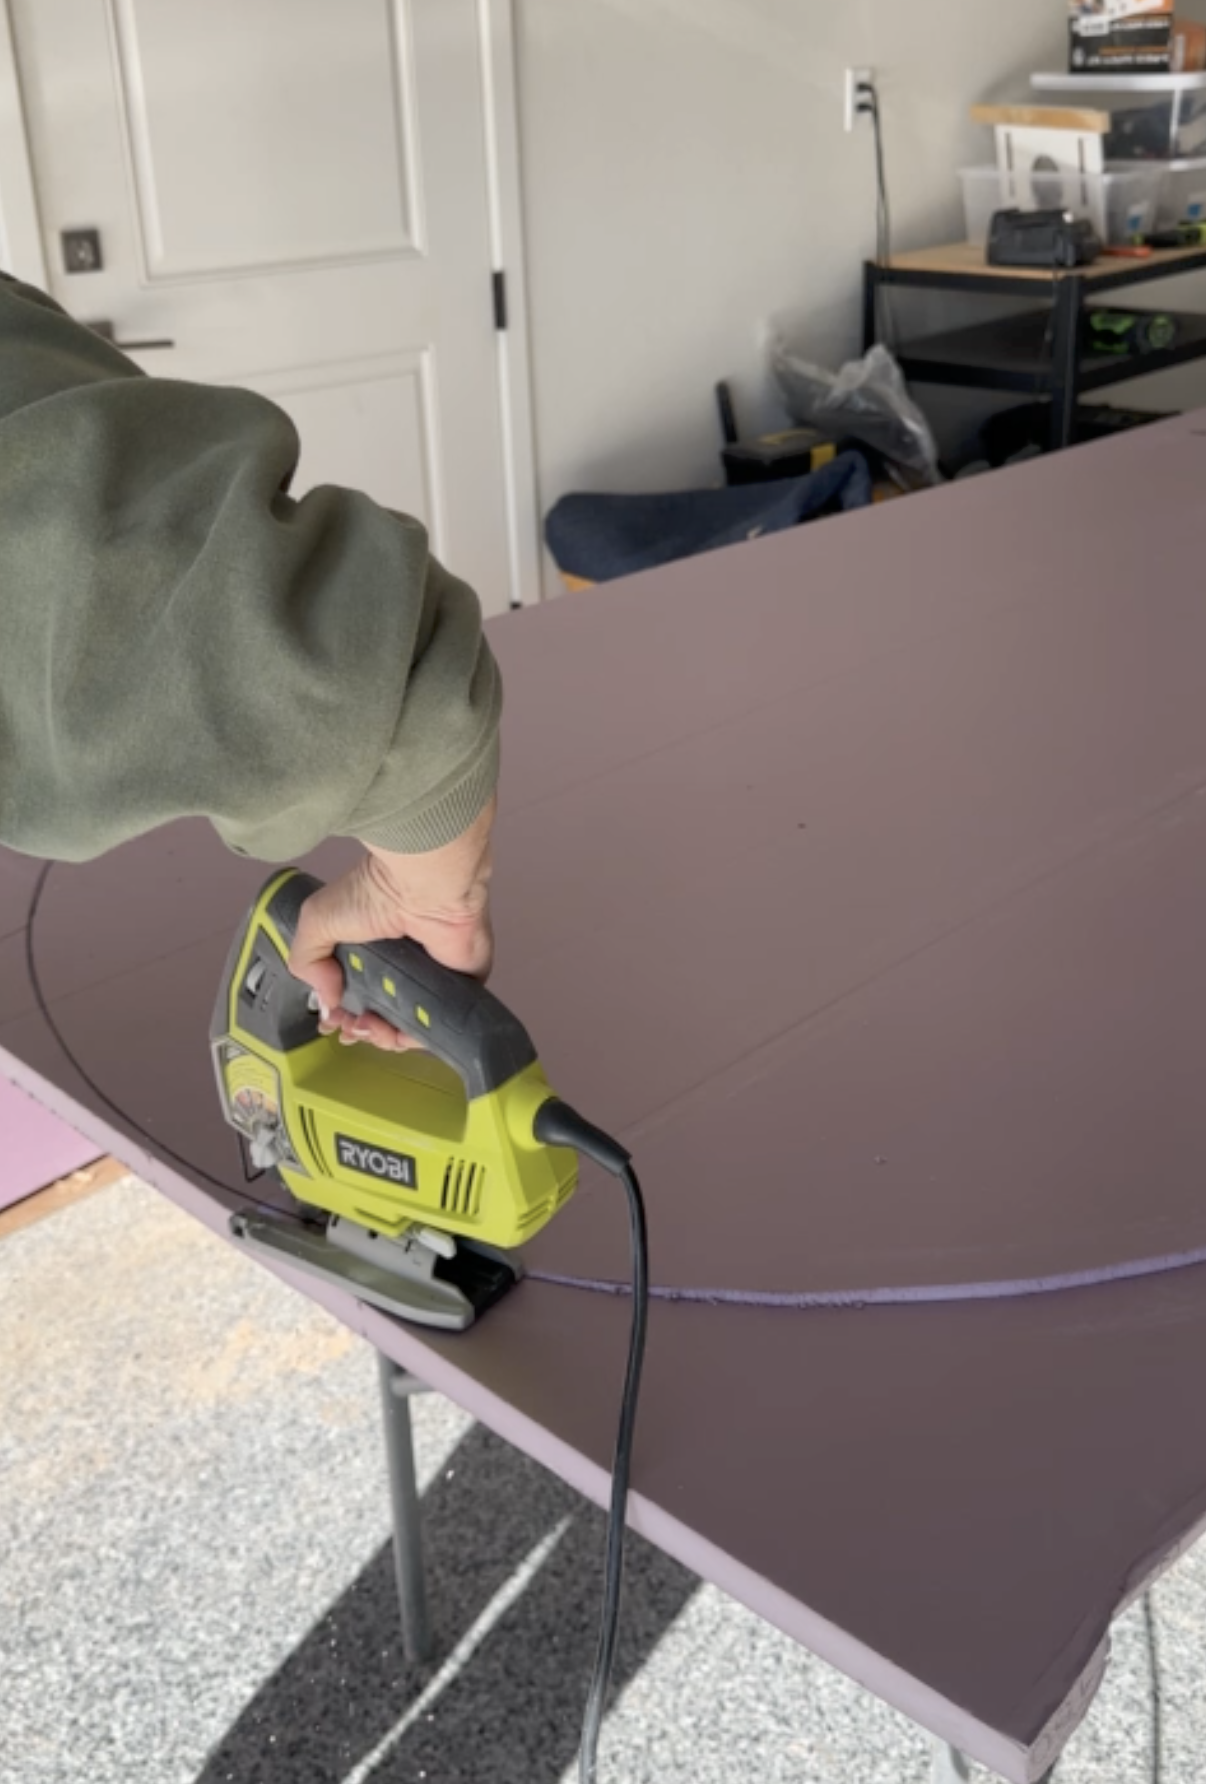
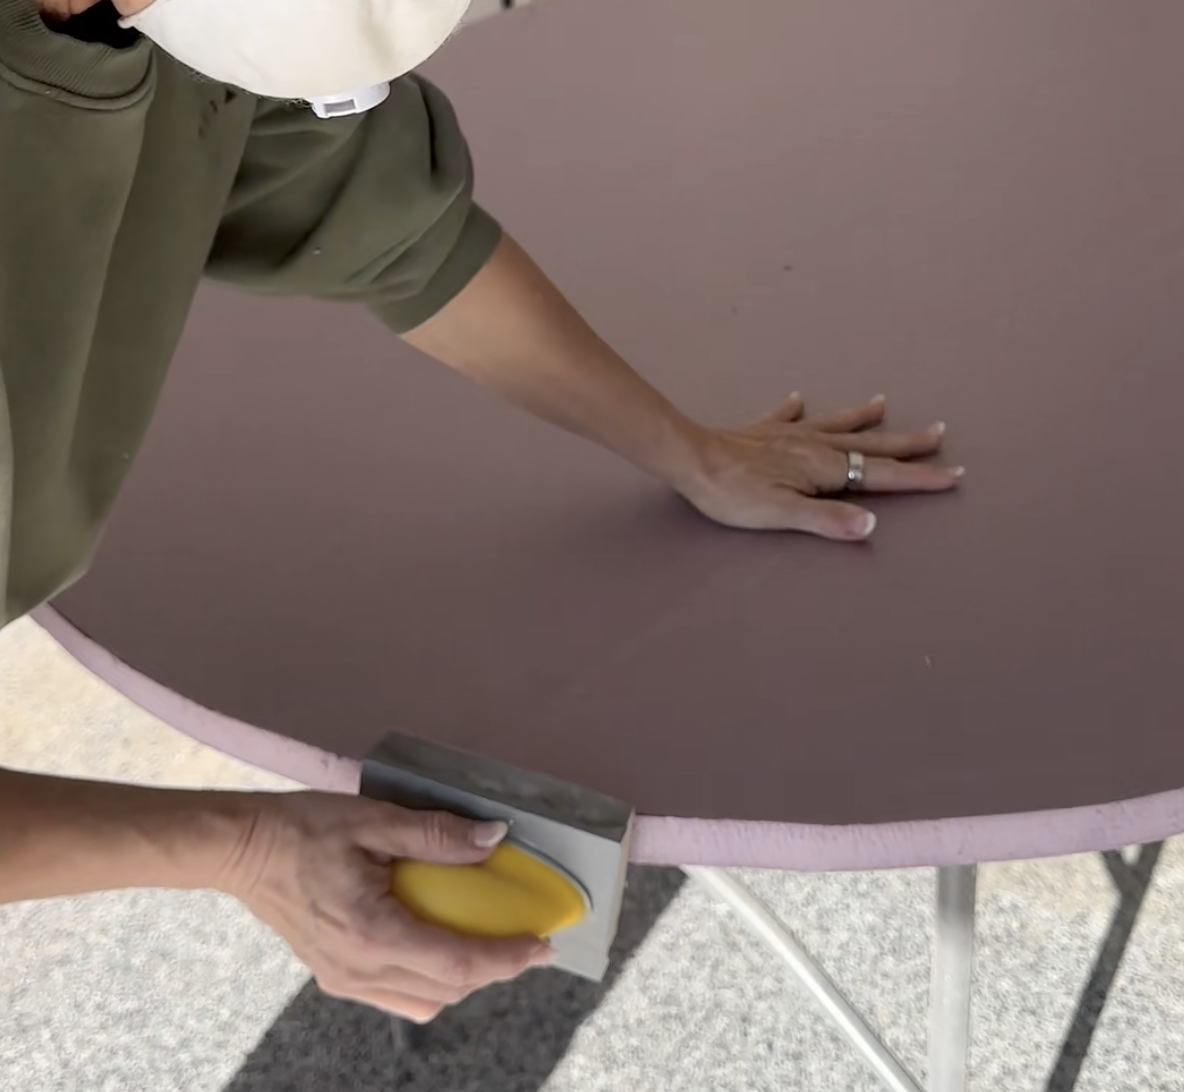
Pro tip: Score the line a few times before cutting all the way through, rather than trying to cut it in one pass.
Once they were cut into the perfect arch shape, I took 16″ off of the bottom of one board so that there would be a variance in height.
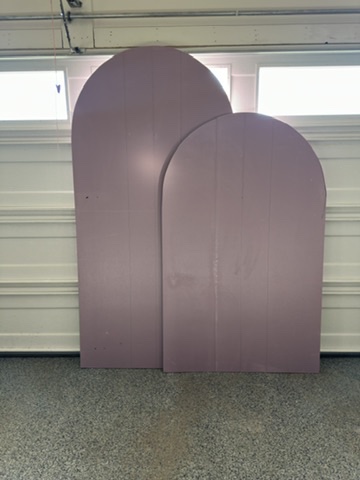
To cut one of your foam boards into two, I simply cut down the center line (that is already scored on it) of the smaller arch with my jigsaw, breaking it into two long pieces.
Then I sanded the long edges smooth with 220-grit sandpaper.
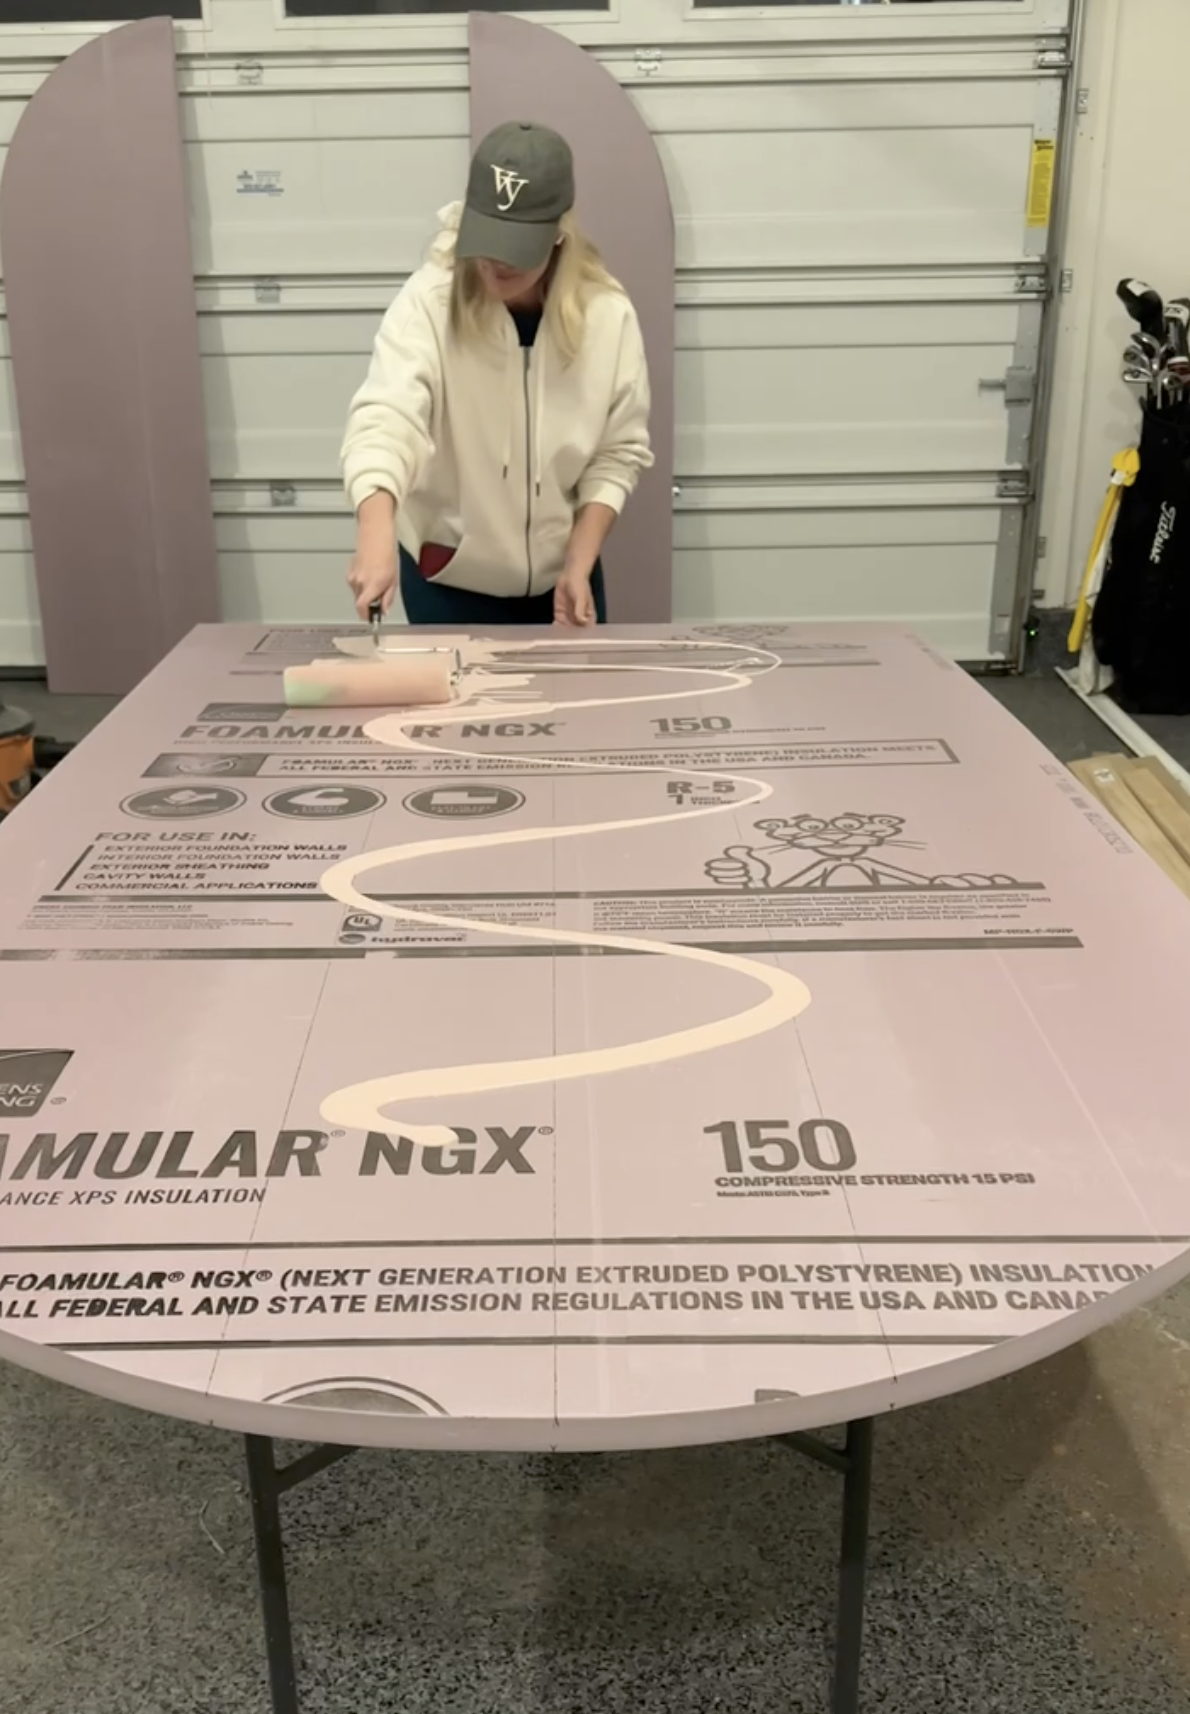
Step 3: Paint
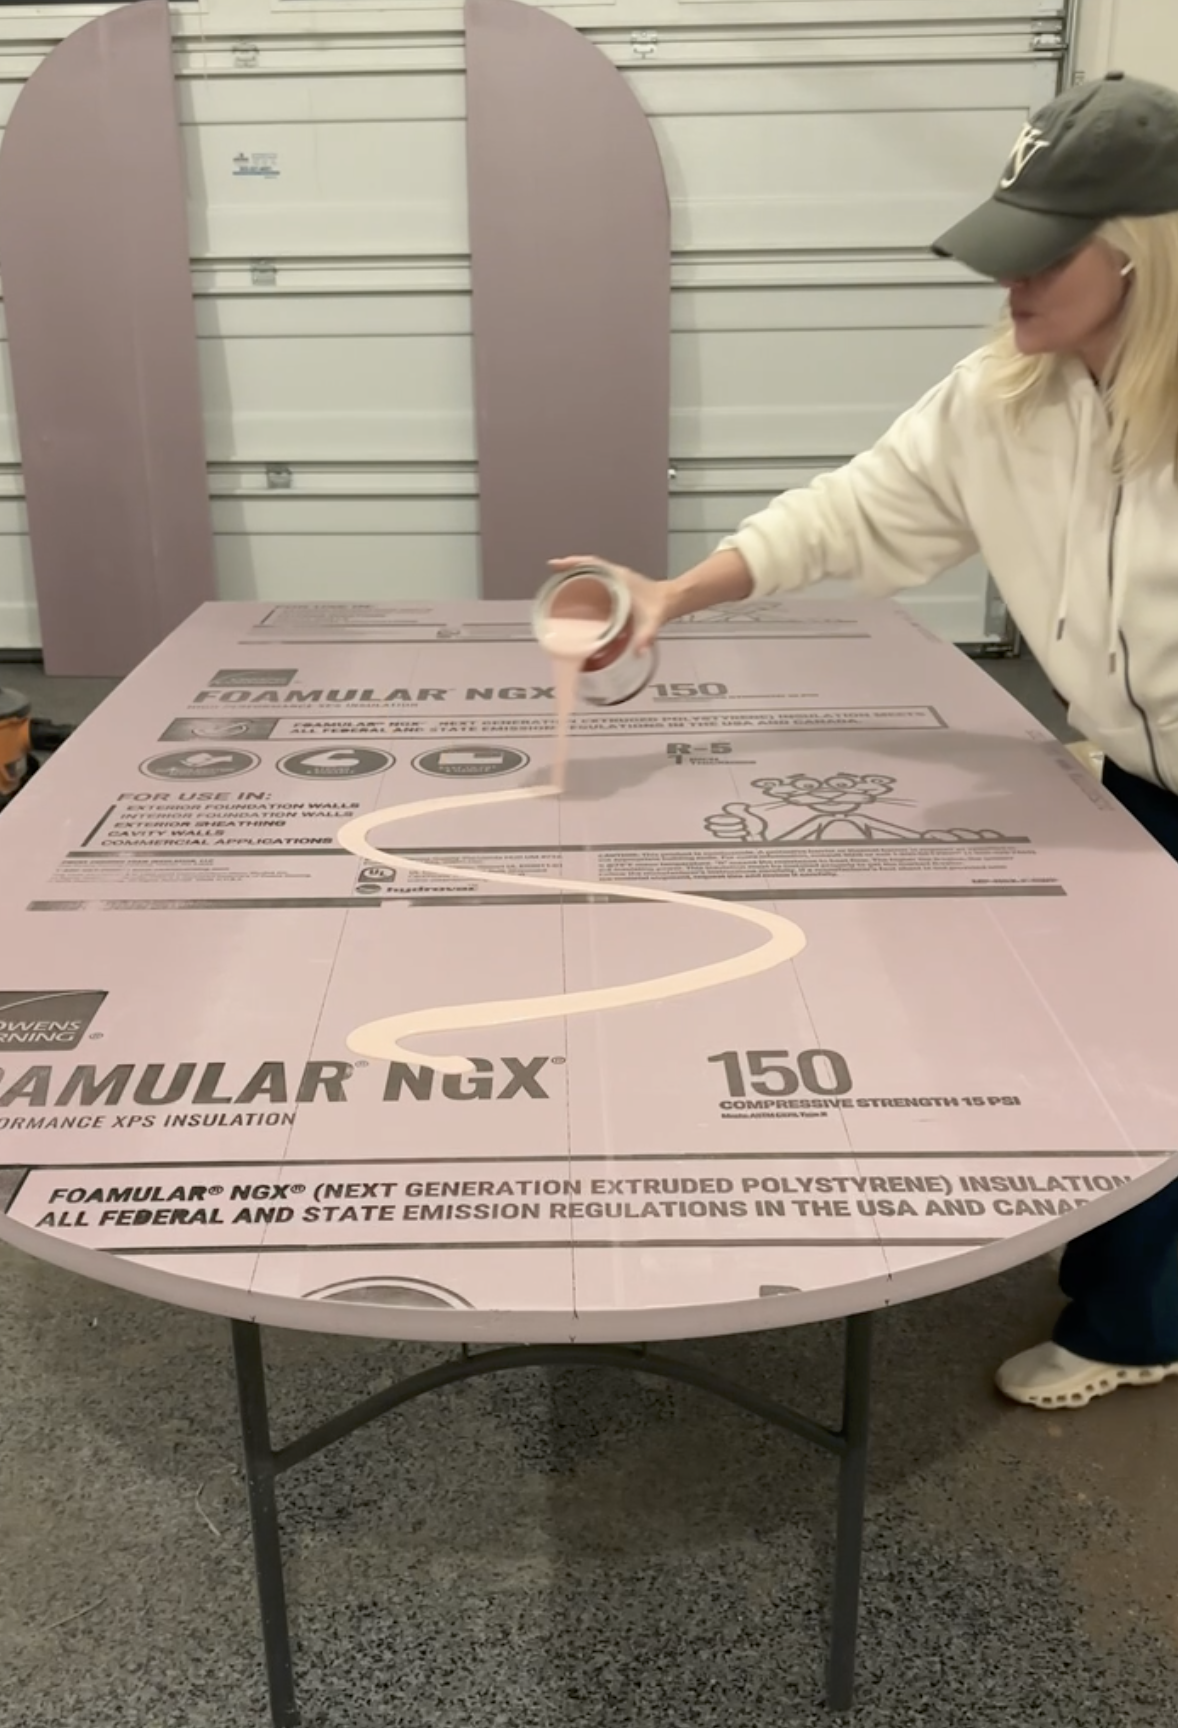
I opted for a wall primer and paint all-in-one.
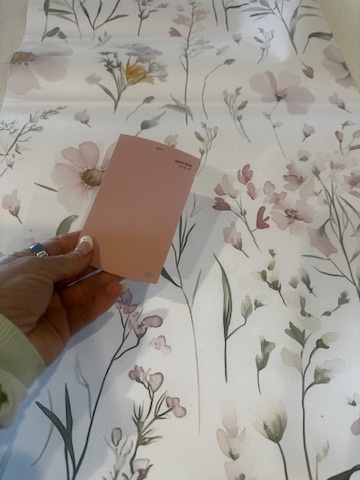
I wanted to bring out the pink in the floral wallpaper I was putting on the half arches (it looked SO good!), so I opted to paint all sides of all the arches a pretty pink called Ballet Rose from Behr.
I bought a quart, but since I had to do two coats on each board on each side, it wasn’t enough. So I had to buy another quart.
I should have just bought a gallon!
The color is Behr “Ballet Rose”.
Popular color choices:
- White or ivory (timeless, works for everything)
- Sage green, pink, or dusty blue for baby showers
- Terracotta or blush for boho vibes
- Black for a dramatic, modern look
Decorative Options for your Foam Photo Backdrop
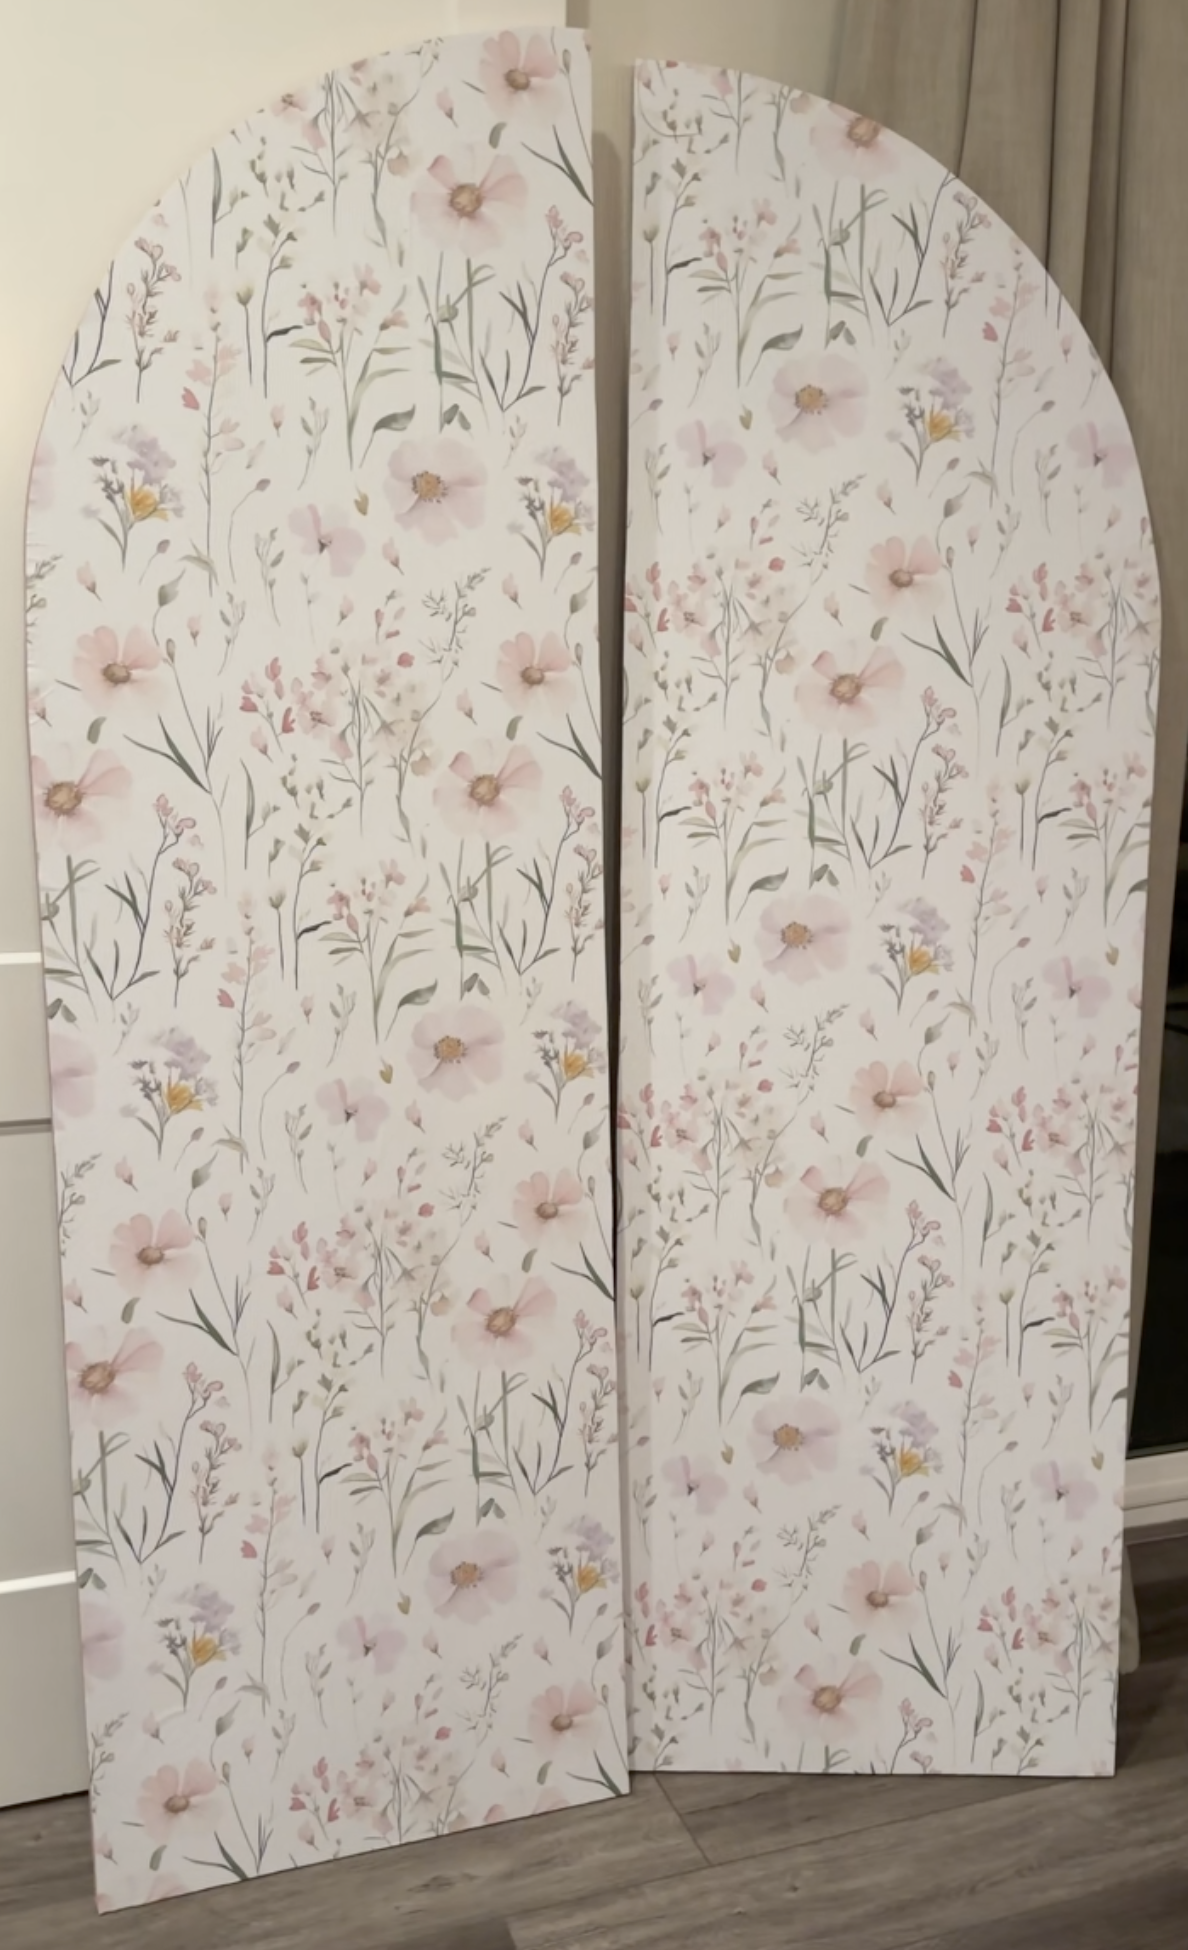
I opted for a floral peel-and-stick wallpaper to mimic the flowers in the inspiration photo.
I used it on the half arches, and I LOVE the way it turned out!
I opted for this kind of wallpaper because it was so easy to add, and I didn’t want any glue to melt the foam.
Other Ways to Add Character to Your Construction Foam Backdrop
Paint Techniques
- Ombre or color washing for a dreamy, gradient effect
- Sponge painting for an organic, textured look
- Marble effect using a feather or fine brush
- Metallic accents with gold or silver craft paint
- Use painter’s tape to help you paint stripes
Dimensional Texture
- Carve designs directly into the foam with a hot knife or skewer, things like geometric patterns, leaves, or scalloped edges
- Layer multiple cut foam pieces on top of each other to create a 3D raised design
Attached Embellishments
- Hot glue dried or faux florals, eucalyptus, or pampas grass directly onto the foam
- Attach paper flowers or tissue paper blooms for a budget-friendly pop of color
- Add greenery garlands woven around the arch shape
- Glue on moss sheets for a garden party or woodland theme
Surface Treatments
- Add peel-and-stick wallpaper
- Peel-and-stick tile
- Apply a thin layer of joint compound or texture spray for a stucco or plaster look or to create the look in the inspo pic.
- Use decoupage to adhere napkins or tissue paper with pretty patterns
How to Add Letters and Words to Your Arched Backdrop
Since this was a baby shower backdrop, I chose to add the words “Baby In Bloom” to the Center of the large arch.
I ordered 6 different styles, including wood and felt, and this Baby In Bloom lettering was my favorite.
It was large and had adhesive stickers with it to make it really easy to add the words!
You could also paint the words on.
Step 4: Style and Display
Once your arch is dry, it’s time for the fun part of layering in the decorations.
We used balloon clusters, and they were perfect!!
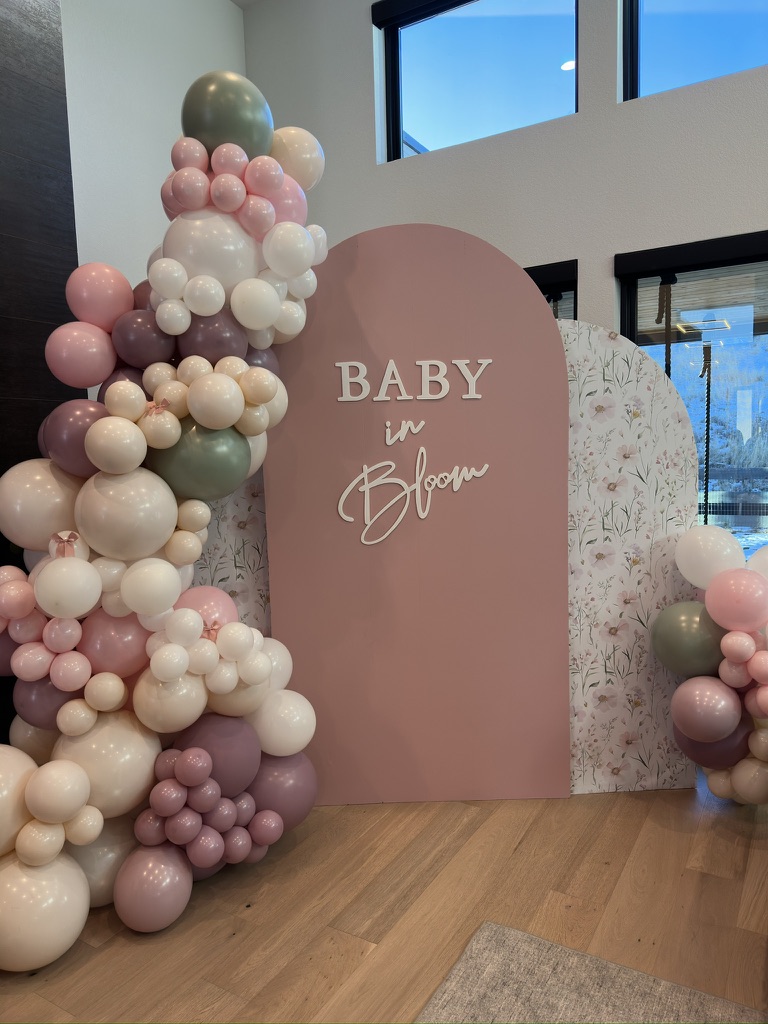
- Balloon clusters in complementary colors tucked around the base and sides
- Greenery or dried pampas grass for a natural, organic feel
- Fresh or faux florals for a more romantic look
- Fabric swags draped across for softness and texture
- A personalized banner or sign hung across the arch
- Decorative garland for any theme
The possibilities and your imagination are endless!
How to Make a Stand for Your Foam Arch Backdrop
I made a simple stand for each arch out of PVC pipes.
They are SO easy to build in just minutes, and they are easy to store.
I wrote another post on how to build photo backdrop stands.
If you are not interested in making them, these stands are a GREAT option.
Tips for Getting the Best Photos
The whole point of a backdrop arch is to create a beautiful space for photos, so here are a few things to keep in mind:
- Position it near natural light if possible. A window nearby makes a huge difference.
- Keep the background simple behind the arch so the arch itself is the star.
- Use a phone tripod so guests can take their own photos without needing someone to hold the camera the whole time.
The Results
The reaction at the baby shower was everything. Guests were lined up to take photos in front of it, and my daughter absolutely loved it.
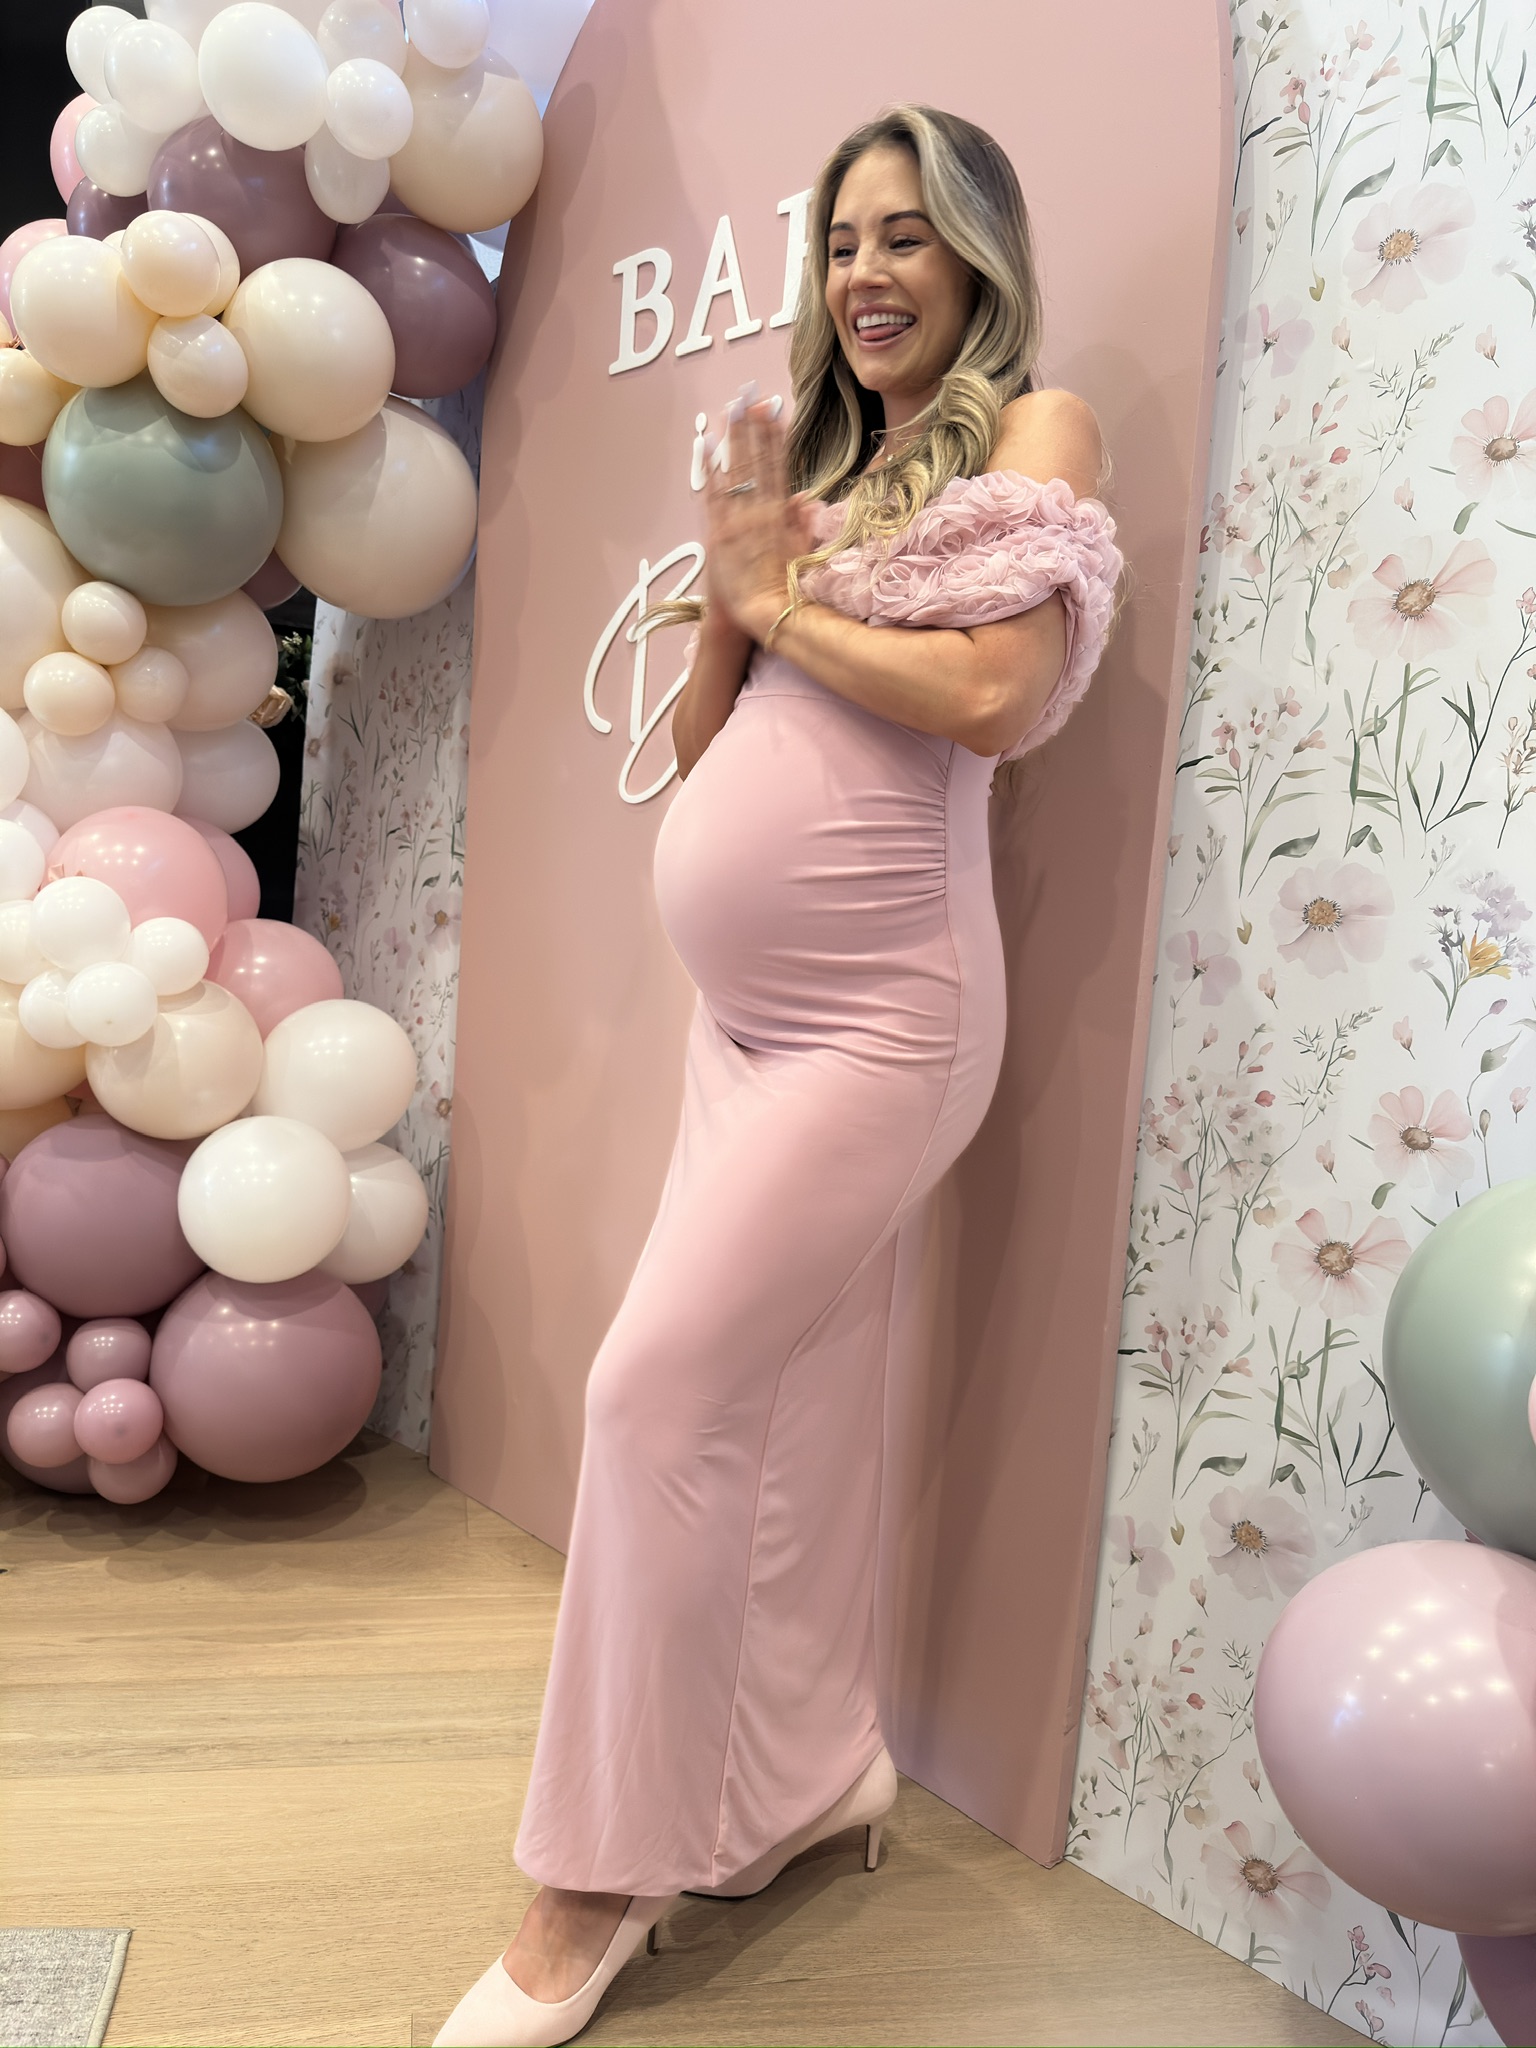
Best of all, the whole thing cost under $100 and took a couple of days to make. The longest part was waiting for the paint to dry.
If I can do it, you absolutely can too.
For more, check out this darling baby shower for tons of ideas!
Frequently Asked Questions
What kind of foam should I use for a photo backdrop arch? You want rigid foam insulation board, sometimes called construction foam or XPS foam. Look for it in the construction materials section at Lowe’s or Home Depot near the wood and fencing supplies. The 1″ thick panels in 4’x8′ sheets are the perfect size for large arches.
Can I use spray paint on construction foam? Most spray paints contain solvents that will actually melt or warp the foam — so stick to water-based wall paint, chalk paint, or craft acrylic. A paint-and-primer-in-one works great and cuts down on the number of coats you need.
How do I keep the arch from tipping over? A simple PVC pipe stand (like the one I describe in my stand tutorial) does the trick. You can also lean them against a wall or drape them with balloon clusters or greenery at the base to add some weight and stability.
Can I reuse these arches? Yes! One of my favorite things about this project is that the arches store flat or standing in a garage or storage room, and can easily be repainted or re-decorated for a totally different event. They’re durable enough to reuse many times as long as you store them flat and out of the elements.
Can this be used outdoors? It can, but keep in mind that construction foam isn’t weatherproof. For outdoor use, keep it out of direct wind (it’s lightweight, which is great for transport but can be a challenge in a breeze) and bring it inside if rain is expected.
How long does this project take? The actual cutting and painting is only a few hours of active work. The real time commitment is waiting for the paint to dry between coats. Plan for 2–3 days from start to finish so you’re not rushing.
Do I need a jigsaw to cut the foam? Not at all. A sharp utility knife or a serrated bread knife works well. Just score the line several times before cutting all the way through for the cleanest edge. A jigsaw just makes it faster and smoother.
How much does it cost to make a foam arch backdrop? My full set, one large arch and two half arches, came in under $100, including paint, wallpaper, and lettering. The foam panels themselves are very affordable, usually around $20–$30 each depending on your location and how thick you want them.
What’s the best way to add florals or decorations to the foam? Avoid any glue or adhesive that contains solvents (the same rule as spray paint as solvents melt foam). You can use a low-temp hot glue, just be careful not to melt the foam. Peel-and-stick wallpaper and peel-and-stick embellishments are also fantastic, mess-free options.
Can I make a different shape besides an arch? Absolutely. The same technique works for circles, half-moon shapes, geometric panels, or even cutout letter shapes. Once you get comfortable with the string-and-marker compass method, the possibilities are wide open.
Final Thoughts
This is one of those DIYs that looks way more impressive than the effort it takes, which is exactly my favorite kind.
Whether you’re planning a baby shower, a birthday party, a bridal shower, or just want a fun photo moment at your next gathering, a construction foam arch photo backdrop is the move.
Have you tried this? I’d love to see your creations. Drop your photos in the comments below!
You can always do it yourself, but let’s do it together!
Disclosure: This post may contain affiliate links, meaning I get a (very) small commission if you decide to make a purchase through my links, at no cost to you. As a Lowe’s Partner I earn from qualifying purchases. Thank you for your support!
Leave a Reply