Take your holiday cards to the next level this year and make them extra special with this one personal touch. I am so excited to show you how to DIY a wax seal to elevate your cards and letters. It is so easy you won’t believe it!
You might be super organized and already have your holiday cards signed, sealed and ready to be mailed out the second Thanksgiving is over.
Or you might not be, and that is ok, too!
Either way, your holiday cards and letters deserve to be as amazing as you are this year and there are some easy things you can do to make it so.
Small details like gold accents and custom wax seals elevate a card’s presentation and really make it stand out.
And somehow cards that have those little extra touches just feel a little more meaningful and down right fancy!
Looking for another handmade holiday touch? Try these DIY air dry clay name tags for gifts and place settings.
I am going to share two things you can do to make your cards feel extra special this year and it is literally as easy as using a glue gun!
Why you should use a wax seal
If you have ever received a card that had a fancy seal on the back of the envelope, then I am sure you can remember thinking that whatever was inside was extra special.
Well, my friend, that wax seal is no longer reserved for wedding invitations or fancy announcements!
I am going to help you easily add your own wax seal to your holiday cards and make them unforgettable.
What is a wax seal?
A wax seal is used to decorate and seal an envelope. It is done by adding a tiny pool of hot wax to paper and then stamping a design into it.
I remember when you used to have to light a little wax candle, let it drip onto the surface of your letter or envelope, and then use a wax stamp to emboss a design in it. It took forever.
Or you had to use wax beads in a melting pot, pour a little wax on with a little cup, and stamp it that way.
It was messy and took a while to completely dry.
Well, times have changed, my friend! Now you can use a hot glue gun designed for wax sticks to help you create the prettiest DIY wax seals!
It’s genius.
And it will elevate your holiday cards and make them extra special.
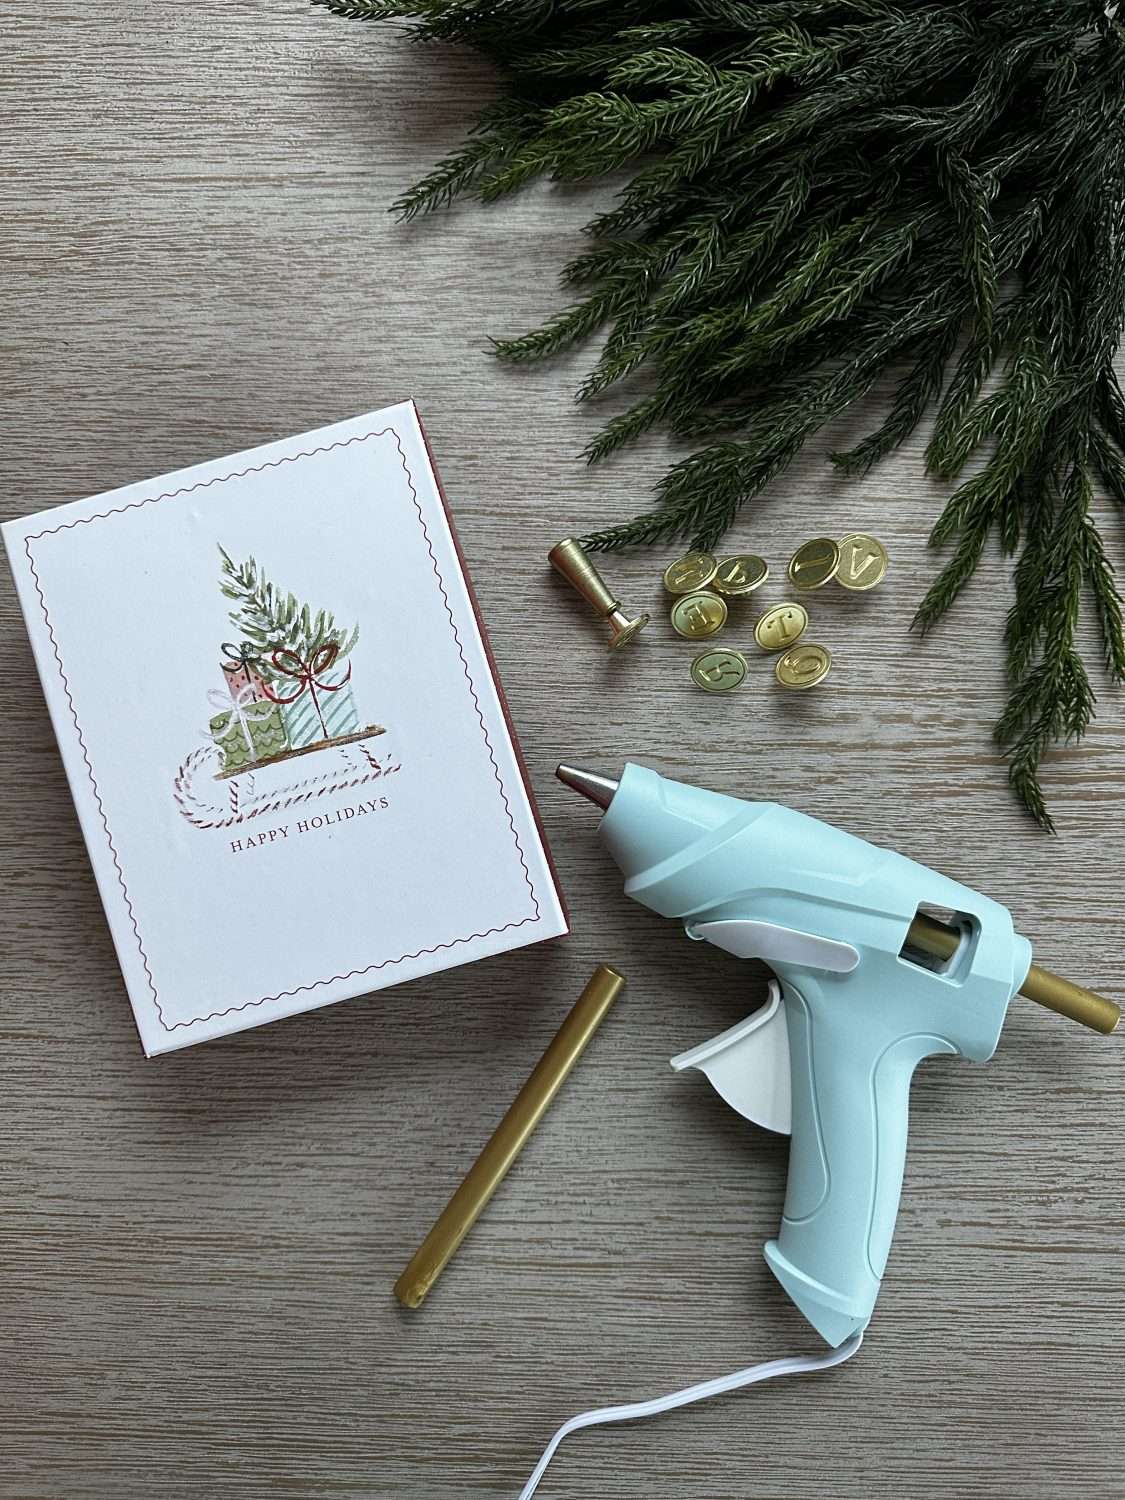
Supplies needed to DIY a wax seal
- This wax and gun kit, complete with gold and silver paint pens, and stamp
- Envelopes and cards or letters
Seriously, that is it!
I told you it was as easy as using a glue gun!
I bought my wax sticks, gun, pens and stamps all separately, but I found this kit for you that includes everything you need!
And this kit is a lot less than what I paid for all of my supplies!
I am so happy I was able to find it because I want you to try this!
How to DIY a wax seal onto your envelope
1.Insert the desired color wax stick into your gun and plug it in.
2.Once hot, add a generous glob of wax to the center of your letter or envelope, on the back where the flap meets the envelope.
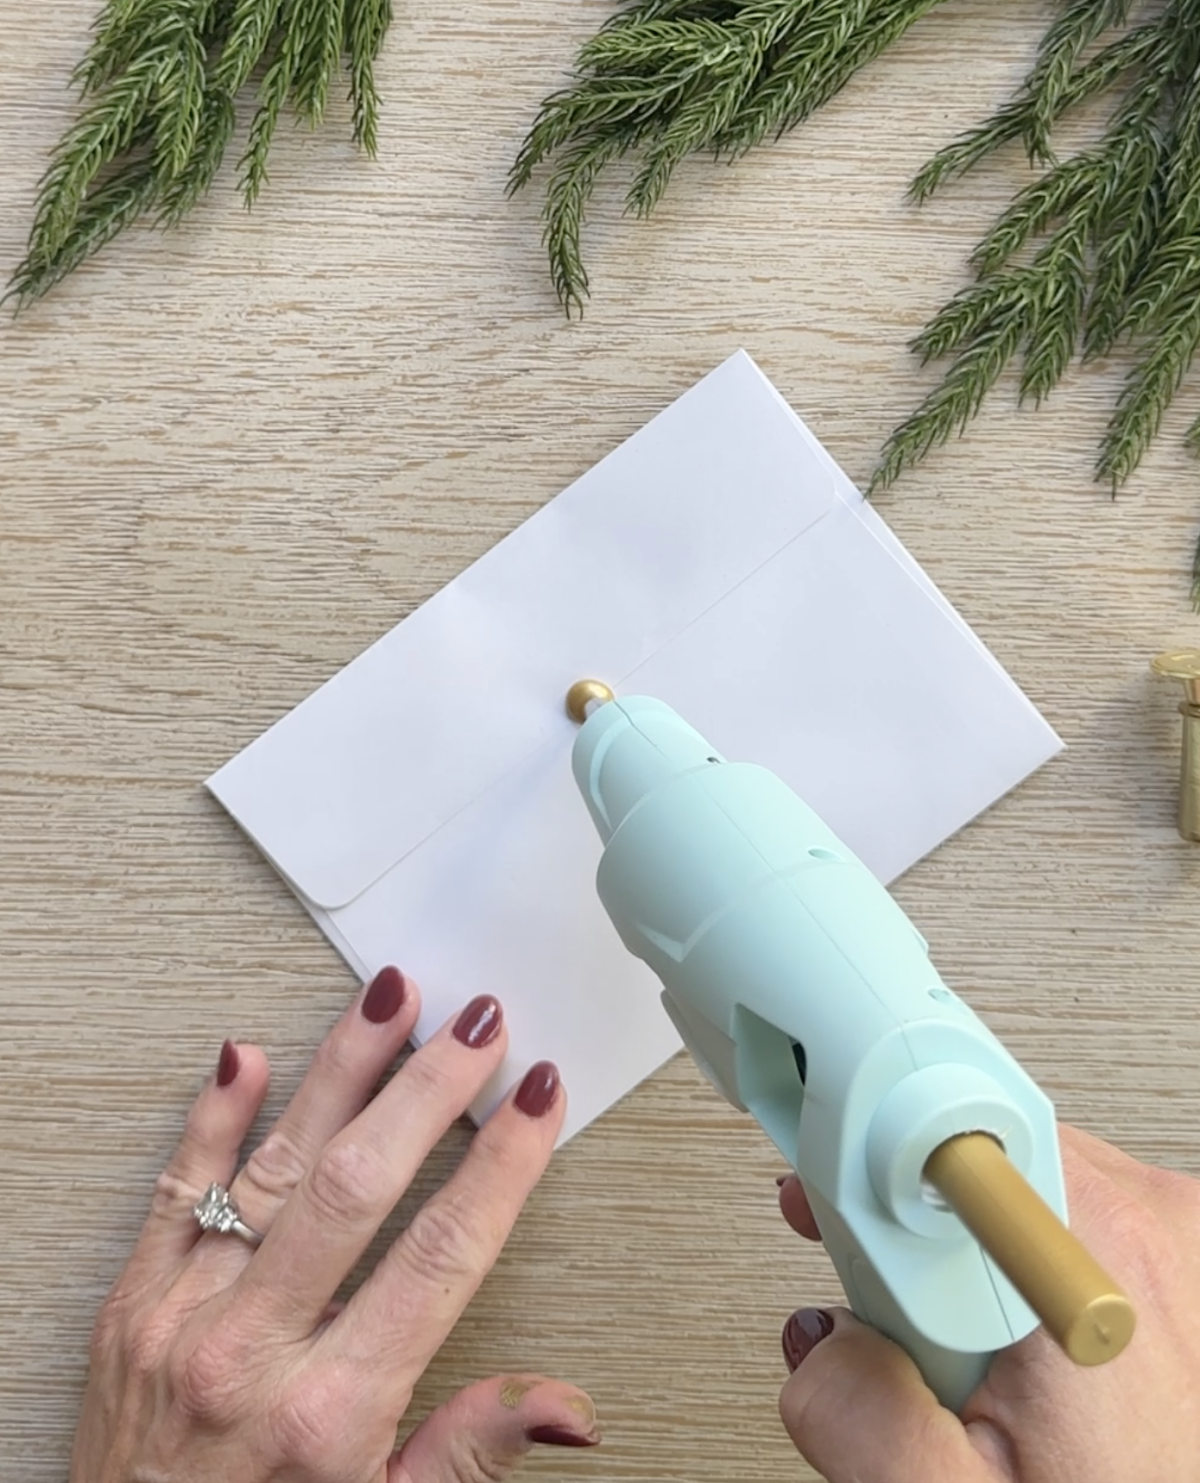
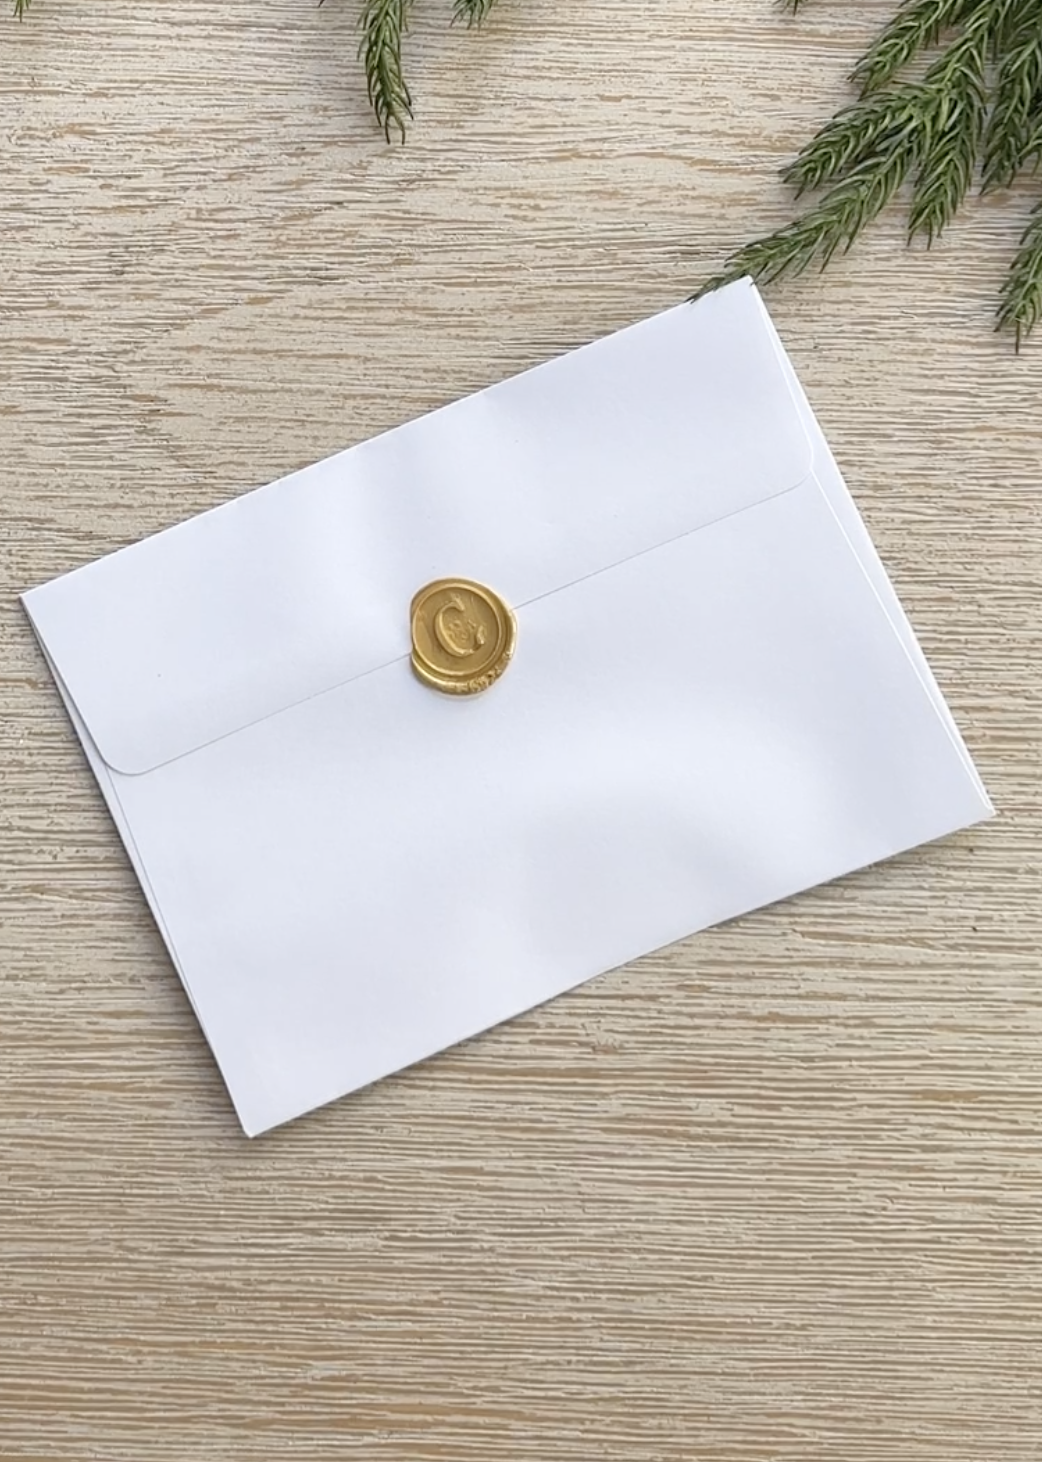
3. Press your wax stamp design into the wax and hold for about 3 or 4 seconds and then pull the stamp off and in an upward motion. If you hold it for too long then it will be difficult to pull the stamp up and out of the wax.
I suggest practicing on some scrap paper first to get the feel of it.

Take it to the next level with a paint pen
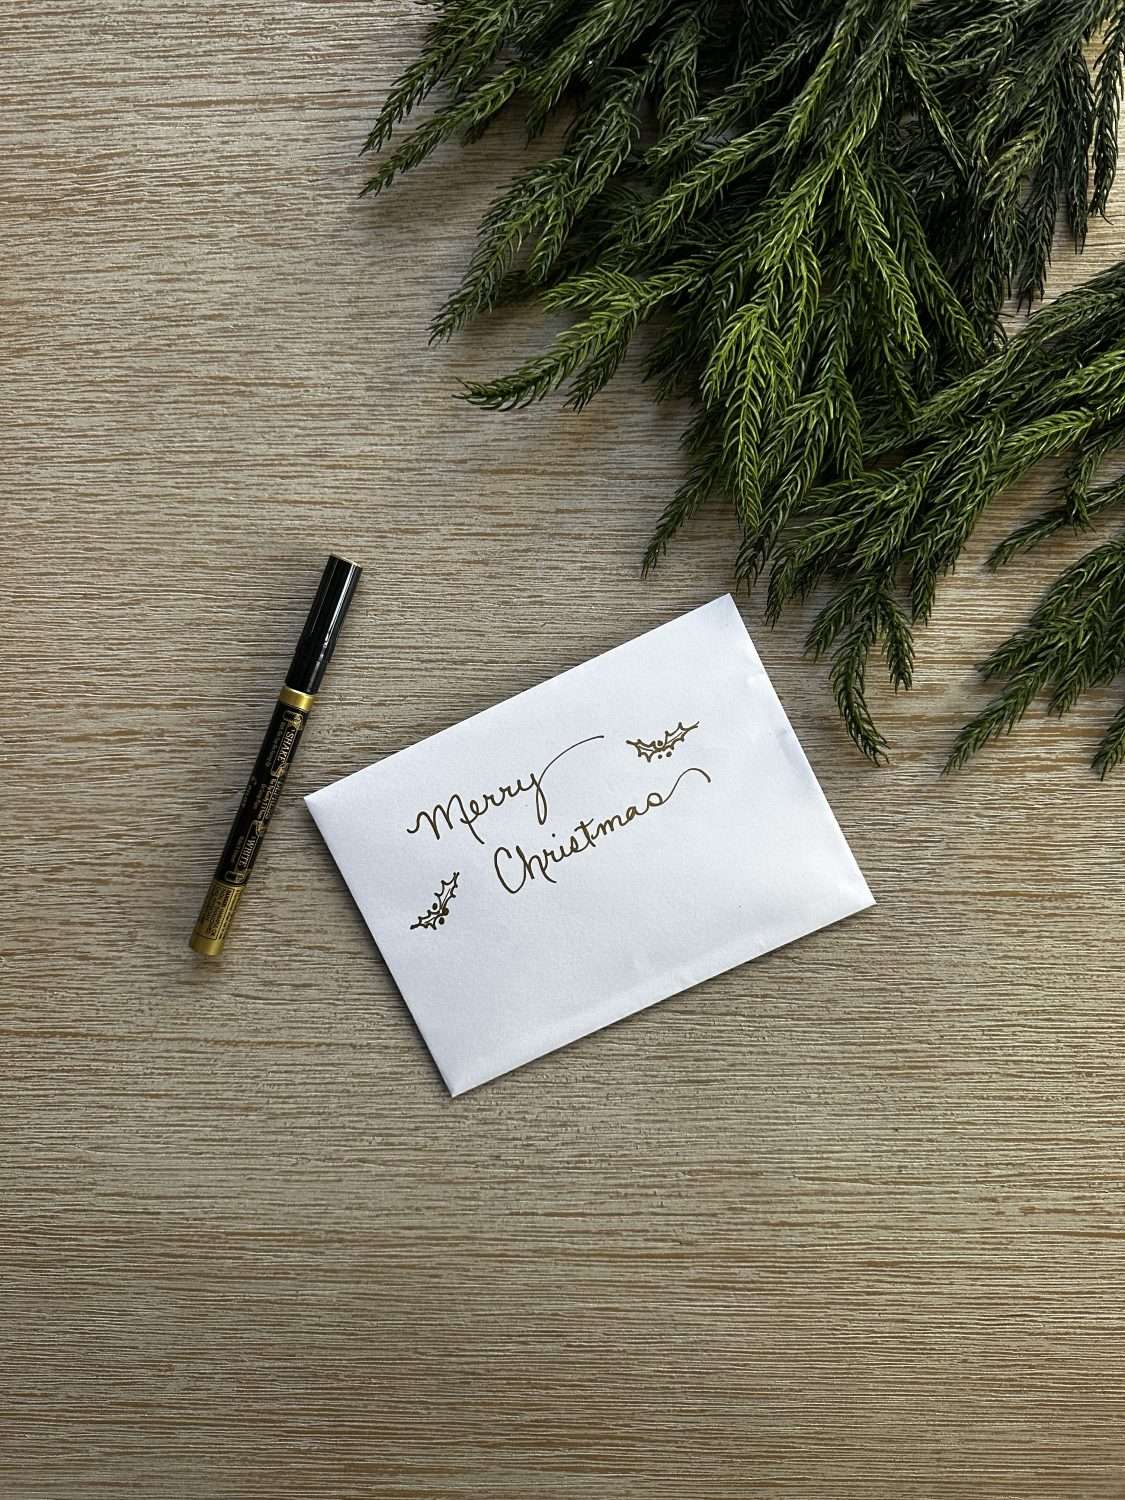
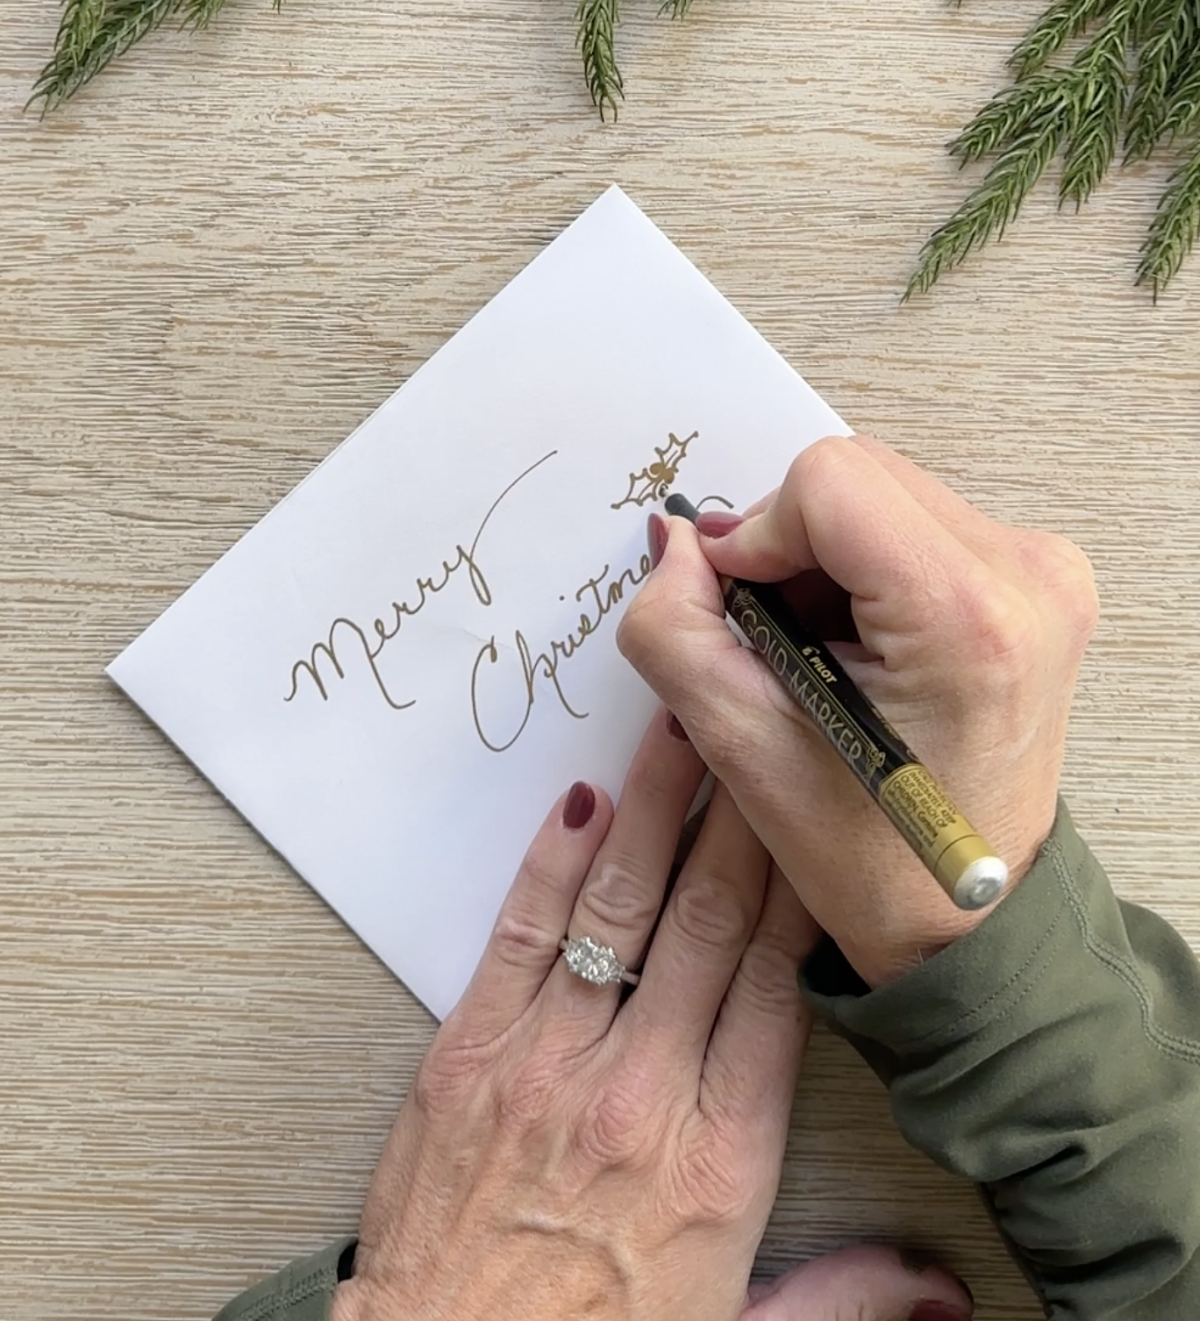
You can choose any color paint pen, but I prefer either gold or silver for my holiday cards.
You can write receiving addresses on the front of your envelopes, but I like to write return addresses on the back of my envelopes, just above the seal. It keeps the front of the envelope clean-looking.
You can use your pens for highlighting areas like borders or creating festive designs, too.
Ideas for DIY wax seal designs for the holidays
For my cards, I chose a monogram set. My last name starts with a C, so that is the letter I used on all of the cards I sent out.
You can choose any design you want! The wax stamp design that comes in this wax seal kit is a flower stem, which is beautiful, but there are so many designs out there that would be great! I have listed some of my favorites below.
Additional wax seal stamps for the holidays
- This monogram stamp set
- This custom stamp created just for you
- This 6 piece holiday stamp set
- You can even have an “official” North Pole stamp on a “letter from SANTA”
You can find stamps for other occasions, too! This technique doesn’t have to be reserved for the holidays.
Additional sealing waxes
The possibilities are endless! You can get them in so many colors and, again, use them year round.
How to get a wax seal look without the effort
If you love the look of a wax seal, but don’t want to go through all of that work of plugging in a glue gun, there are wax seal stickers!
It gives you the look of a wax seal, but all you do is peel back the paper to expose the adhesive and stick it onto the back of your envelope!
Here are some of my favorite wax seal stickers:
- Gold and white rosemary
- Green Christmas tree
- Green holiday wreath
- Gold nativity scene
- Blue snowflake
I was so excited to bring this little craft to you and I hope it inspires you to do something a little extra this year.
I love doing this on my cards for the holidays as well as thank you cards!
It is so easy and so fast that I think you will, too!
This kit would make a great gift or stocking stuffer. Pair the kit with some pretty stationery and it would make a really unique present.
Even if your cards are addressed and ready to send out, there is still plenty of time to order the kit and elevate them this year. And if you haven’t even thought about your cards, you have plenty of time to DIY a wax seal on your envelopes.
Don’t forget to check out my other holiday content that includes this tutorial for creating a stunning fireplace mantle and so much more here on the blog.
I hope you have been inspired to try this. Remember, you can do it yourself, but let’s do it together! 
Disclosure: This post may contain affiliate links, meaning I get a (very) small commission if you decide to make a purchase through my links, at no cost to you. As a Lowe’s Partner I earn from qualifying purchases. Thank you for your support!
Leave a Reply