Looking for an easy way to make ghee or clarified butter? Whether you’re doing Whole 30 or choosing to live dairy-free, this method of making ghee in your own kitchen is so easy you will never buy it in the store again. And tastes so much better than store-bought, too! Here is how to make ghee!
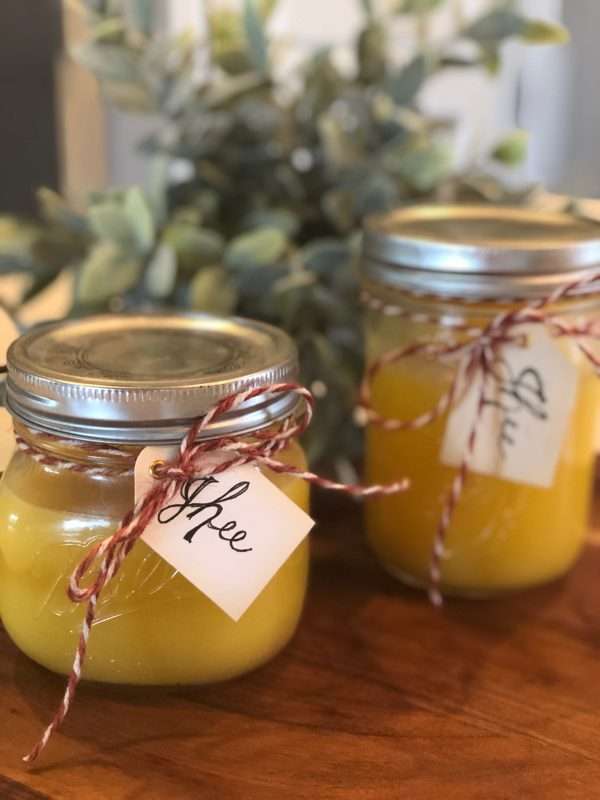
If you have done Whole30 or moved over into a dairy-free diet, chances are you have tried ghee or clarified butter. I have always been a lover of all things dairy. Cheese, yogurt, half n half, butter. So good, right?
Last year when I decided to do Whole30 (you can read my experience here), one of the many things you must remove from your diet for 30 days is all dairy. ALL DAIRY.
There are lots of substitutions you can include in your diet to make up for the loss of dairy, some of them are better than others. This is when I learned how to make ghee, or clarified butter, at home.
What is Ghee?
One of the things I first tried as a dairy substitute was ghee. I knew that it is a good substitution for butter so when I spotted the brand my daughter uses it in the store I decided to give it a try. I got it home and decided to use it that evening.
It was AWFUL! I couldn’t believe people actually ate this stuff. It tasted like plastic and I would rather eat no butter than a substitute that tastes like plastic! YUCK!!
Perhaps it was rancid, but I had never had ghee before so I wouldn’t know. It was brand new from the store shelf so it’s more likely that it was just a horrible taste. I didn’t understand how people could be eating this when it just tasted like chemicals to me and I never wanted to eat it again.
So, I was OFF the ghee train. No thank you.
One day I was visiting a friend and she made us some eggs and used ghee to cook them. I didn’t know she had used ghee and when I ate the eggs they were absolutely delicious, rich in flavor, and tasted nothing like plastic. She told me that she cooked them in ghee and I immediately asked her to teach me how to make it!
She came over to my house, brought the necessary tools, and showed me her ways. You only need a few simple tools and less than an hour to make a couple of jars of ghee.
So let’s get into it!
What you need to make ghee at home
You can order everything on Amazon today by visiting each link below or this link that will take you to my Amazon storefront!
Butter- I use Kerry Gold because it is the best and the flavor is amazing. Four blocks will give you enough to fill the medium jars in the photo.
Canning Funnel with Strainer- This funnel is the one I have
Jars with lids (you can use any size but a jar with a wider mouth is easier to get the ghee out of)
How to make ghee
- Place butter blocks in large saucepan. Turn the burner on med to med-hi to melt the blocks.
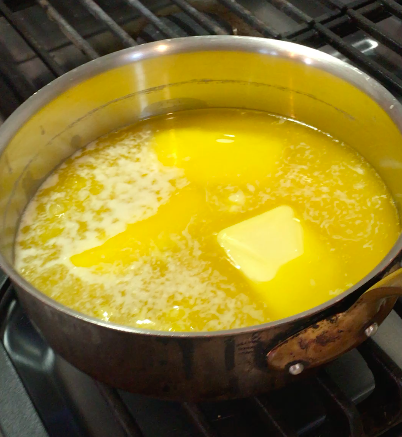
- As it melts you will see the butter start to boil and create a foamy top. When you see the foam, turn down the heat to med-low or low depending on the size of your burner. This is a rolling simmer.

- Set your timer for 15 minutes. As the butter melts on a low heat it will ‘blub’. If the heat is too high it will make a mess so turn down the heat a little if it starts to jump out of the pan.
- While the butter is simmering, set up one of your jars with the canning funnel on top with a coffee filter in it.
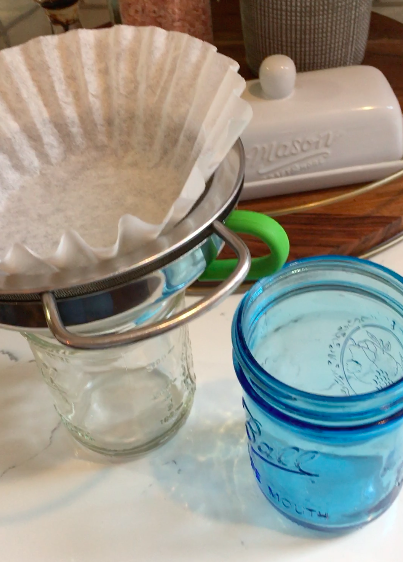
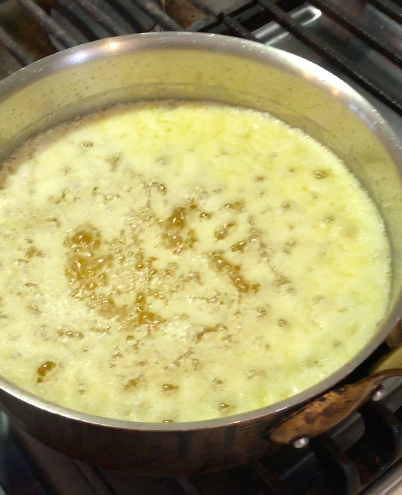
- After 15 minutes the butter is ready and the top layer of the butter will be completely foam. This is ready to filter. Turn off the heat. Bonus: your home will smell like movie theater popcorn butter.
- Carefully and slowly pour the butter into the coffee filter that sits on top of the strainer, that sits on top of the canning funnel. The butter will filter through into the jar. In the coffee filter you will see the milk proteins that are left behind. You are filtering out the dairy portion of the butter and what is going into the jar is dairy-free….it is the fat in the butter. And it might sound gross but it is so delicious!
- Depending on how clogged the coffee filter becomes it may be necessary to changeit out for a fresh one. Carefully lift the used filter out and replace it with a new filter. Pour any butter left in the used filter into the new one to continue the process.
- Once your jar is full, carefully transfer the canning funnel to the next jar and continue the process.
- When you are done, tighten the lids on the jars and let it set until solid. To speed this up you can place in the refrigerator.
- Enjoy!
TIPS:
*If you set your thermostat to 72 degrees to bring the temperature up in your home, your butter will filter easier and faster.
*You can do as many blocks as you want. For more blocks use a larger/deeper pan and go through the process in the same way. You will need more jars and it will take longer to foam/filter.
*Wrap a cute string around the jar, add a cute label and give as a gift.
*You don’t have to store it in the refrigerator. It can be left on the counter as long as you use it within 6 months. It can remain in the refrigerator for a year! The reason is that there is no dairy that can go bad.
I hope that you have found this to be helpful to you. I would love to hear what you think if you make it. And, I am no expert. If you have a helpful tip please comment below so we can all learn from you, too! Have a great week ahead.
To see my results of Whole 30 you can read a post of all of the benefits I gained from it. I am amazed!!

Disclosure: This post may contain affiliate links, meaning I get a (very) small commission if you decide to make a purchase through my links, at no cost to you. As a Lowe’s Partner I earn from qualifying purchases. Thank you for your support!
Leave a Reply